Introduction
The Event Marketing Management module of ZINFI's partner marketing management (PMM) platform enables your organization to quickly set up trigger-ready multi-touch "event-in-a-box" campaigns that can be easily co-branded and customized by your channel partners. This gives partners another way to engage their prospect and customer base.
1.1 Template Management
With ZINFI's Event Marketing Management module, your organization can easily create and configure ready-to-use templates for channel partners to use for event registration landing pages. This includes both pre-event and post-event email templates.
The Event Marketing Management module allows your channel partners to quickly customize existing templates with specific information about the event they wish to host. Effective event templates enable your organization to engage more channel partners via webinars or roadshows, driving lead generation and potential sales.
1.2 Event Details Management
The Event Marketing Management module allows your organization and your channel partners to enter specific event details within the system to showcase on the event registration page as invitees register.
The module also allows you and your channel partners to create your own registration form with any specific fields you wish to include in your efforts to capture information from registrants. The multilingual functionality of our Event Marketing Management module enables you to get your non-English speaking partners engaged as well.
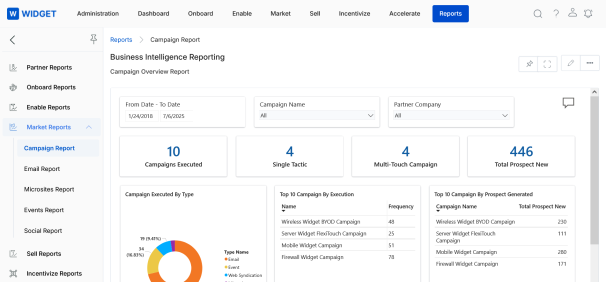
1.3 Campaign Performance Management
You can use the Event Marketing Management Module to manage the performance of event campaigns at the individual partner level. Real-time analytics provide valuable insights into campaign elements that are working well and elements that need improvement.
The Event Marketing Management module also enables your channel partners to keep track of all registrations they've received for the events to be hosted. Partners can quickly determine how large the crowd for the event is likely to be, and thus prepare with the required logistics to ensure smooth and flawless execution of the event.
Manage Events
The Manage Events section covers navigating to the Events list, understanding the available views and action buttons, and filtering events by campaign, name, or URL extension.
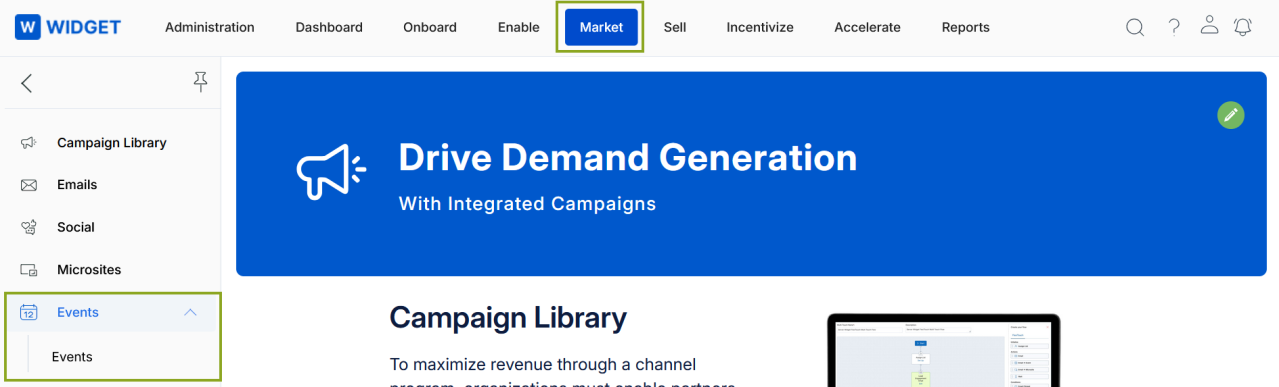
2.1 Navigate to Events
- Click Market on the top navigation menu.
- Click Events under the Events sub-menu in the left sidebar.
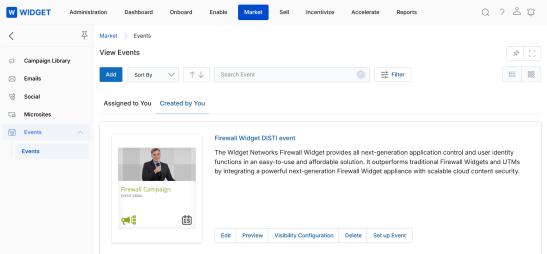
2.2 View Events
- Click Market on the top menu.
- Click Events in the left menu bar to open the View Events list.
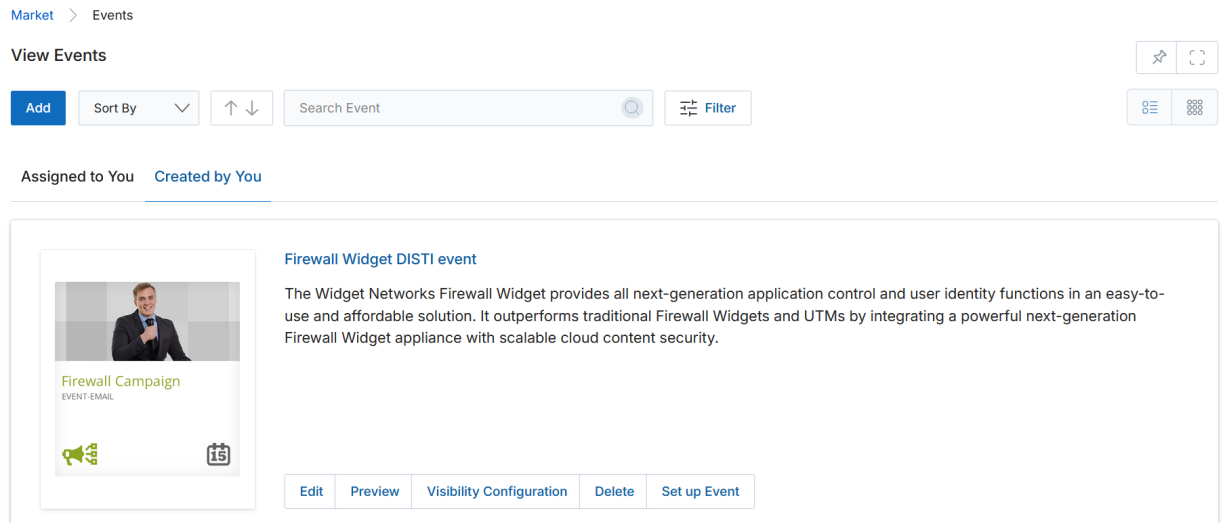
2.3 Event Management Views
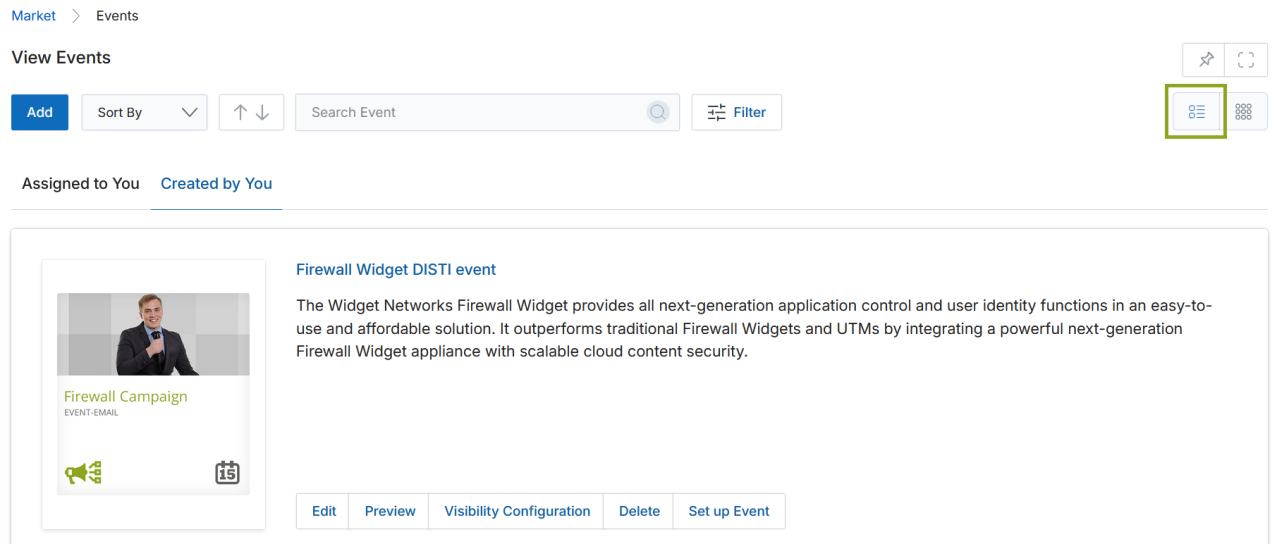
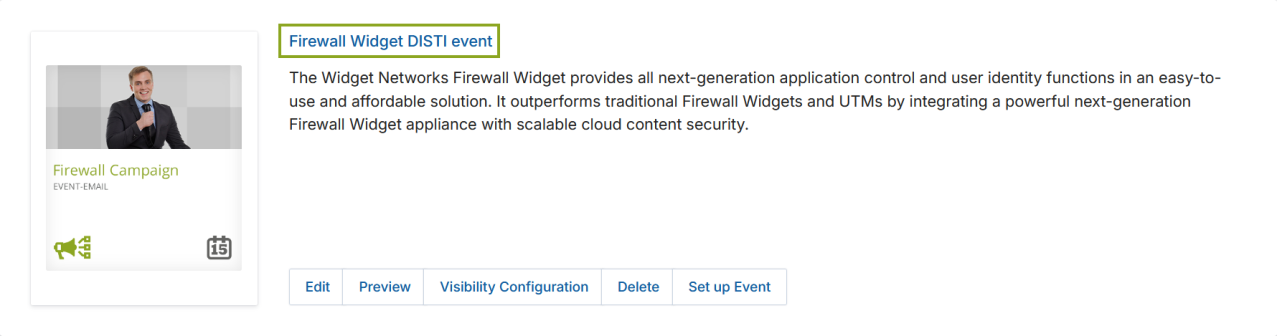
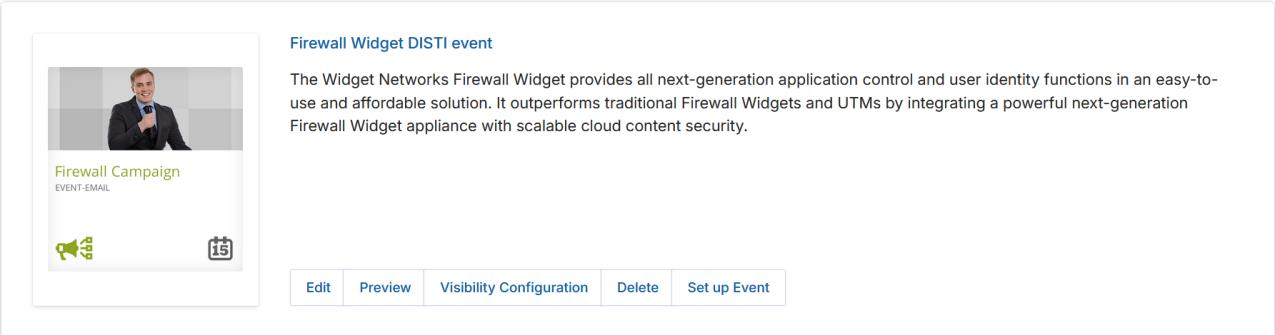
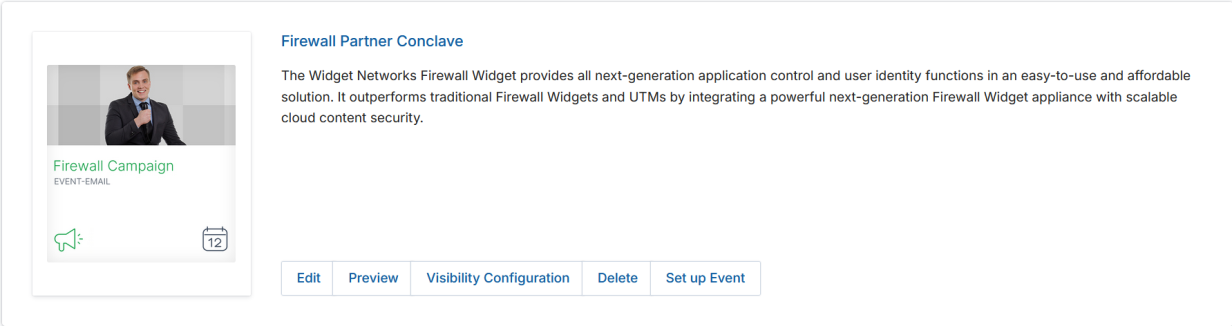
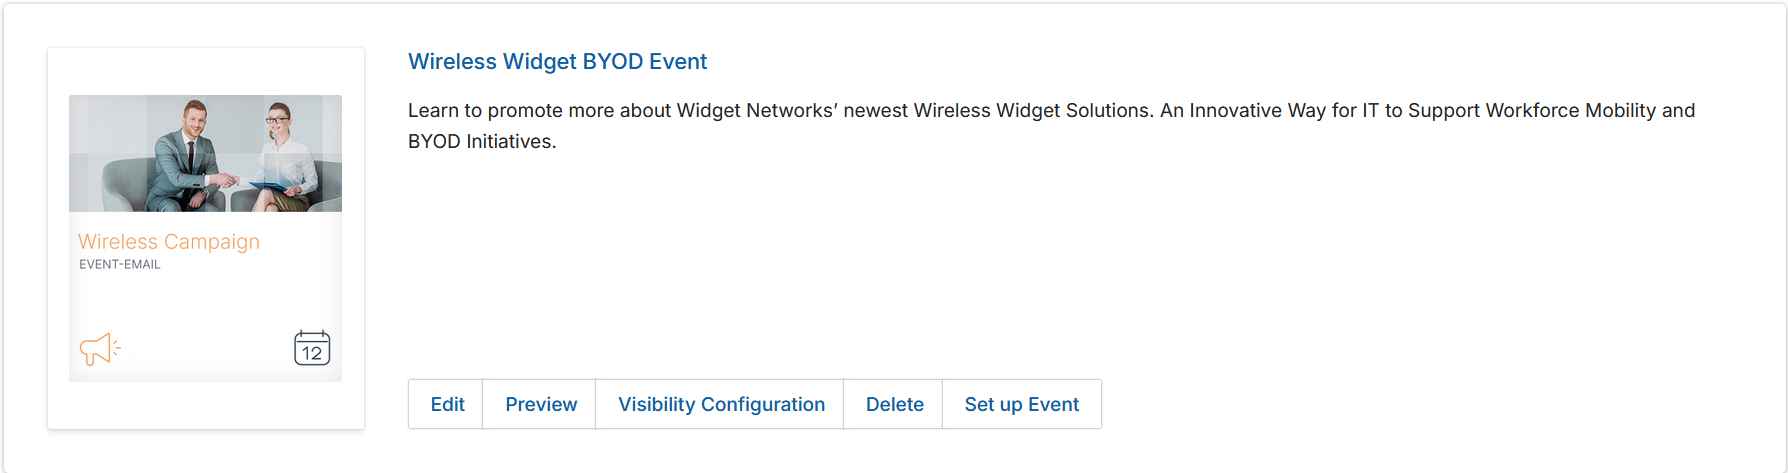
Each event card in the list exposes a set of action buttons. Their functions are described below:
- Add — Creates a new event. Click Add at the top of the View Events page.
- Edit — Opens the Add/Edit an Event page to modify the content and layout of an existing event.
- Preview — Displays a read-only preview of an existing event.
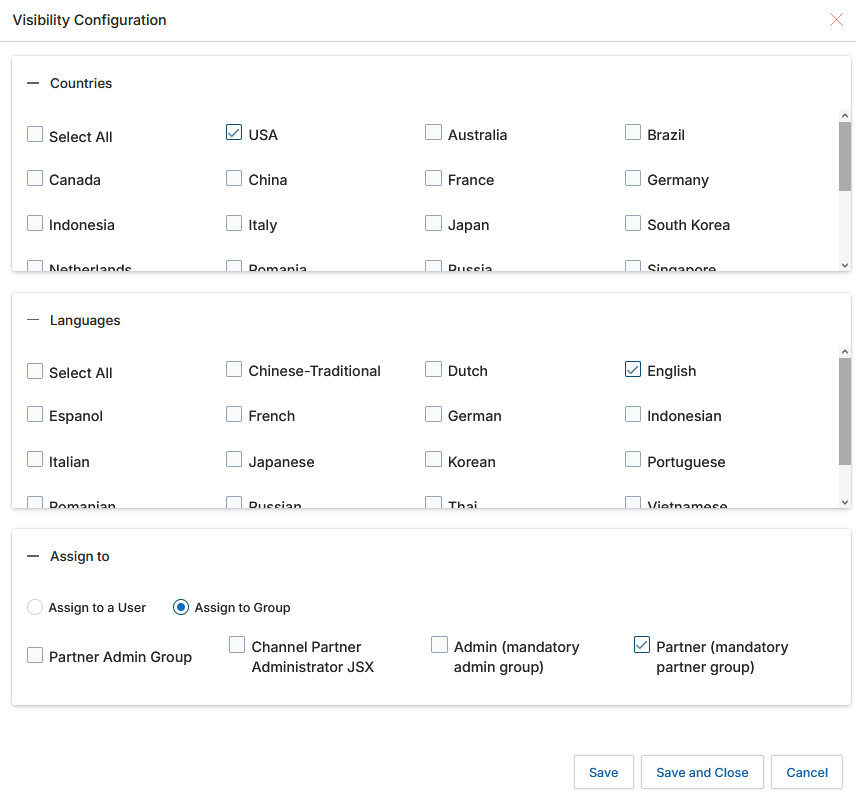
- Visibility Configuration — Opens a popup where you can specify visibility criteria including Countries, Languages, and Assignment to a User/Group. Choose your selections and click Save.
- Delete — Permanently removes an event.
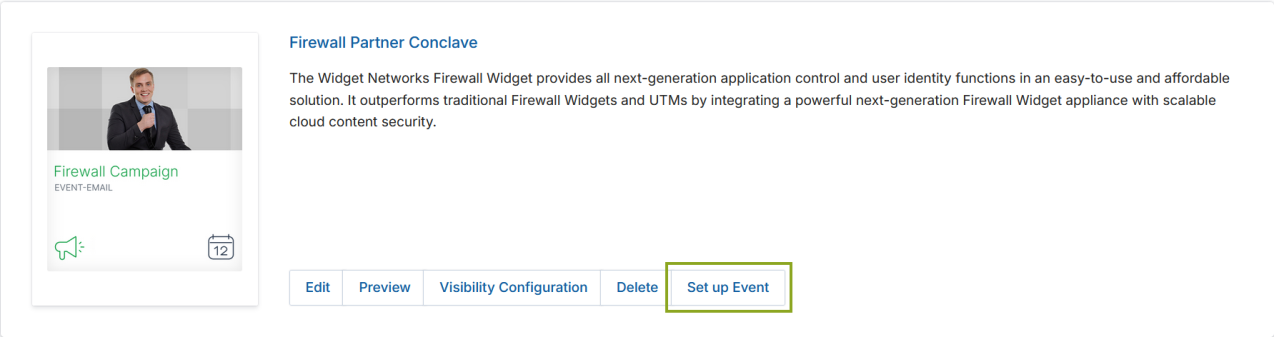
- Set up Event — Opens the Set-Up Event workflow to update or modify details of an existing event.

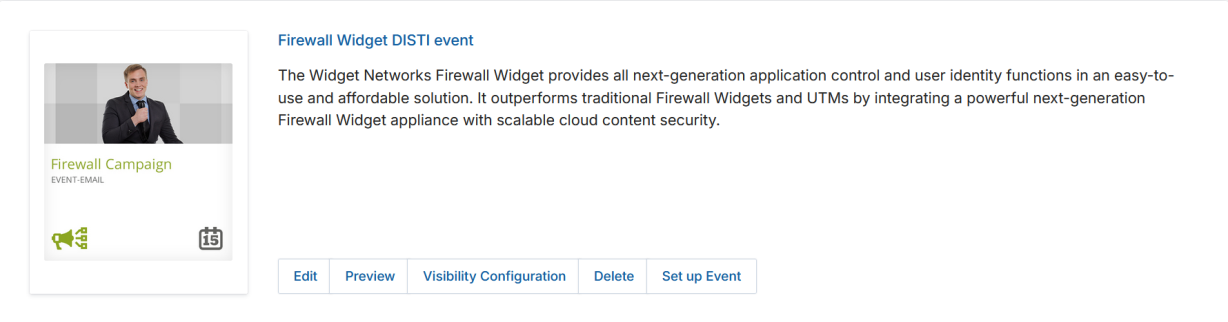
2.4 List View & Thumb View
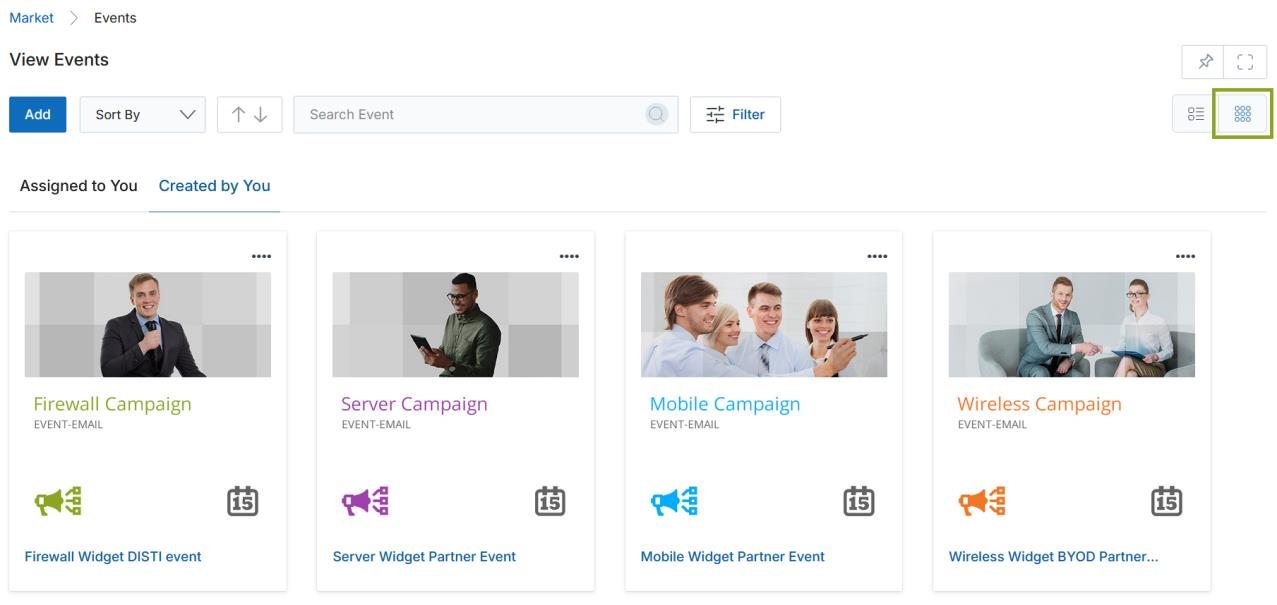
The View Events page offers two display modes:
- List View (default) — Displays events as expandable cards in a vertical list.
- Thumb View — Displays events as a thumbnail grid. Toggle between views using the icons in the upper-right corner of the View Events page.
2.5 Filtering Events
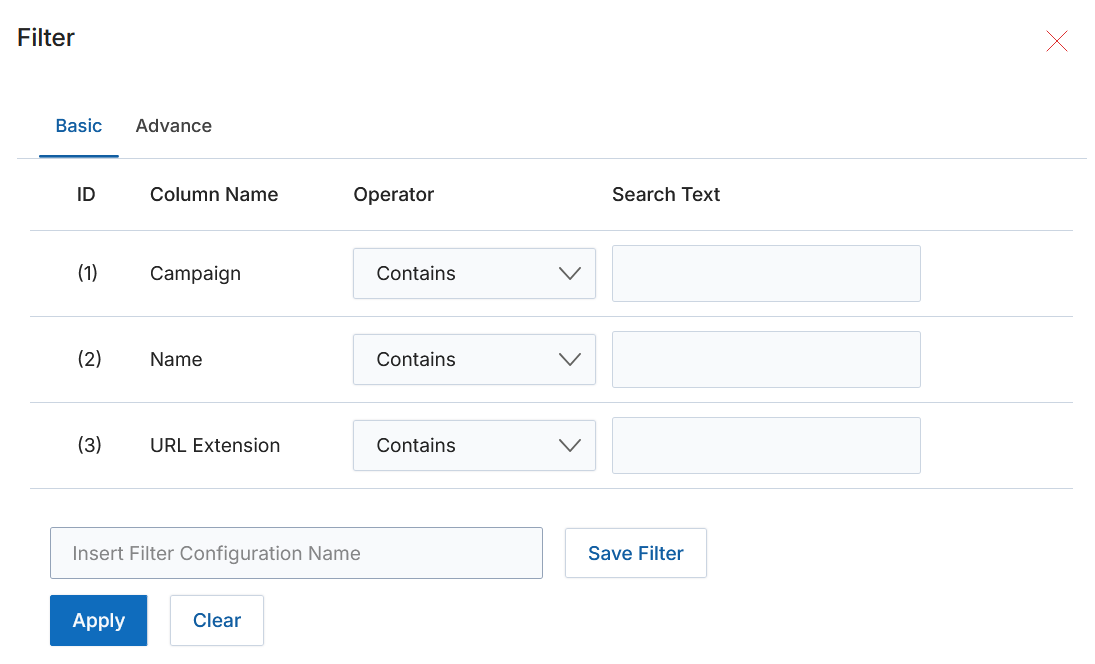
To search for a specific event in the list, click the Filter button. You can filter campaigns based on the following parameters:
- Campaign — An entry field to search for events associated with specific campaigns.
- Name — Type a keyword to search for events that contain that keyword in their name or title.
- URL Extension — Search for a specific event by its URL extension.
Setting Up of an Event
The Set Up Event workflow allows you to create a copy of an existing event and configure its details across four guided steps: selecting event metadata, defining the event parameters, modifying pages, and saving.
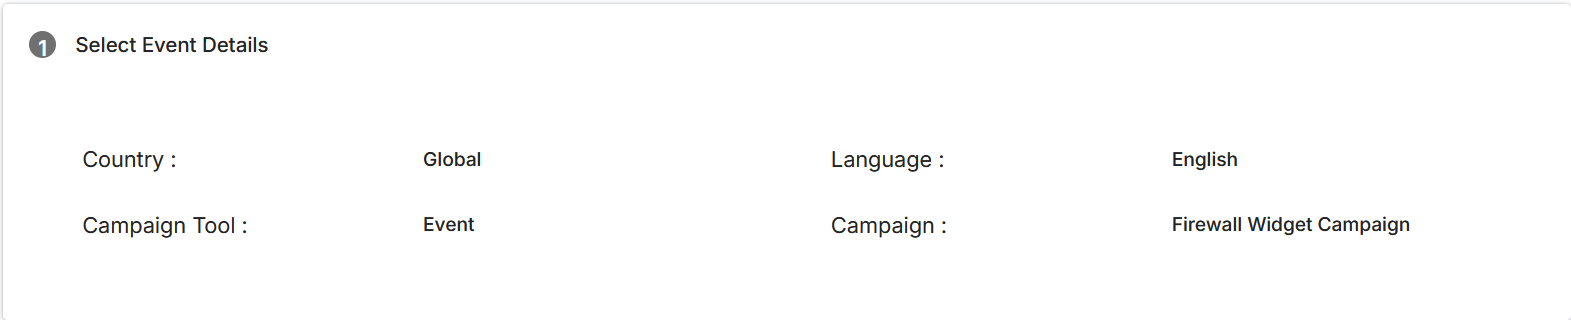
3.1 Step 1 — Select Event Details
Click the Set up Event button on any event card to launch the Set-Up Event page. The Select Event Details section is read-only and provides a summary of the Campaign, Language, Country, and Campaign Tool associated with the selected event.
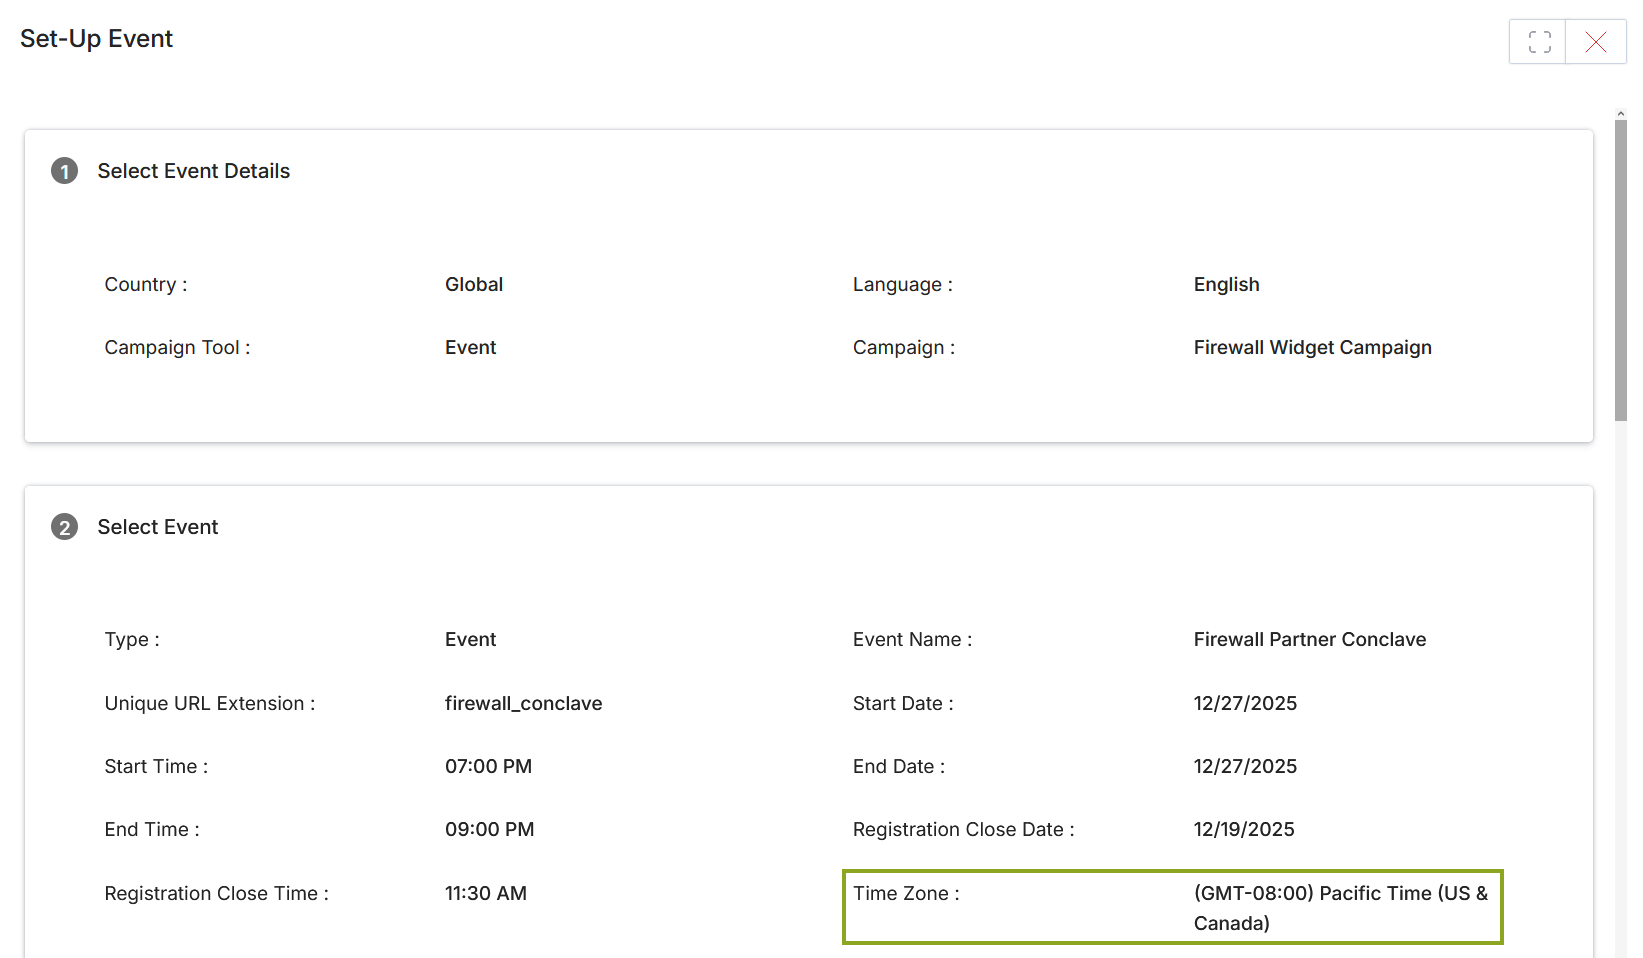
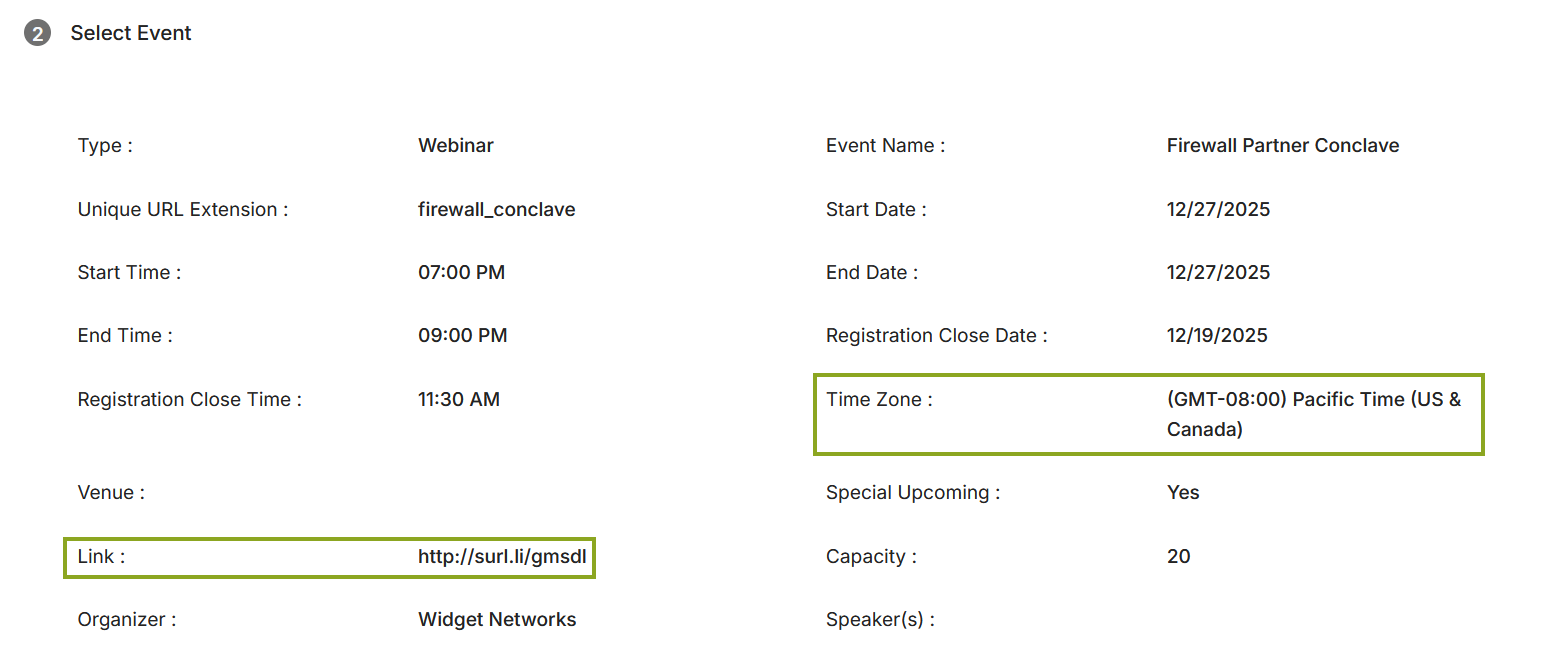
3.2 Step 2 — Select Event
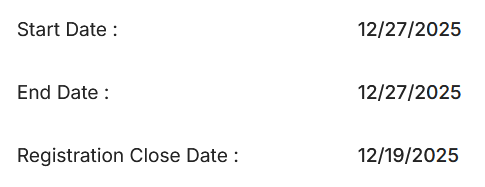
The Select Event section displays preliminary information about the selected event, including the Type, Event Name, Start/End Dates and Times, Registration Close Date and Time, Time Zone, Venue, and Organizer.
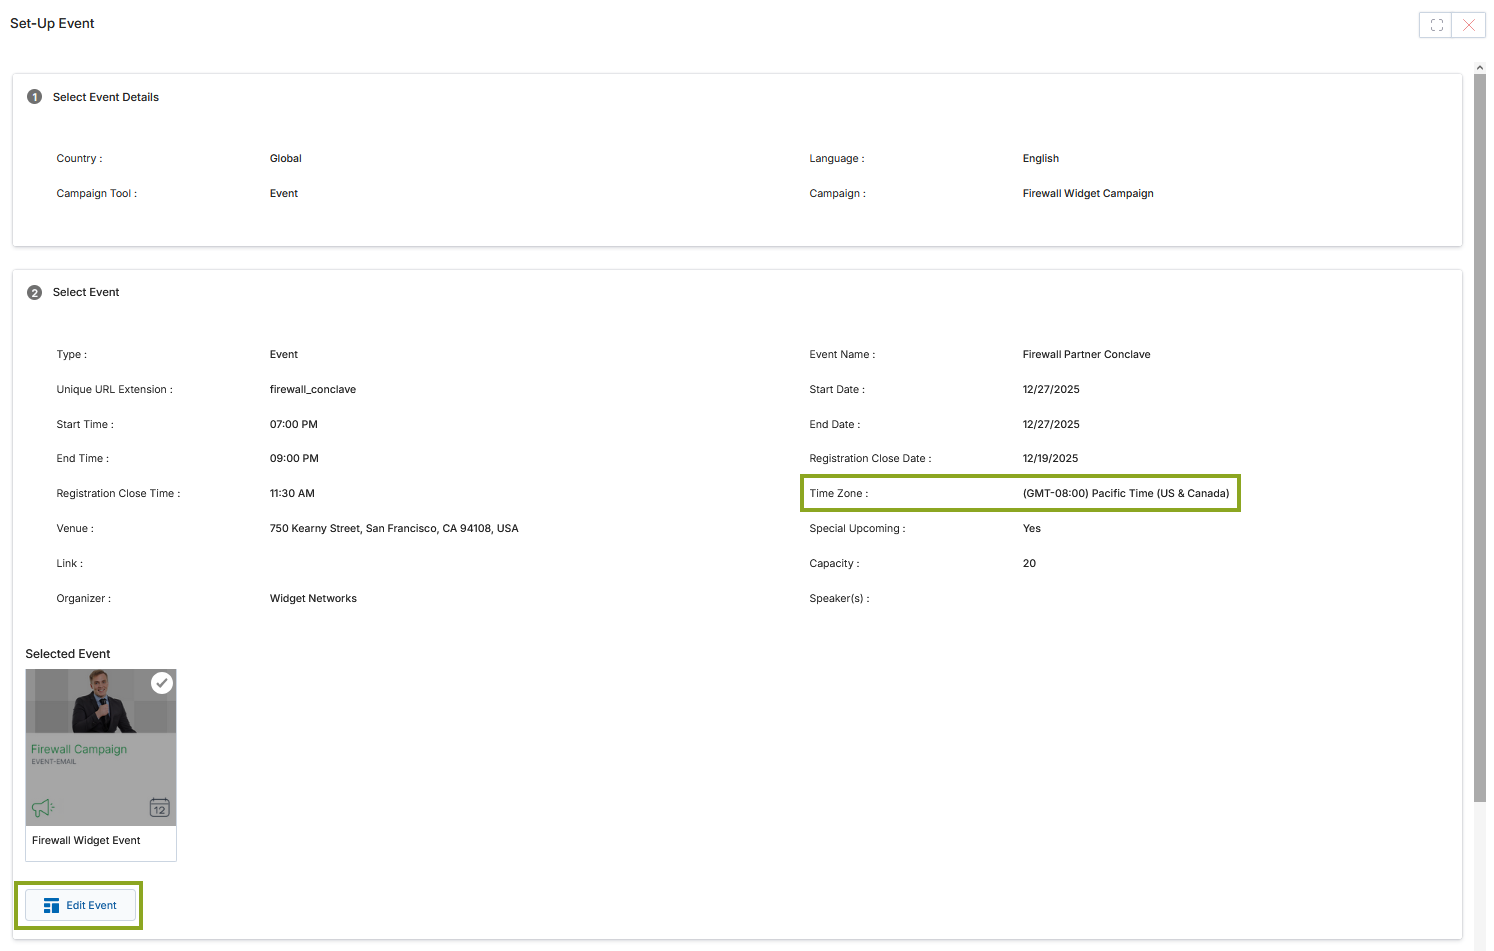
To edit any field in this section:
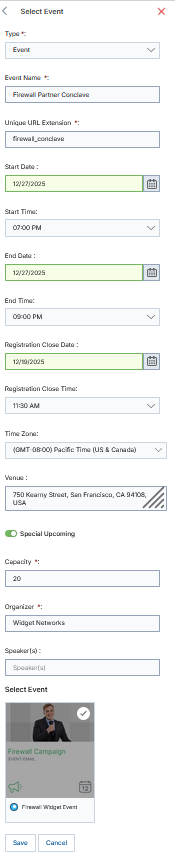
- Click the Edit Event button. A slide-out panel opens on the right side of the screen.
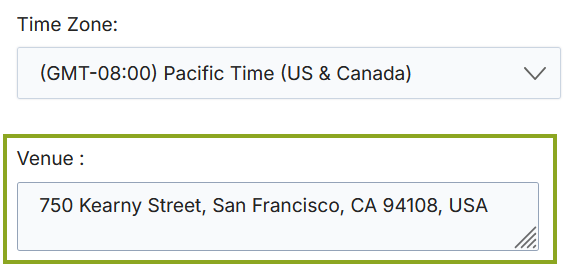
- Update the required fields. The Time Zone is pre-populated from the user profile but can be changed via the dropdown.
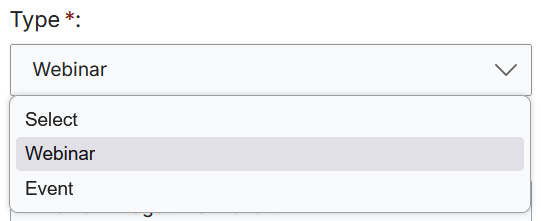
- Select the Type of event from the dropdown:
- Event — For in-person physical events. A Venue text field appears to capture location details.
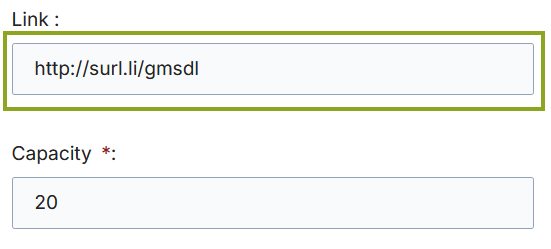
- Webinar — For online webinars. A Link field appears to provide the join URL.
- Enter Capacity (mandatory) and Organizer (mandatory).
- Edit Start Date, Start Time, End Date, End Time, Registration Close Date, and Registration Close Time as needed.
- Click Save once all changes are made.

3.3 Step 3 — Modify Pages
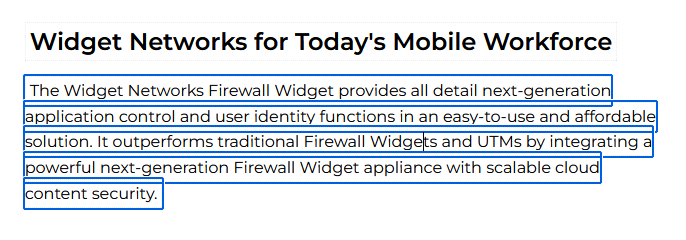
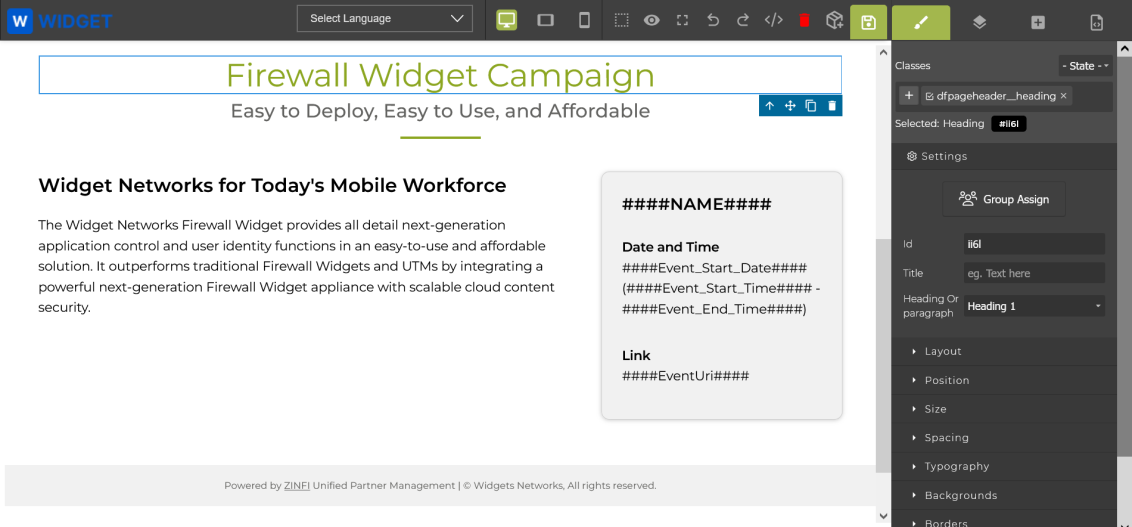
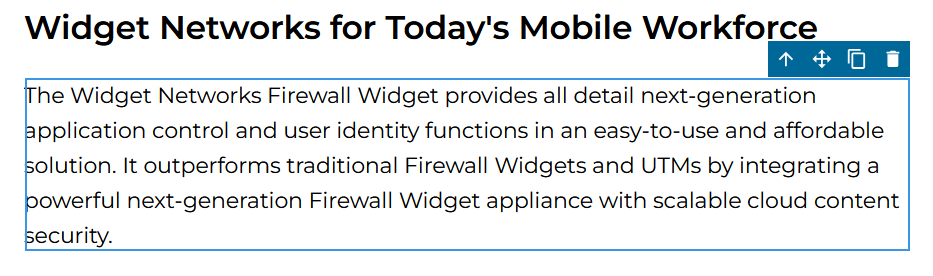
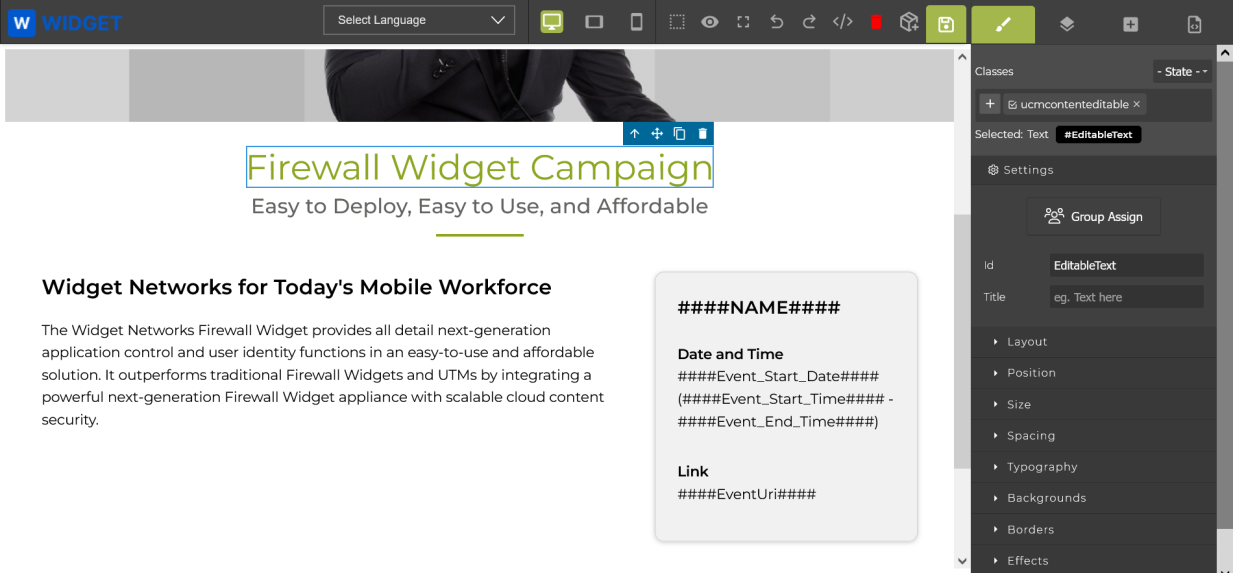
In the Modify Pages section, each event page is listed with an associated toggle. Click the Page icon (which turns into a Pencil icon when active) to open the page editor on the right side. Click any image or text in the editor to highlight that section and make inline edits.
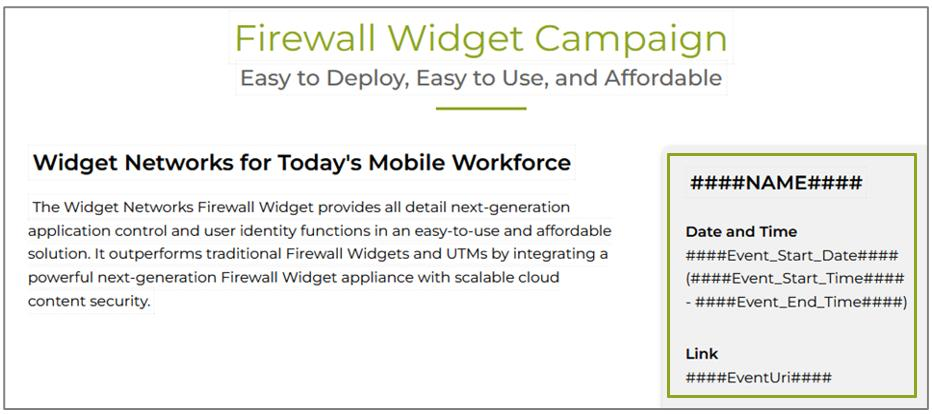
If HTML sections require dynamic content that should be populated at view-time for partners, add hash codes (e.g., ####NAME####, ####Event_Start_Date####) as placeholders. When the event is assigned to a partner, ZINFI replaces the hash codes with the actual values.

3.4 Step 4 — Save Event
Once all details are provided, click Save Event to commit all changes. Click Preview to view a rendered preview of the event template before saving.
View Event Details
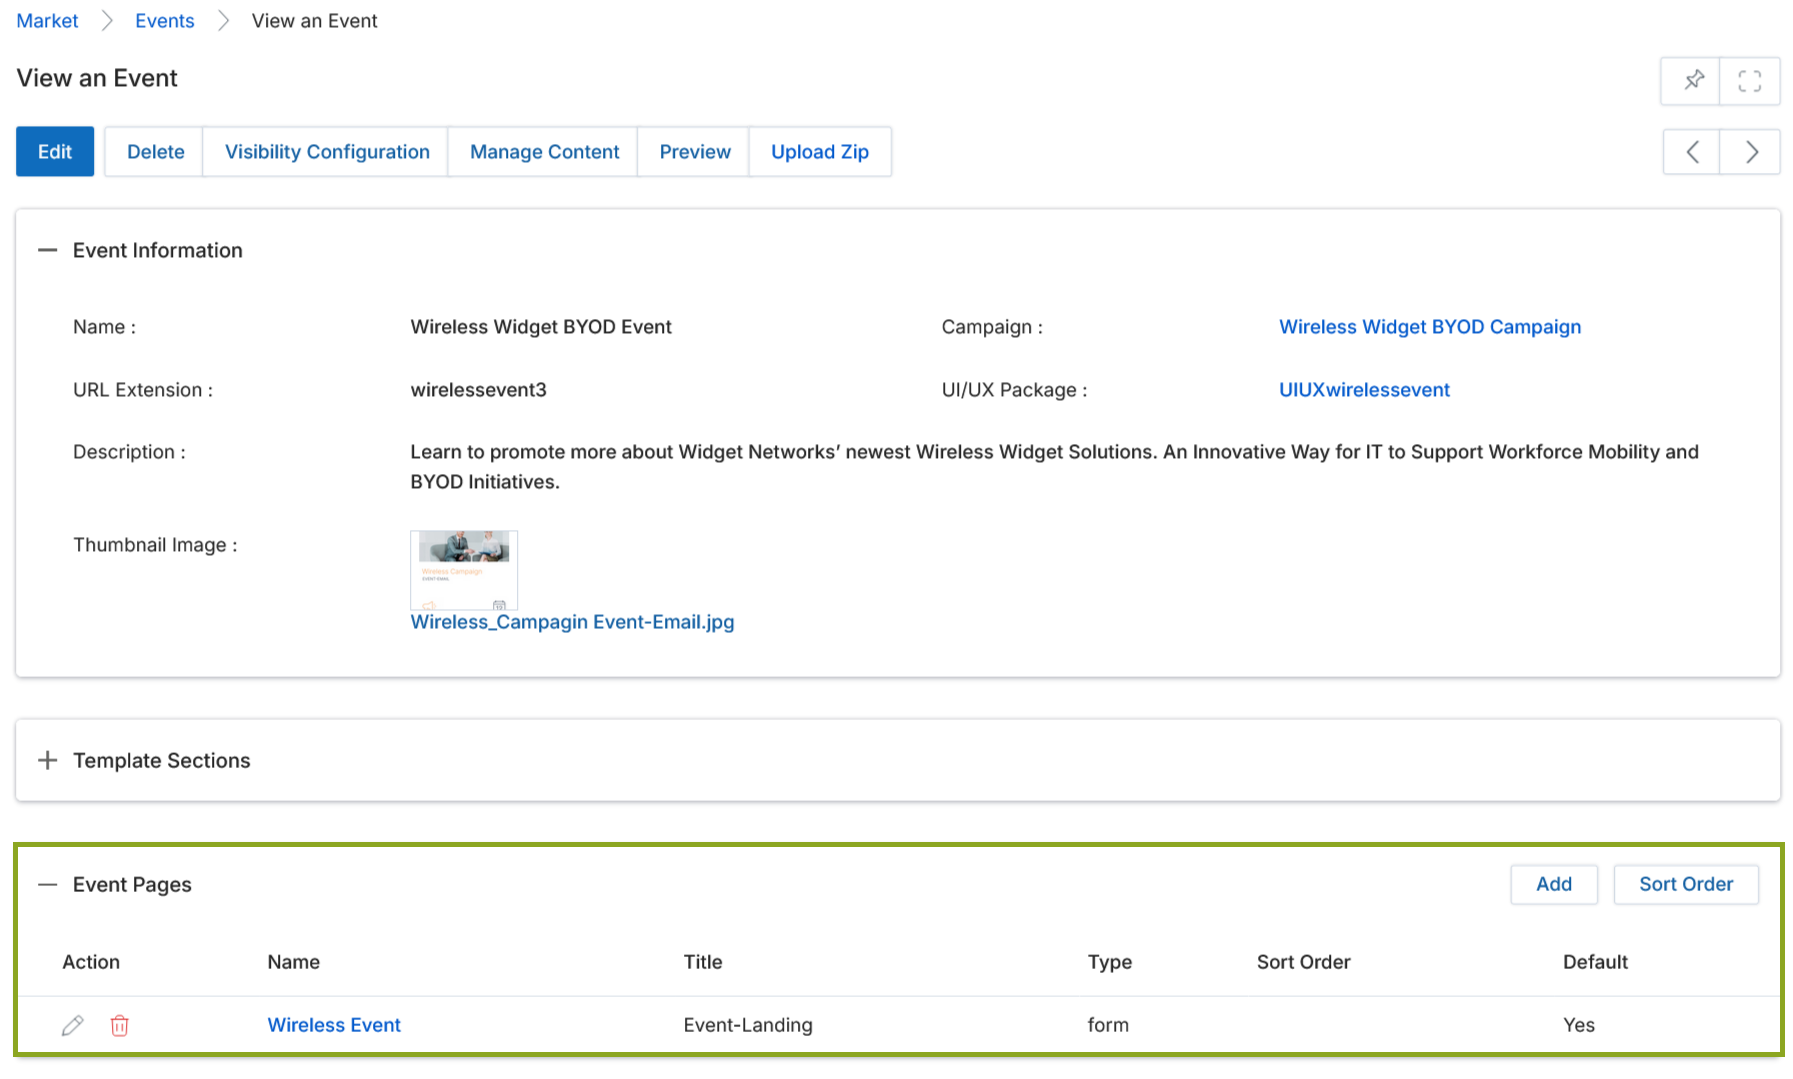
Clicking the blue event name title in the View Events list navigates to the View an Event detail page, where you can inspect and manage all attributes of the event.
4.1 Action Buttons
The top toolbar of the View an Event page provides the following actions:
- Edit — Opens the Add/Edit an Event page to modify event content and layout.
- Delete — Permanently removes the event.
- Visibility Configuration — Specifies Country, Language, and User/Group assignment criteria for the event.
- Manage Content — Launches the Drag & Drop CMS Editor for full page template editing.
- Preview — Displays the rendered event template with all current edits applied.
- Upload Zip — Uploads a zip file containing template assets.
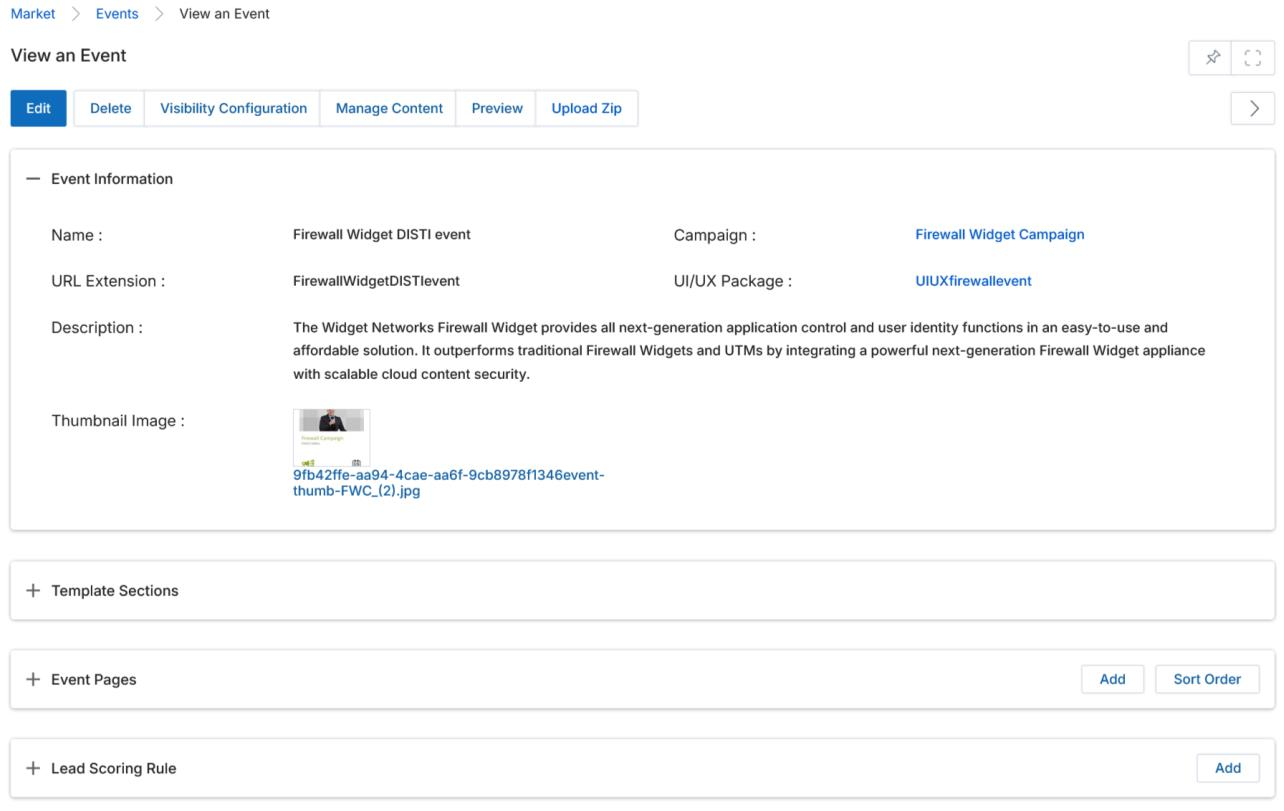
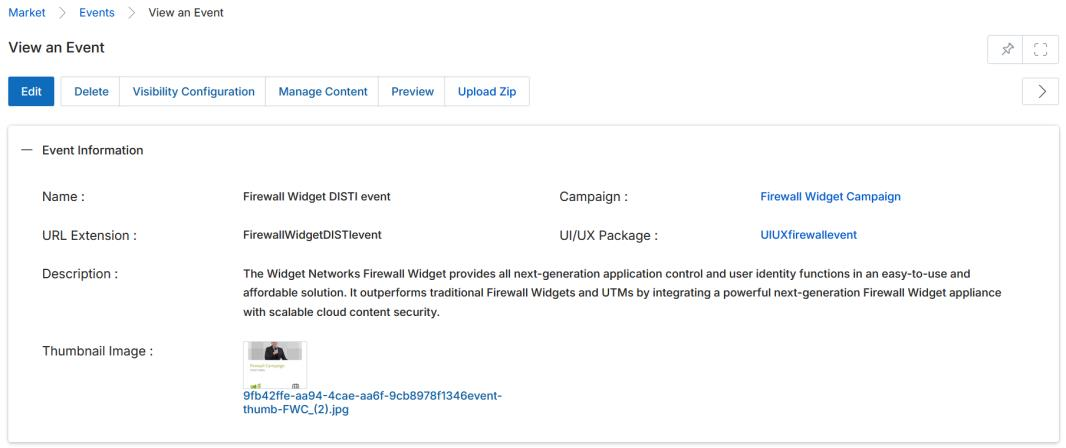
4.2 Event Information Fields
| Field | Description |
|---|---|
| Event Name | The name of the event. |
| Campaign | The campaign associated with this event (linked). |
| URL Extension | The unique URL slug for the event's registration page. |
| UI/UX Package | The design package applied to the event pages (linked). |
| Thumbnail Image | The thumbnail image file attached to the event. |
| Description | A brief description of the event shown in the event card. |
4.3 Template Sections
| Section | Description |
|---|---|
| Header | A rich-text area for important notes or announcements to appear at the top of event emails. |
| Footer | A rich-text area for important notes or legal text to appear at the bottom of event emails. |
4.4 Event Pages
The Event Pages section lists all pages associated with the selected event. Click Add to create a new page, or click the pencil icon to edit an existing one. The Sort Order button reorders pages.

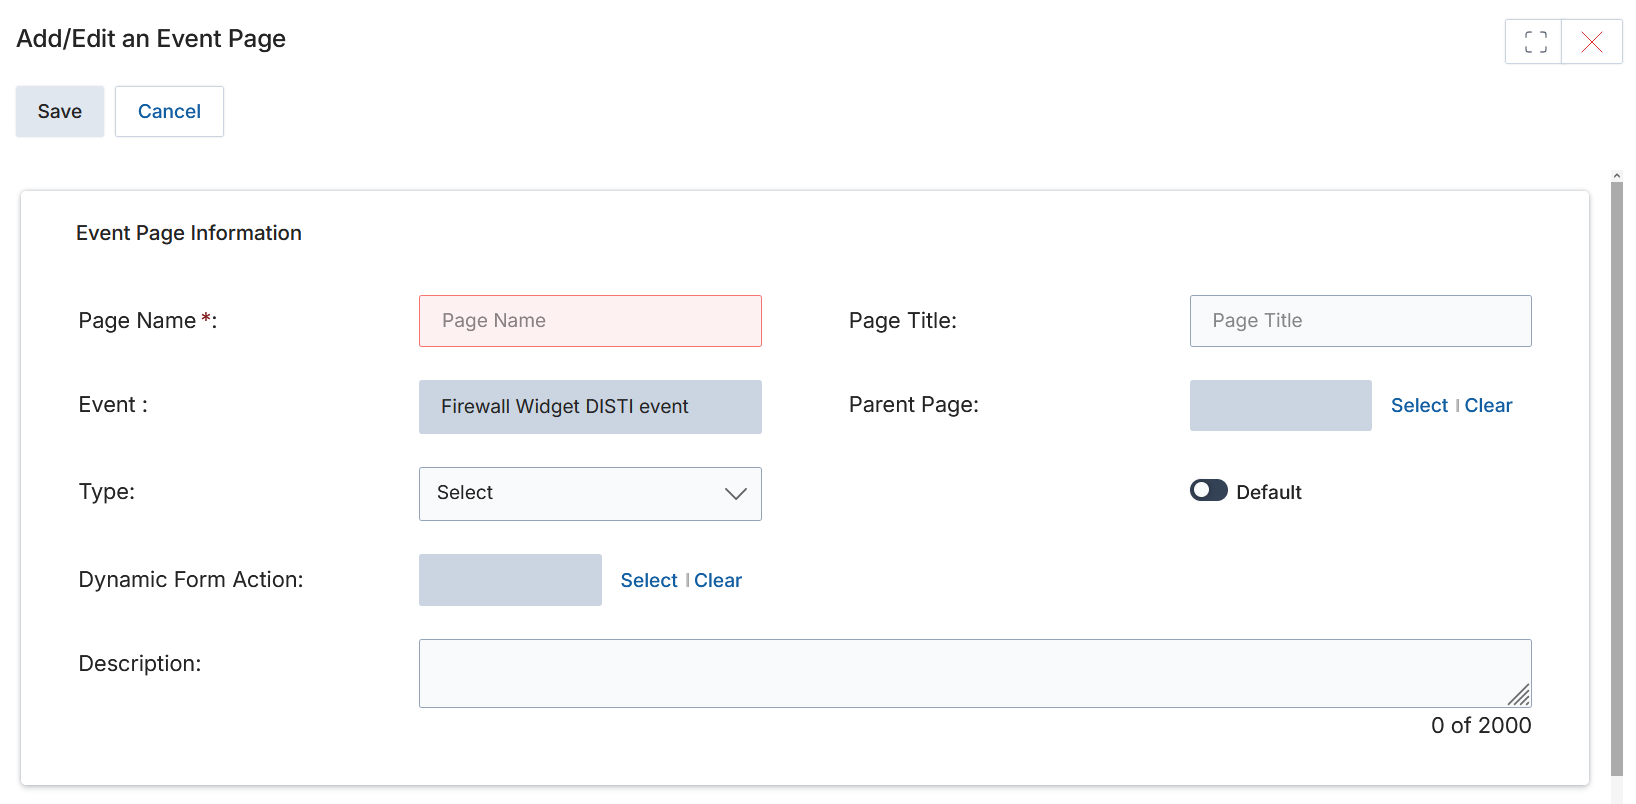
Event Page Information Fields
| Field | Description |
|---|---|
| Page Name | The internal name of the event page. |
| Page Title | The display title of the page. |
| Event | The parent event to which this page is associated. |
| Parent Page | The page under which the current page sits in the hierarchy. |
| Type | Content — Specifies HTTP content type via header. Form — Handles HTML form submission via HTTP POST. |
| Sort Order | Numeric sort position starting from 1. Controls the display order of pages. |
| Default | When enabled, sets this page as the default for the event. |
| Dynamic Form Action | Associates a dynamic form (from the UPM forms library) with this page. The form's application must match the page's intended use (e.g., Prospect, PartnerContacts). |

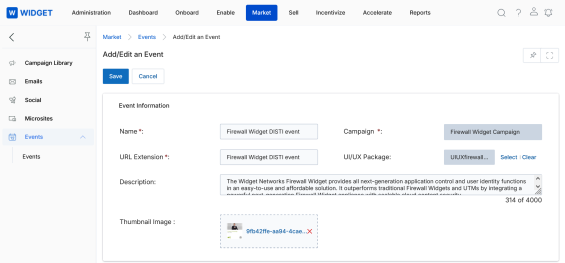
Add/Edit an Event
The Add/Edit an Event page is accessed by clicking Add (to create a new event) or Edit on an existing event card. It provides full control over event metadata and email template sections.
5.1 Page Actions
- Save — Saves all current page information.
- Cancel — Exits the page without saving changes.
5.2 Event Information Fields
| Field | Required | Description |
|---|---|---|
| Event Name | Yes | The name of the event. |
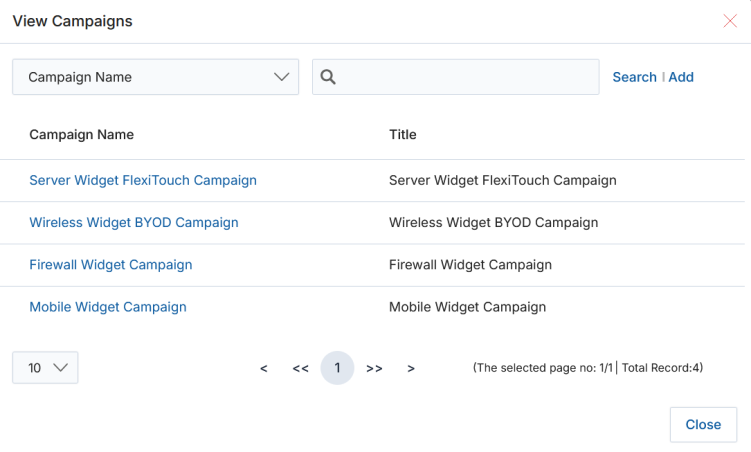
| Campaign | Yes | Click Select to open the campaign picker and choose the associated campaign. |
| URL Extension | Yes | A unique URL slug for the event's registration landing page. |
| UI/UX Package | No | Click Select to assign a UI/UX design package from the available list. |
| Thumbnail Image | No | Browse and attach the thumbnail image for the event card. |
| Description | No | A brief description displayed on the event card. |
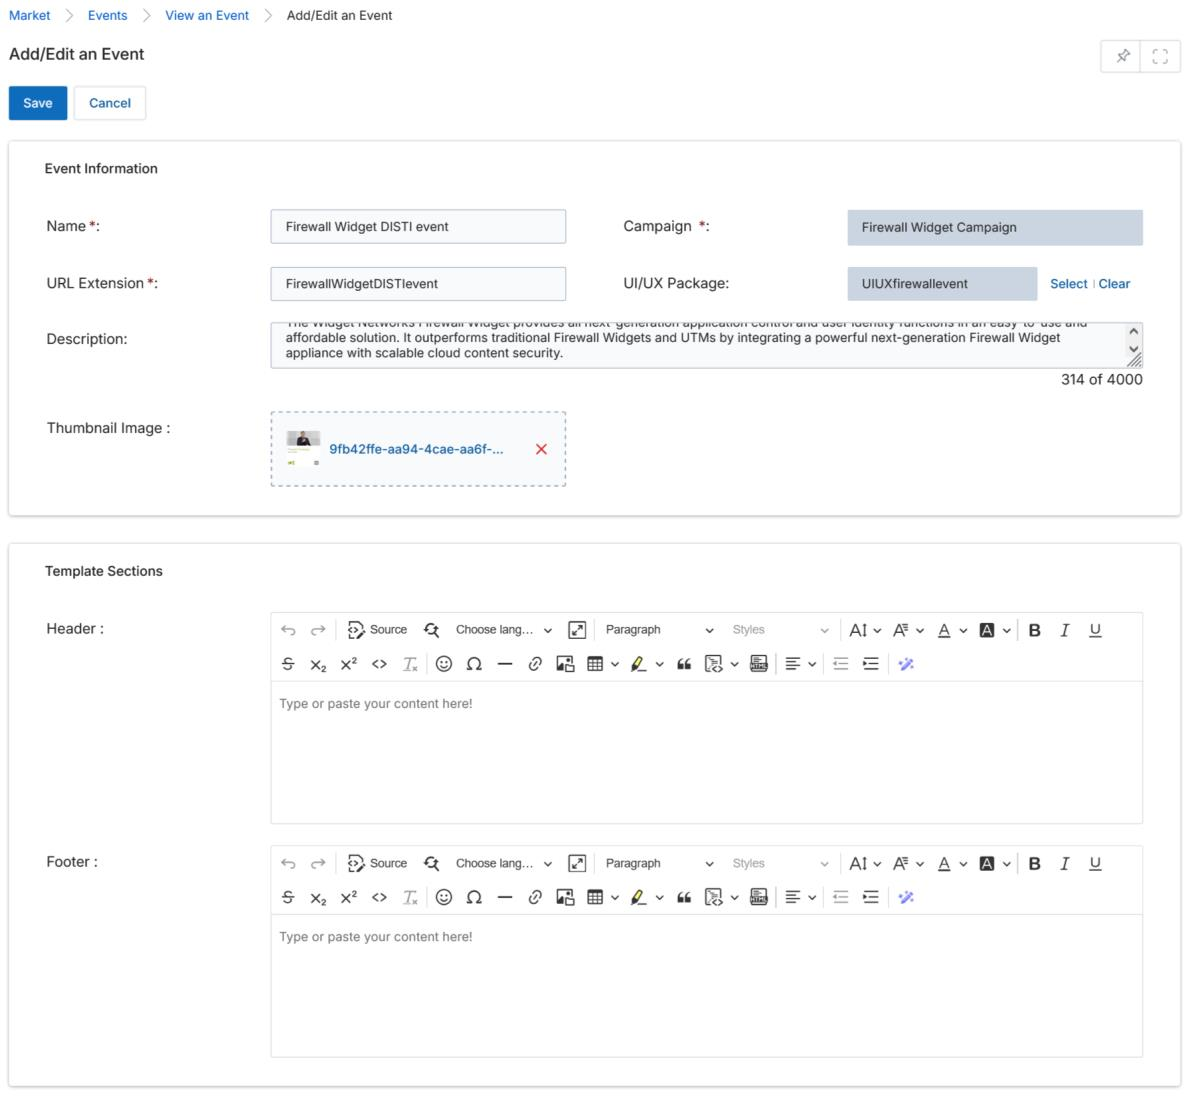
5.3 Template Sections
- Header — A full WYSIWYG editor for important notes or announcements at the top of event emails.
- Footer — A full WYSIWYG editor for important notes or legal copy at the bottom of event emails.
Creating & Editing Your Event Pages
Event pages can be edited using two methods: the WYSIWYG Editor (inline editing within the Set Up Event workflow) or the Drag & Drop CMS Editor (accessed via the Manage Content button on the View an Event page). The CMS Editor also supports language translation via the Google Translate plug-in.
6.1 Using the WYSIWYG Editor
The WYSIWYG editor is available within the Modify Pages step of the Set Up Event workflow. Use the standard toolbar tools to add and format content. Click the Source button (upper-right of the toolbar) to switch to raw HTML editing mode. Unclick Source to return to the rendered view. Use the insert image tool (the "mountain scene" icon) to add images at the cursor position.
6.2 Using the Drag & Drop CMS Editor
- In the View Events list, click the blue event title to open the View an Event page.
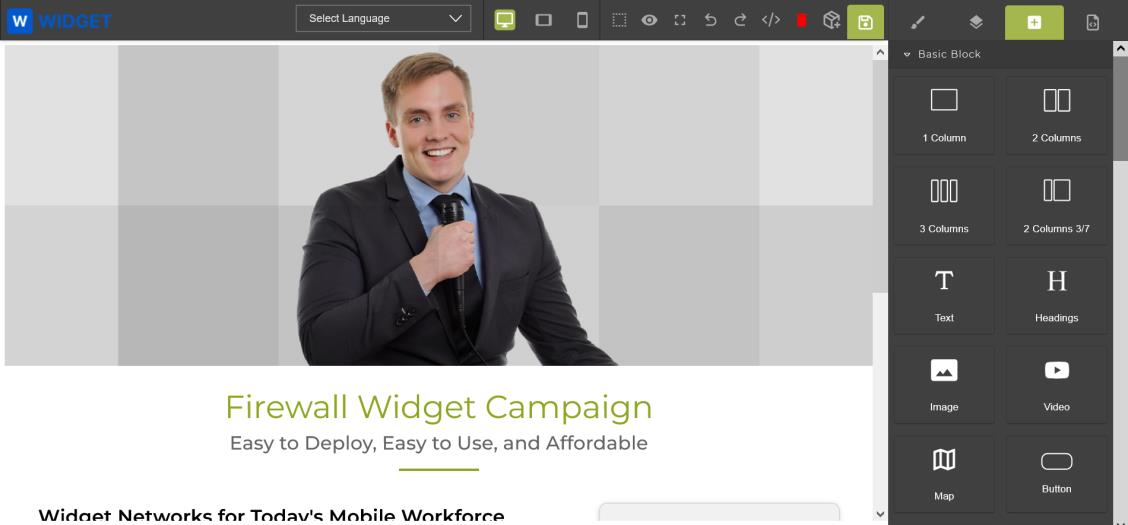
- Click the Manage Content button. The Drag & Drop CMS Editor opens.
- Use the right-hand sidebar to drag and drop layout components (1 Column, 2 Columns, Text, Heading, Image, Video, Button, Map, etc.) onto the canvas.
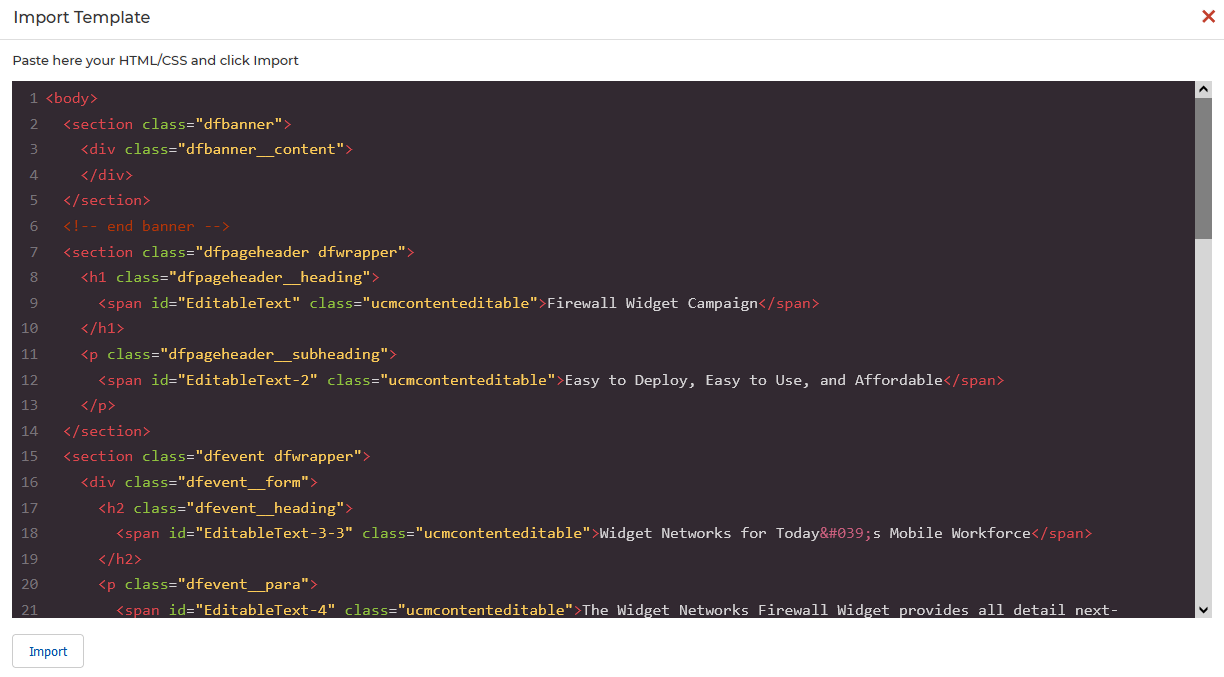
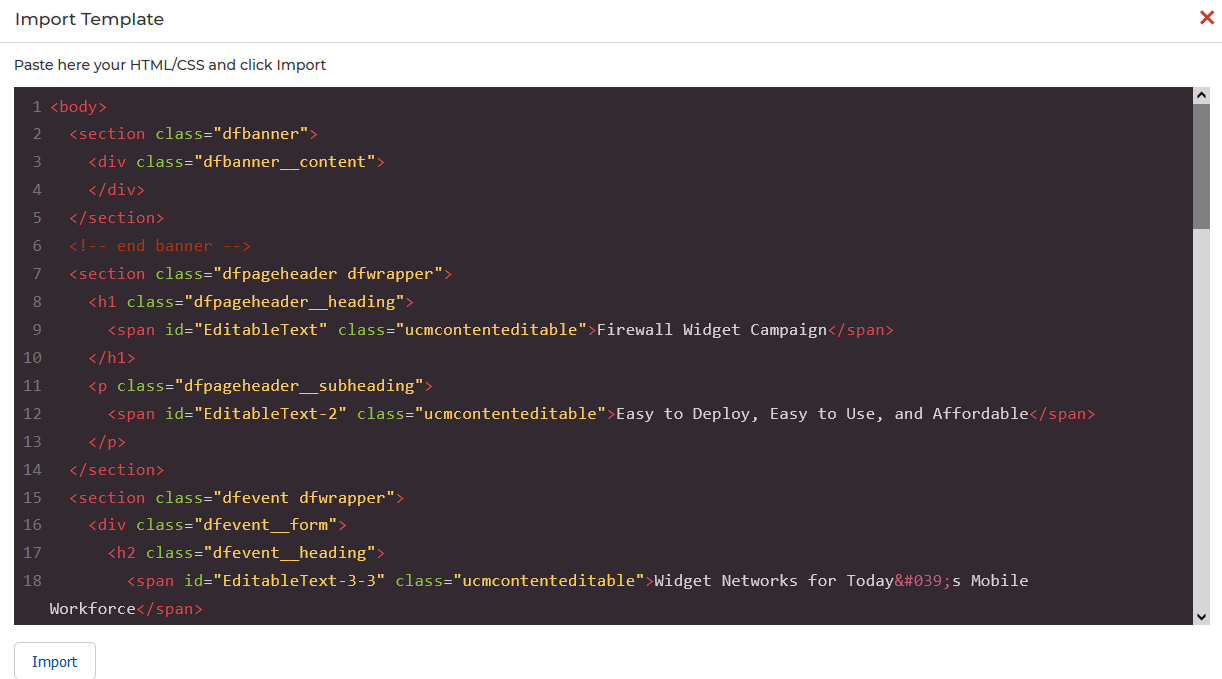
- Alternatively, click the HTML Editor icon to open the Import Template window and paste pre-built HTML/CSS directly. Click Import to render it.
- Click any element on the canvas to access move, duplicate, and delete controls.
- Double-click any section to activate inline WYSIWYG editing tools for that element.
- Click the paint brush icon in the right sidebar to access advanced styling tools: dimension management (size, padding, margins), typography (font size, family, color, alignment), and decoration (borders, backgrounds).
- Click the disk icon (upper-right) to save your work.
6.3 Translating Your Event into Another Language
- In the View Events list, click the blue event title to open the View an Event page.
- Click Manage Content to enter the Drag & Drop CMS Editor.
- Click the Select Language dropdown in the Google Translate bar (located in the middle of the editor toolbar).
- Select the target language (e.g., Spanish). The page content is instantly translated.
- Review the translation to confirm accuracy of wording and phrasing, then click Save.

6.4 Making Zones/Sections Editable or Non-Editable
By default, sections in your event template may be locked or unlocked for partner editing. Control this via the HTML editor within the Drag & Drop CMS Editor:
- In the Drag & Drop CMS Editor, select the element and click the HTML Editor icon.
- Locate the
<span>or<div>tag surrounding the content you want to control. - To make content editable by partners: add the attribute
class="ucmcontenteditable"to the tag. - To make content non-editable (locked): remove the
class="ucmcontenteditable"snippet from the tag.
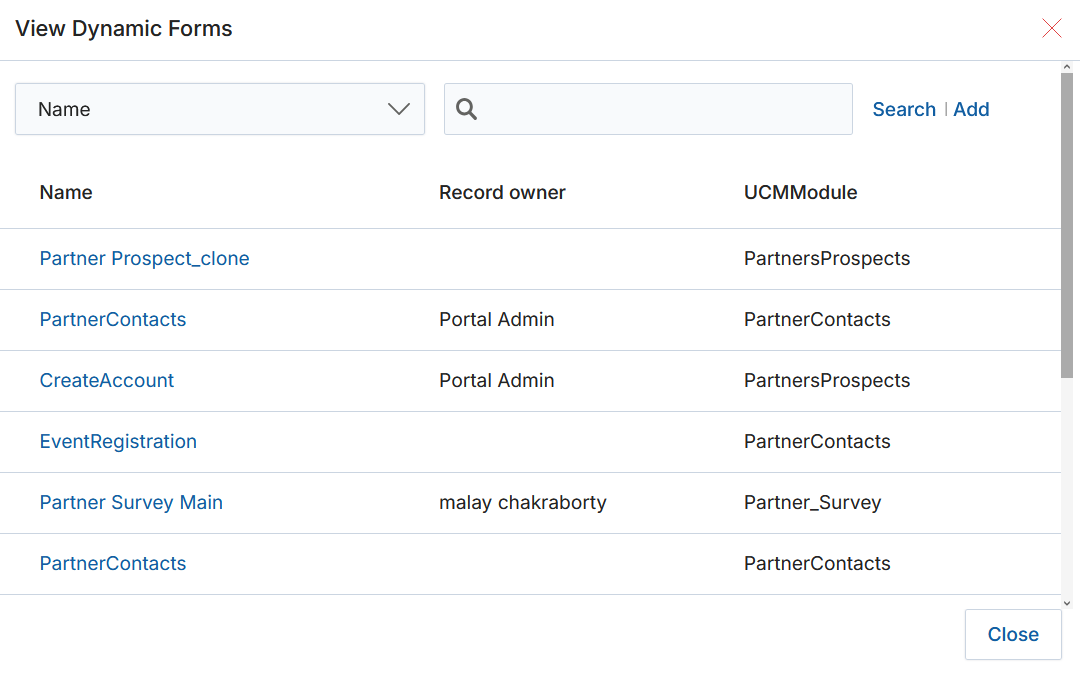
Tagging a Dynamic Form to an Event Page
Dynamic forms created in the UPM platform can be embedded directly into event landing pages, enabling prospect registration data to be captured and stored in the appropriate UPM module (e.g., PartnerContacts, Prospects).
7.1 Prerequisites
7.2 Tagging Steps
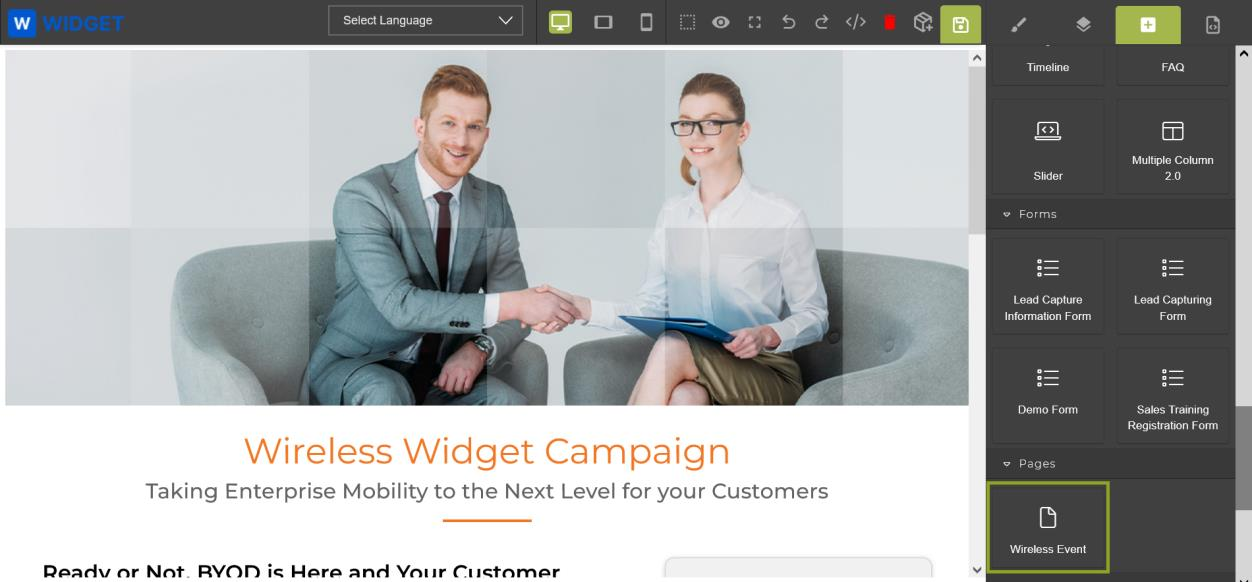
- In the View Events page, click the name of the event you want to tag the Dynamic Form with.
- On the View an Event page, scroll down to the Event Pages section. Identify the page where you want to associate the Dynamic Form (e.g., Wireless Event).
- Click the Wireless Event page to confirm its Dynamic Form Action is set to the correct application (e.g., Prospect) and its Type is form.
- Return to the View an Event page and click Manage Content to enter the CMS editor.
- In the CMS editor, navigate to the target event page using the page selector in the lower-right corner.
- Click the Open Blocks button (far right). Scroll down to the Forms section.
- Drag the desired Dynamic Form (e.g., Demo Form) from the Forms panel and drop it into the blank space on the canvas.
- Click the Save button to commit the integration.

Once the Dynamic Form is tagged and saved, the Wireless Event Page can capture Prospect information when the corresponding campaign is executed.
Executing an Event
Events in ZINFI UPM are not executed directly from the Events module. Instead, they are launched through the Campaign Library using the campaign associated with the event.
- Navigate to Market > Campaign Library.
- Find the campaign that has the event associated with it and click Get Started.
- On the Campaign Information intermediate page, locate the Event tile and click Launch.
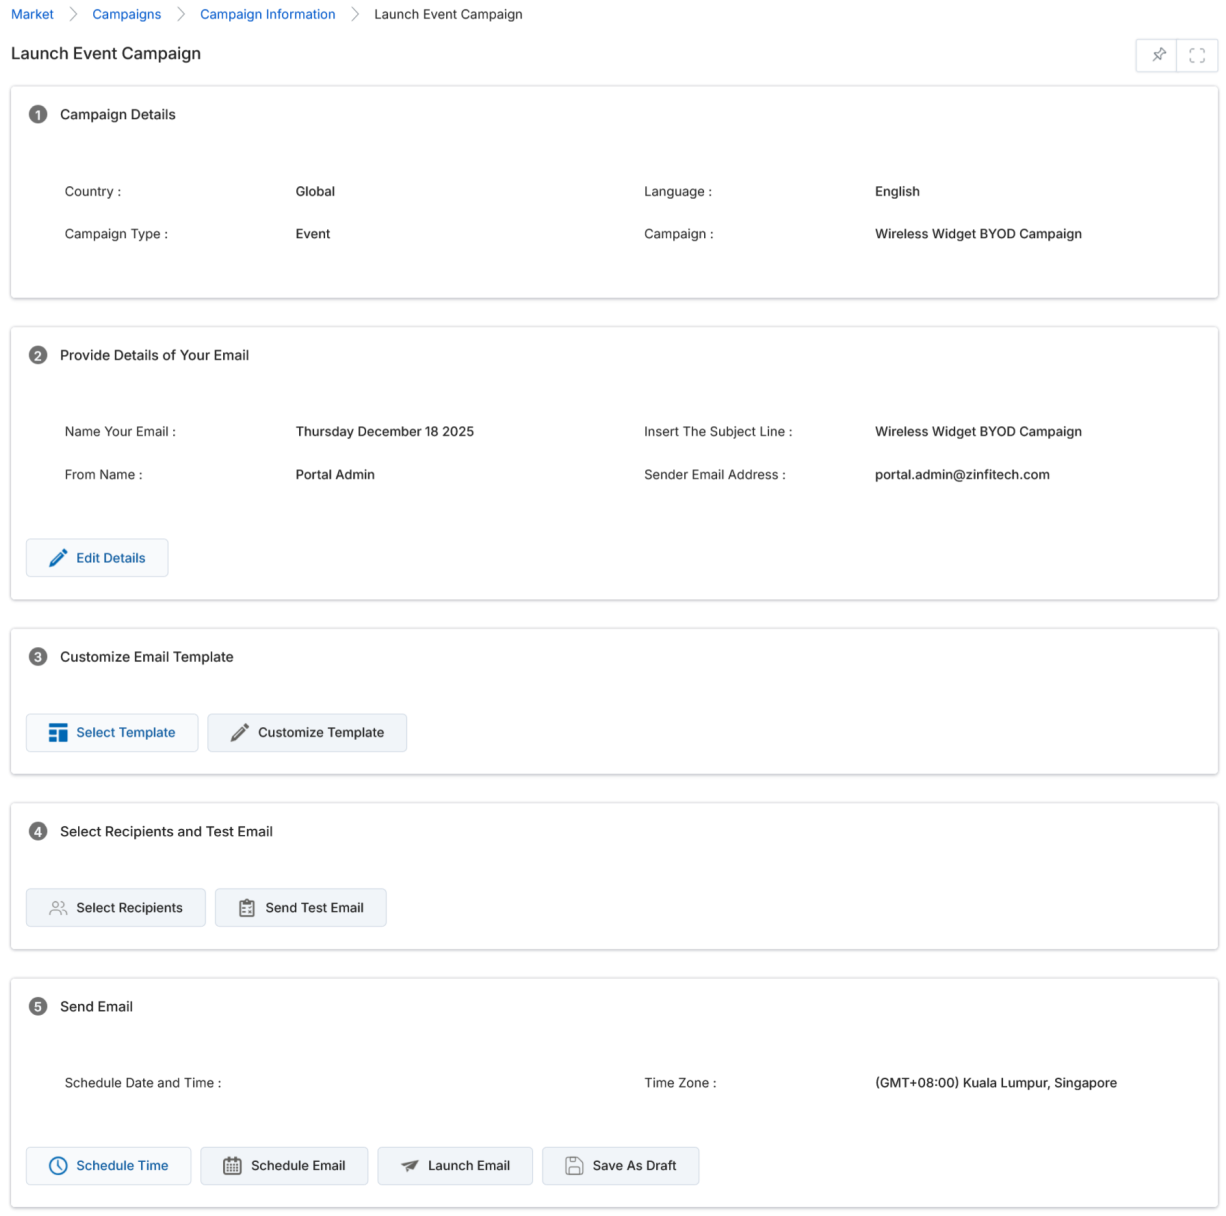
- The Launch Event Campaign page opens. Review or update the following configuration sections:
- Campaign Details — Shows Country, Language, Campaign Type, and Campaign name (read-only).
- Provide Details of Your Email — Edit the email name, subject line, from name, and sender email address via the Edit Details button.
- Customize Email Template — Click Select Template to pick an email template or Customize Template to edit inline.
- Select Recipients and Test Email — Click Select Recipients to choose the audience or Send Test Email to preview delivery.
- Send Email — Schedule the send time via Schedule Time, queue it via Schedule Email, or fire immediately via Launch Email. Click Save As Draft to hold without sending.