
Introduction
The Co-branded Assets Management application, which is part of ZINFI's Partner Marketing Management (PMM) platform, allows you to access digital assets provided by your vendor, and then co-brand and reuse these assets for a variety of marketing- and sales-related activities.
ZINFI's Asset Management application allows you to upload and manage assets in various formats like HTML, HTML5, and PDF and make them available for your partners and sales teams to cobrand and market to end-users. The status of individual assets can easily be managed by your organization with the Publish and Expiration Date functionality. Multilingual capabilities enable your organization to manage assets globally across your channel network, allowing your country teams to enjoy localized content upload and management capabilities.
UPM's Asset Management tools can help you securely manage your digital media assets to increase productivity, reduce costs, and manage, repurpose, and automate content publishing and delivery — enabling new ways to communicate and generate new revenue streams. Channel partners can access and manage your digital media objects within their product catalogs and provide customers with a consistent, omnichannel experience. The golden rule of digital asset management: create once, reuse, and repurpose anytime, anywhere to maximize return on investment.

Asset Library
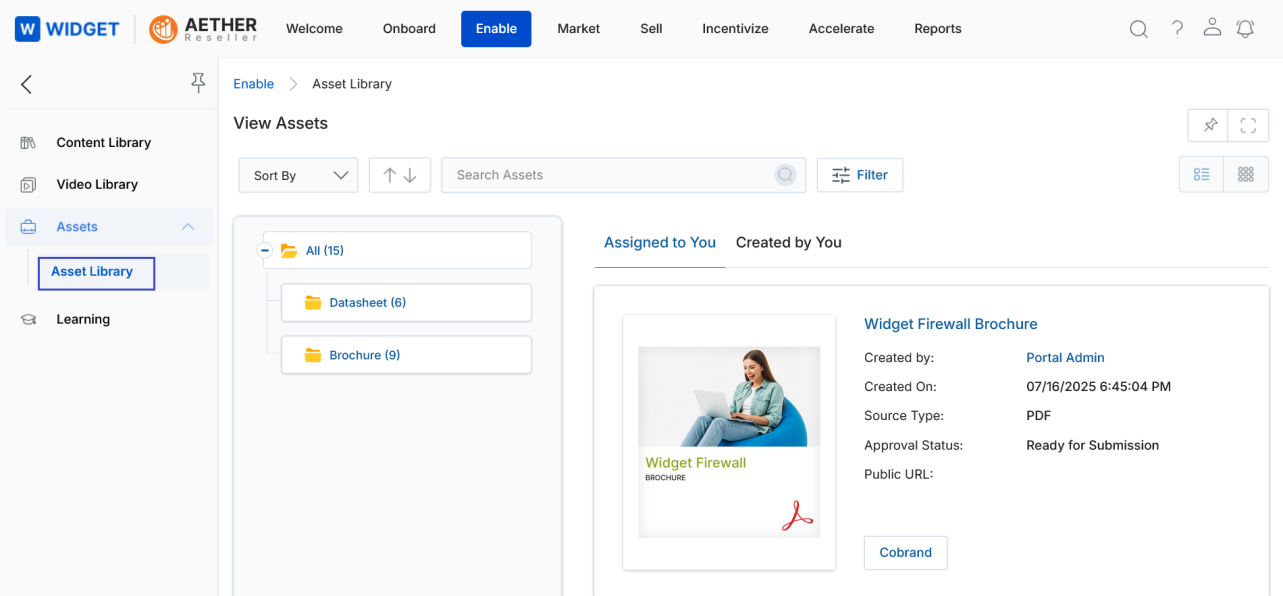
The Asset Library is the central hub where partner users browse, filter, sort, and act on vendor-provided assets. It is accessible from the Enable zone of the UPM portal.
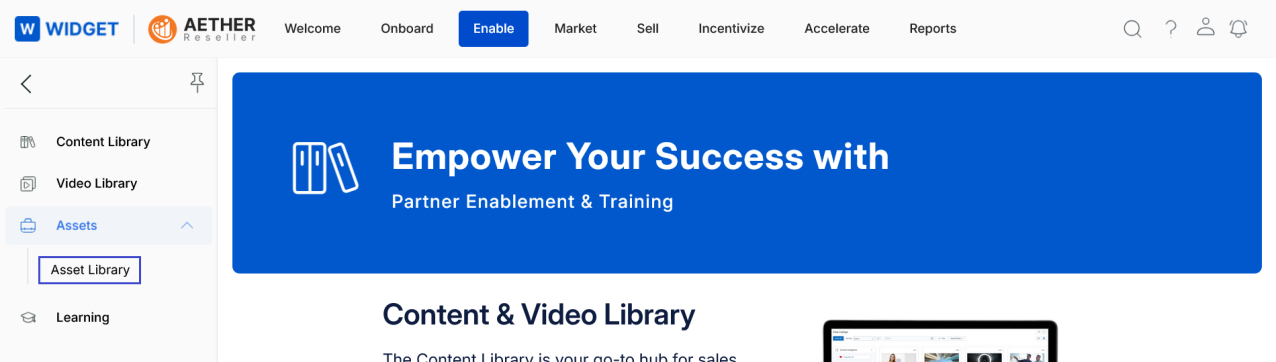
Accessing Assets
- Click the Enable zone from the top navigation menu.
- Click Assets > Asset Library from the left-hand menu to co-brand the existing assets assigned to you.
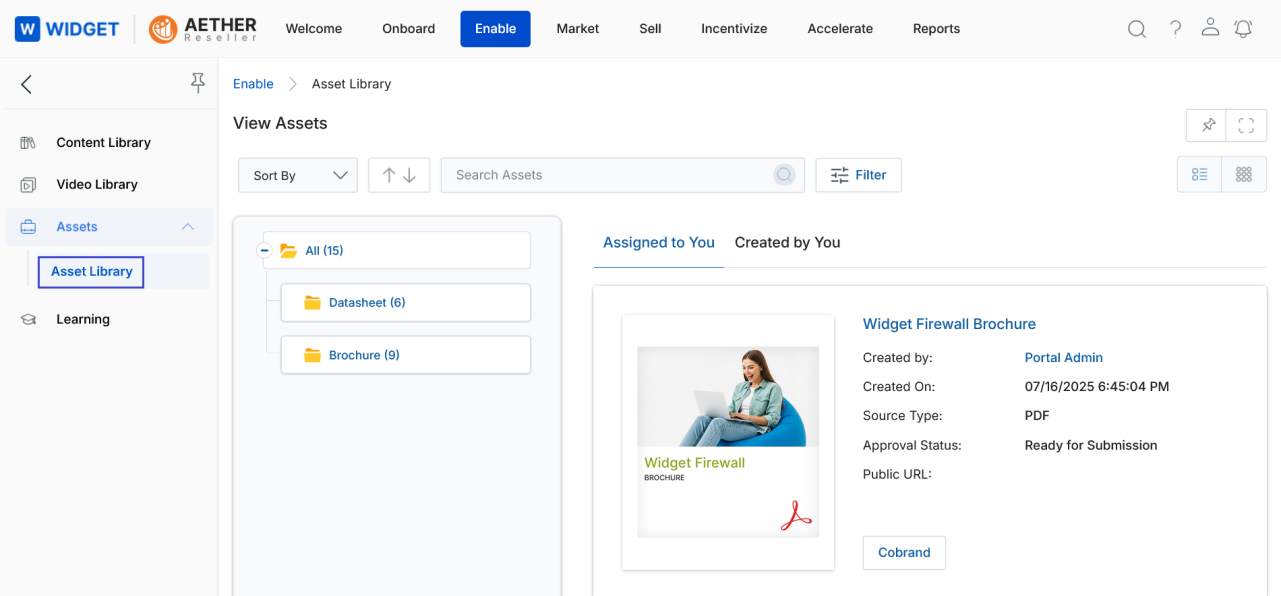
View Assets
- Clicking Asset Library from the left menu takes you to the View Assets page, where all the generated assets are displayed.
- Click either List View or Thumb View to change the visual arrangement of the assets.
-
List View Representation — A list of records where you can view one object at a time. Objects are arranged in a series of rows. Users can create custom List Views by applying filters and sorting options.
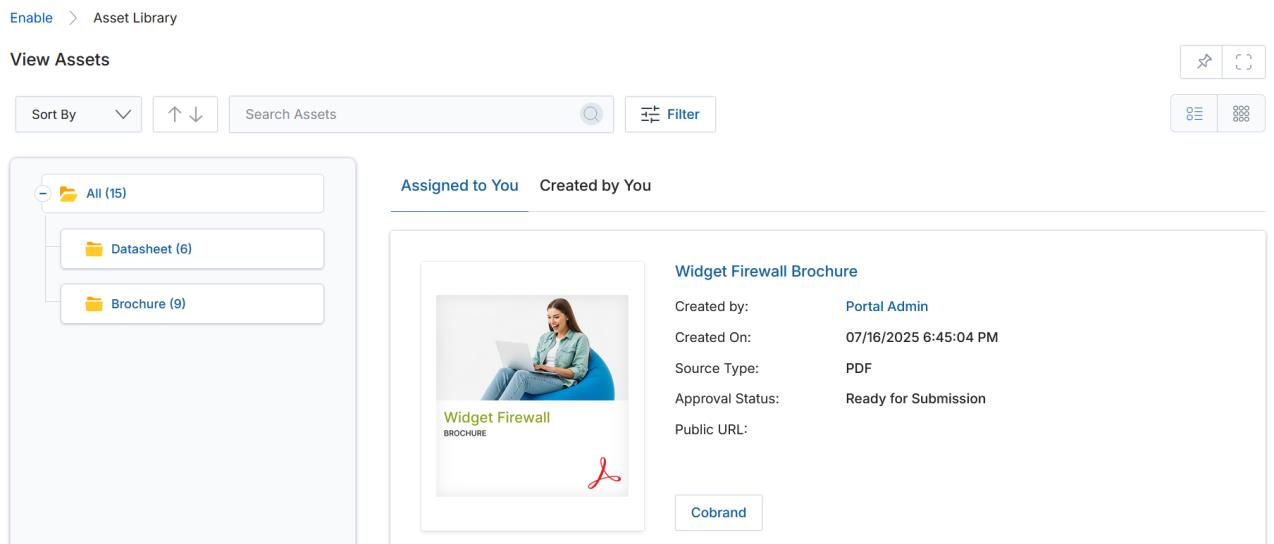
List View — asset details and the Cobrand button are visible without expanding any menu. -
Thumb View Representation — In the thumbnail view, click the three dots on the asset card to access further options: Edit, Visibility Configuration, Delete, Copy. In the list view, these options are already visible.
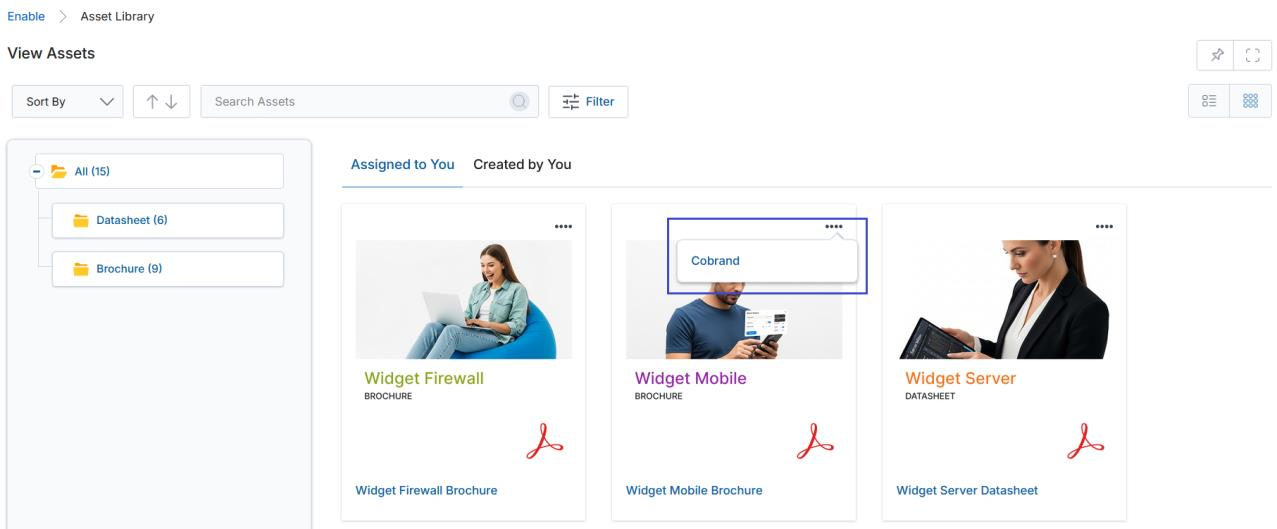
Thumb View — hover or click the ⋯ icon on a card to reveal the Cobrand option. -
Click the dropdown arrow in the Sort By box to sort assets by Created On, Modified On, or Asset Name.
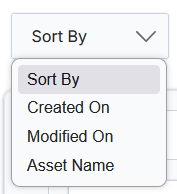
Sort By dropdown options. -
The Sorting Order Buttons (Ascending ↑ / Descending ↓) enable users to quickly sort content in ascending or descending order.
- The arrow indicators remain inactive when no criteria are selected in the Sort By field.
- The default sorting order can be defined from Workflow by selecting a value (Ascending or Descending) from the Order Type dropdown list.
- Click the Assigned to You tab to view assets assigned to you by OEM users, or click the Created by You tab to view assets that you have modified from the OEM-assigned originals.
-
Click the Filter button to search for a specific asset using the filter attributes below:
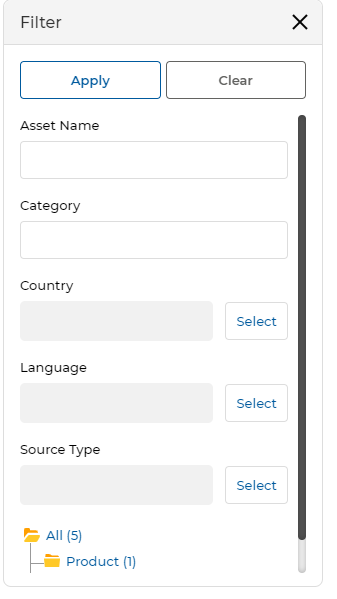
Filter panel — enter values in one or more fields and click Apply. - Choose different filter options and click Apply to show matching assets on the page.
- The filtered results display only the assets that match your selected criteria.
- The Filter pane can be closed by clicking the cross icon (X).
View Asset Details
- Click the Name/Title of any asset in the list to open the details page for that asset.
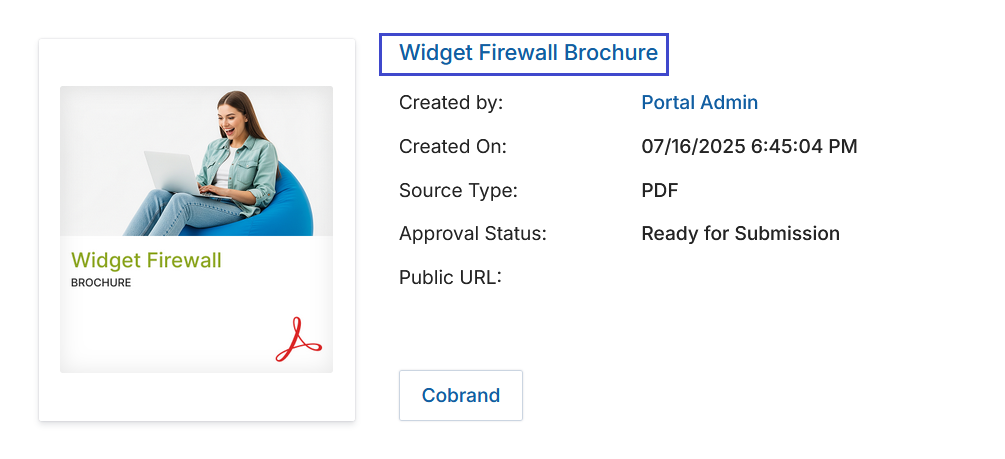
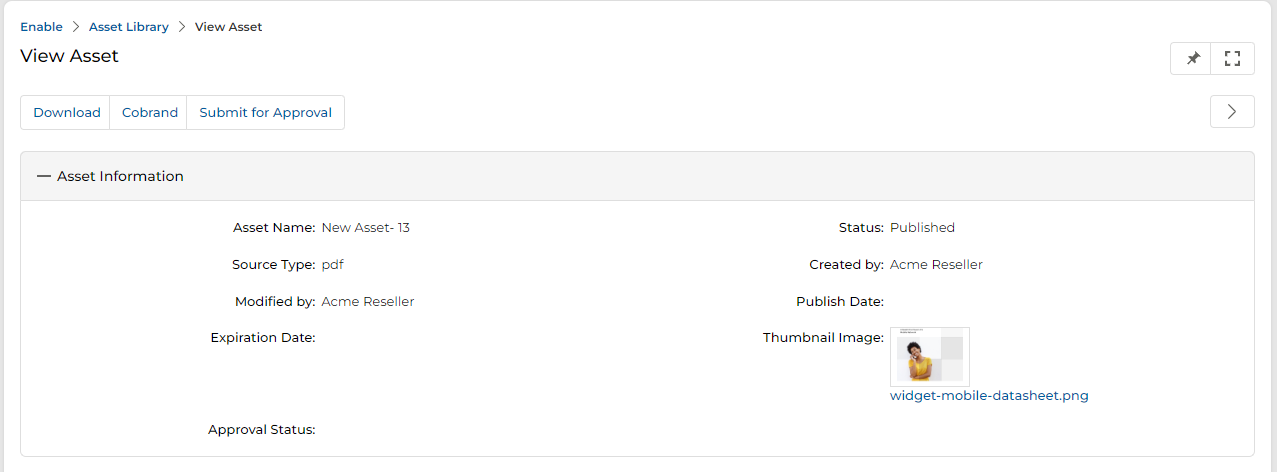
Click the asset name link to open the View Asset details page. - The View Asset page opens, providing the following action buttons at the top:
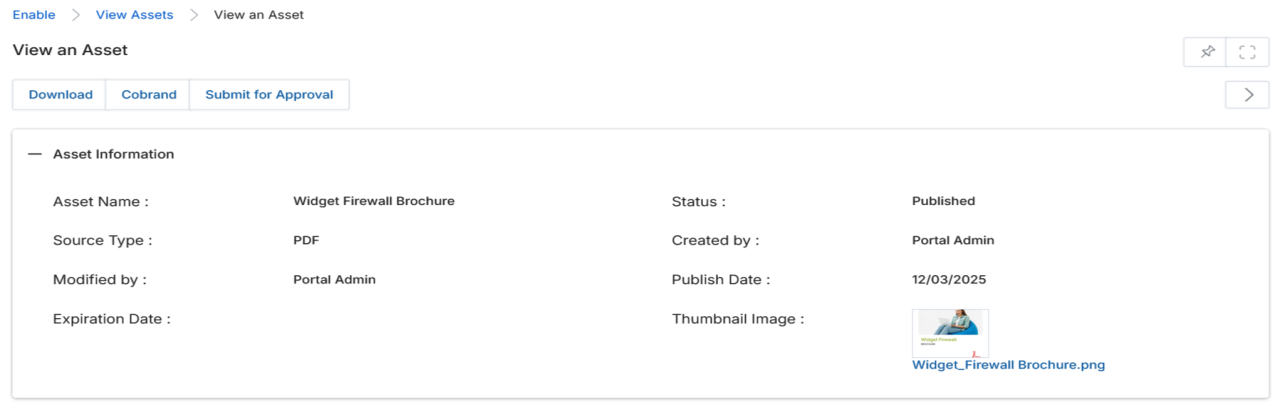
View an Asset page — action buttons and the Asset Information section. - Download — Downloads the selected asset in its original or co-branded format.
- Cobrand — Opens the Co-Brand Asset editor for the asset assigned to you.
- Submit For Approval — Submits the co-branded asset to the OEM for approval.
- The Asset Information section displays the following details for the selected asset:
Field Description Asset Name Displays the name of the asset. Status Shows the present status of the Asset (e.g. Published, Draft). Source Type Shows the format of the asset — PDF, HTML, Static Banner, etc. Created By Shows the name of the user who originally created the asset. Modified By Shows the name of the user who last updated the asset. Publish Date Displays the date the asset was published and made available. Expiration Date Displays the date on which the asset expires and becomes unavailable. Thumbnail Image Displays the asset thumbnail image for quick visual identification. Approval Status Shows the current approval status of the asset (e.g. Ready for Submission, Approved).
Co-branding an Asset
Co-branding allows partner users to add their own logo, an OEM insignia logo, and a web address to a vendor-provided asset. The co-branded output can be previewed, saved, downloaded as a PDF, or submitted directly to the OEM for approval.
- From the Asset Library, navigate to Enable > Assets > Asset Library. All generated assets are displayed on the View Assets page.
-
Each asset displayed on the page has a Co-brand button.
- In Thumb View, click the three dots on the asset card to reveal the Co-brand option.
- In List View, the Co-brand button is already visible inline without any additional click.
List view — the Cobrand button appears directly on each asset card. -
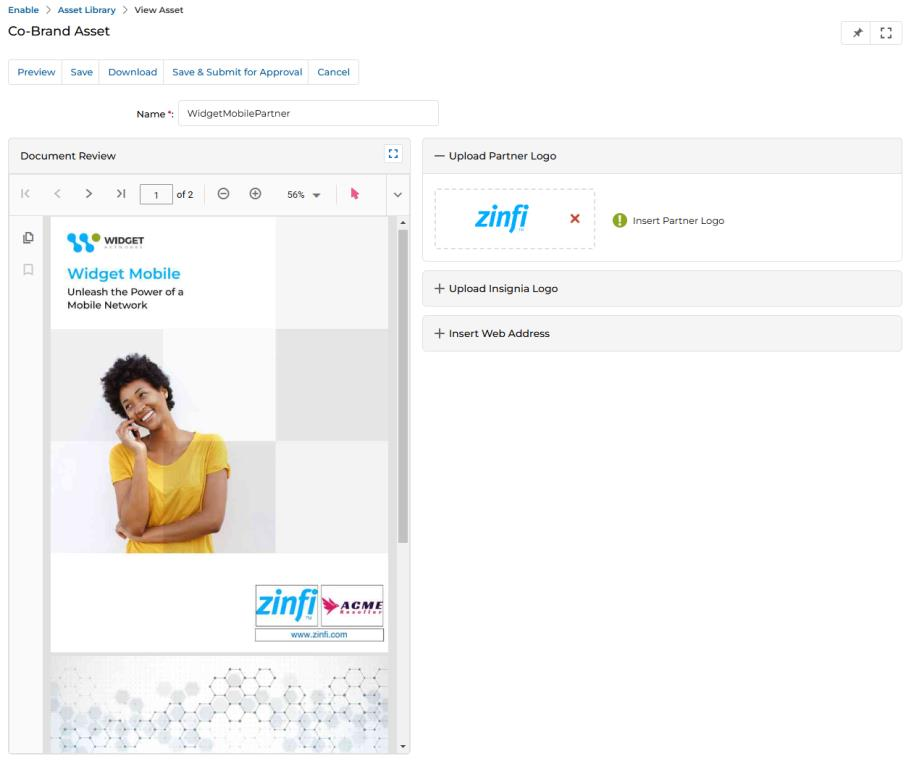
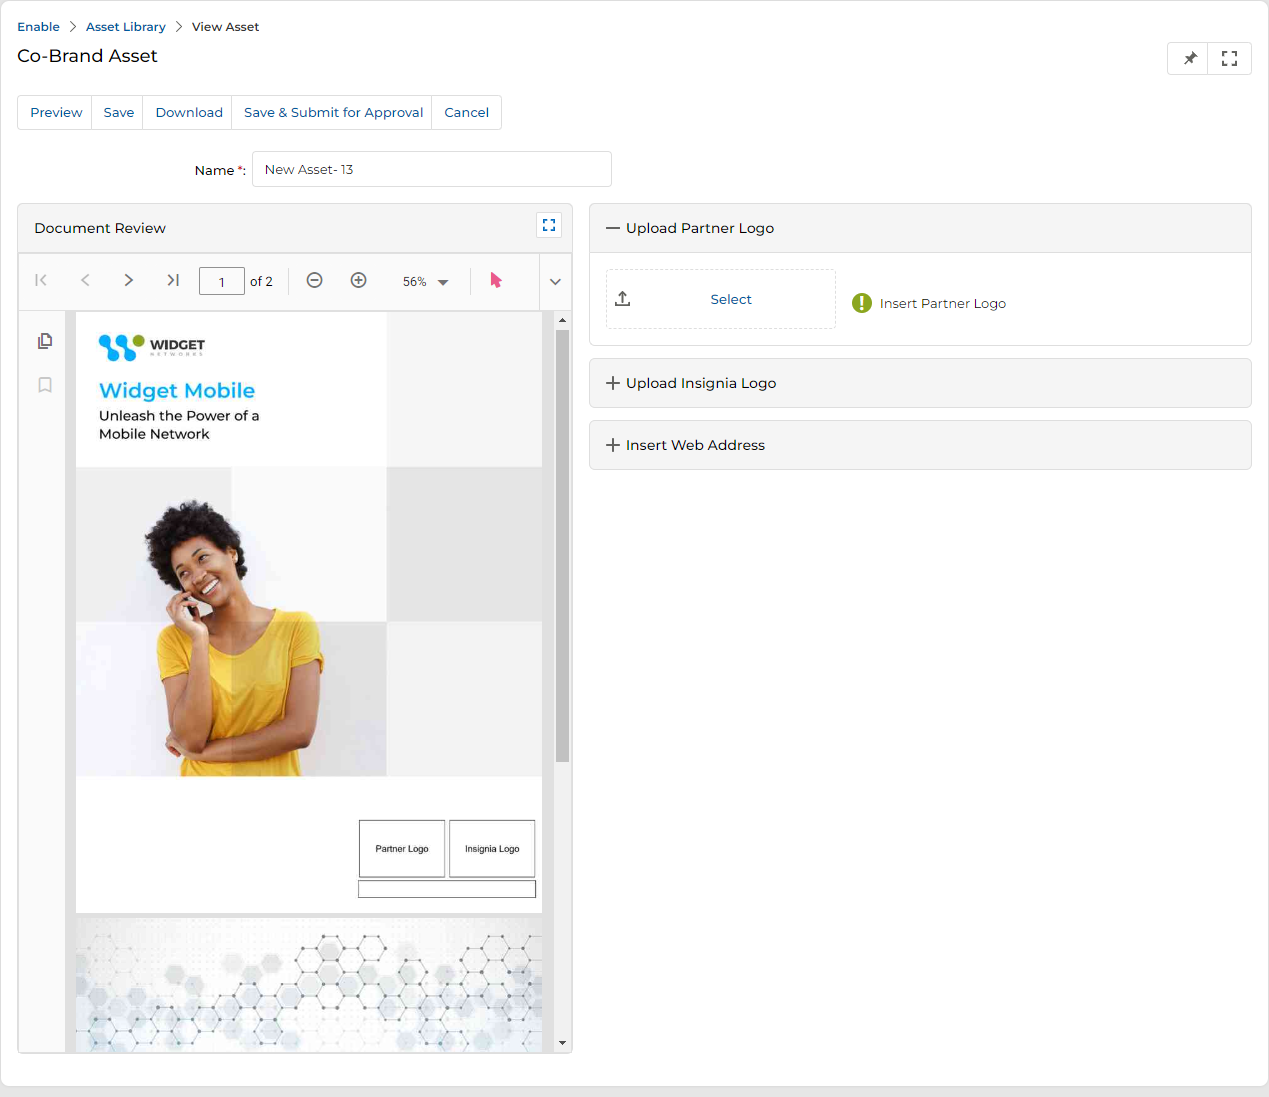
Clicking Co-brand opens the Co-Brand Asset page, where you can upload your logo and insert text. The page opens with the Upload Partner Logo section expanded by default; Upload Insignia Logo and Insert Web Address are collapsed.
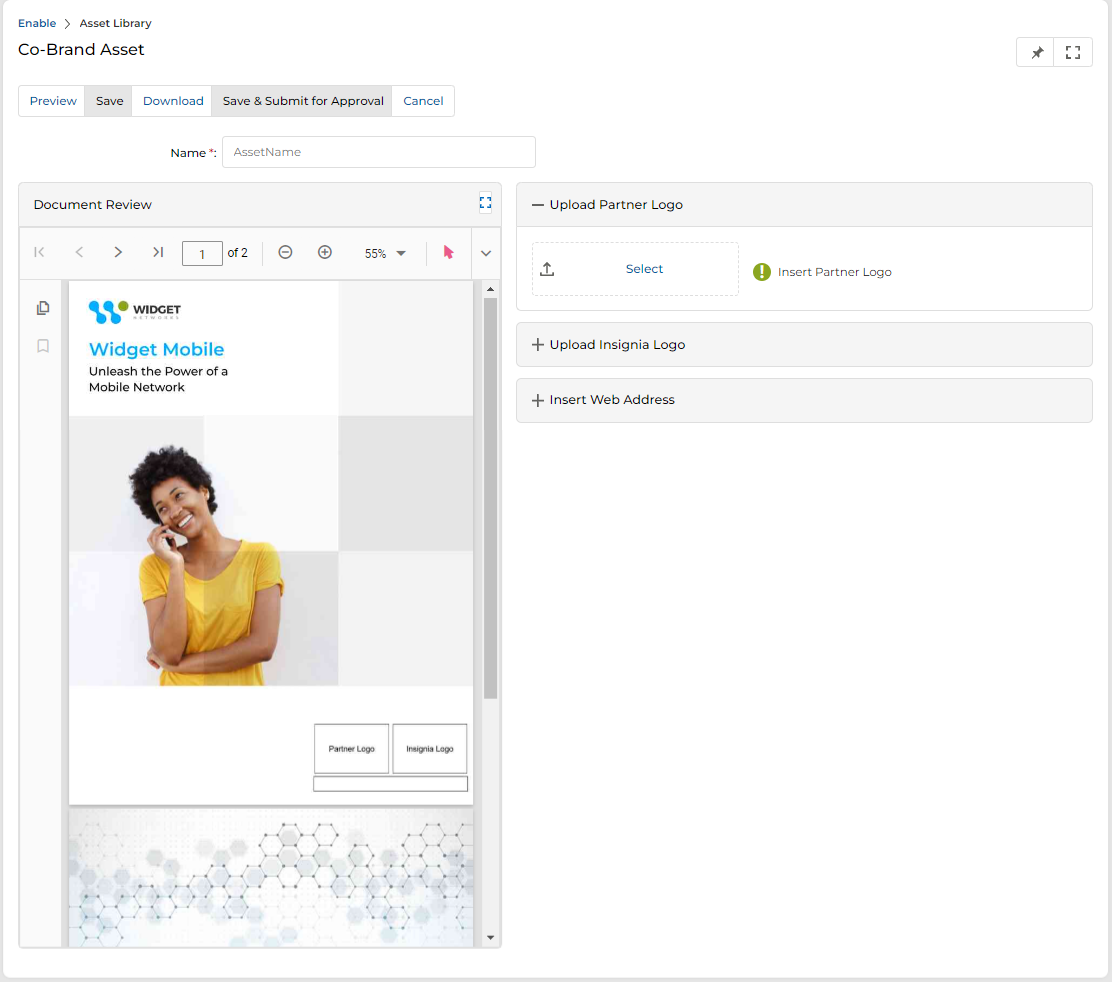
Co-Brand Asset page — Document Review panel and co-branding fields. -
The Co-Brand Asset page contains the following sections and controls:
a. Name
Provide a relevant name for the co-branded asset in the Name field. This name identifies your co-branded version in the Created by You listing.
b. Upload Partner Logo
The Upload Partner Logo section allows you to attach your organization's logo to the asset.
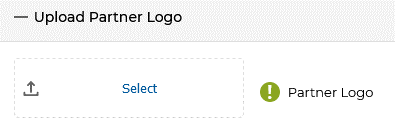
Upload Partner Logo — click Select to choose a logo from the Partner Logos repository. - Select — Clicks open the Partner Logos repository, where an Admin has pre-uploaded approved logos. Click on the desired logo to attach it to the co-branded asset.
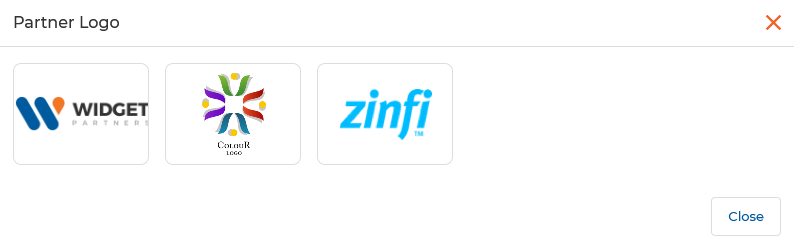
Partner Logo picker — select the logo that represents your organization. c. Upload Insignia Logo
Upload Insignia Logo — the OEM insignia may be pre-set by the Admin. - For specific assets, the Admin may pre-select an insignia logo that appears by default. In this case, the partner cannot change or replace the logo.
- If the Admin has not defined a default insignia logo, the partner can select, upload, and attach a logo of their choice from the repository.
d. Insert Web Address
Expand the Insert Web Address section and enter your organization's website URL in the Text field. This link will be embedded in the co-branded asset.
e. Action Buttons
Button Description Preview Opens a live preview of the co-branded asset within the Document Review panel. Save Saves all changes made to the co-branded asset. Download Downloads the co-branded asset as a PDF file. Save & Submit for Approval Saves the asset and immediately submits it to the OEM Admin for approval in a single click. Once submitted, the asset cannot be further co-branded. Cancel Discards unsaved changes and returns to the Asset Library. 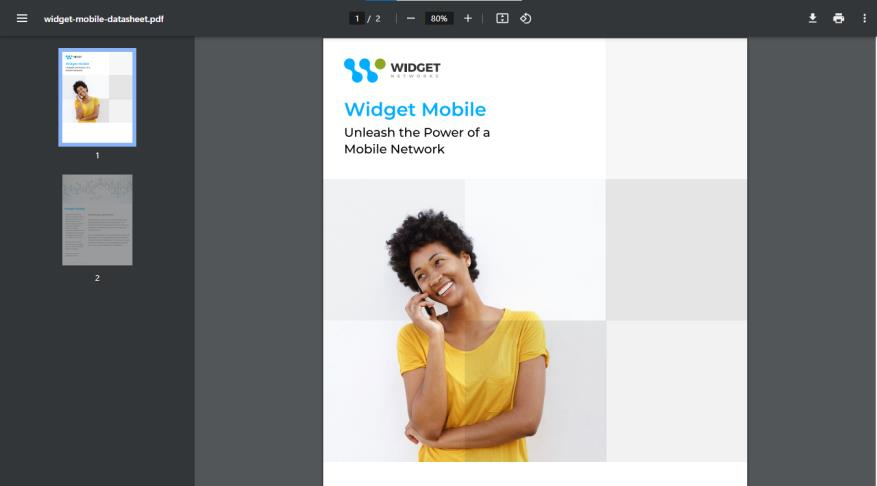
Downloaded co-branded asset — the partner logo and insignia appear on the final PDF.
Categories of Images for Asset Co-Branding
When selecting an asset for co-branding, partners can choose images from designated Content Library categories. A real-time preview feature allows them to adjust alignment and sizing before finalizing changes. A side panel provides easy content search, improving efficiency. The visibility logic for Content Library access in the Asset Co-Brand section remains consistent with the stand-alone Content Library module, ensuring seamless integration.
-
Navigate to Enable > Assets > Asset Library. In the Assigned to You section, locate the asset already assigned to you.

Assigned to You listing — click Cobrand on any asset to begin the co-branding process. -
Clicking Co-brand opens the Co-Brand Asset page, where the Upload Image section provides the option to select logos or images from the Content Library.
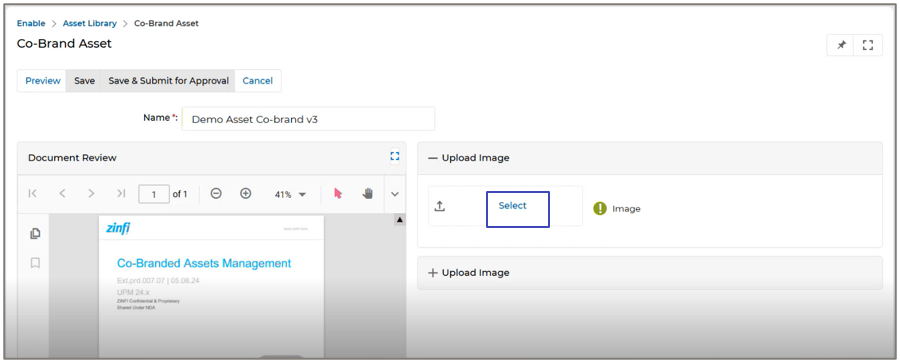
Co-Brand Asset page — the Upload Image section enables image selection from Content Library categories. -
Clicking Select opens a side panel displaying the image categories assigned by the Admin. Browse the categories and click the desired logo or image to apply it.
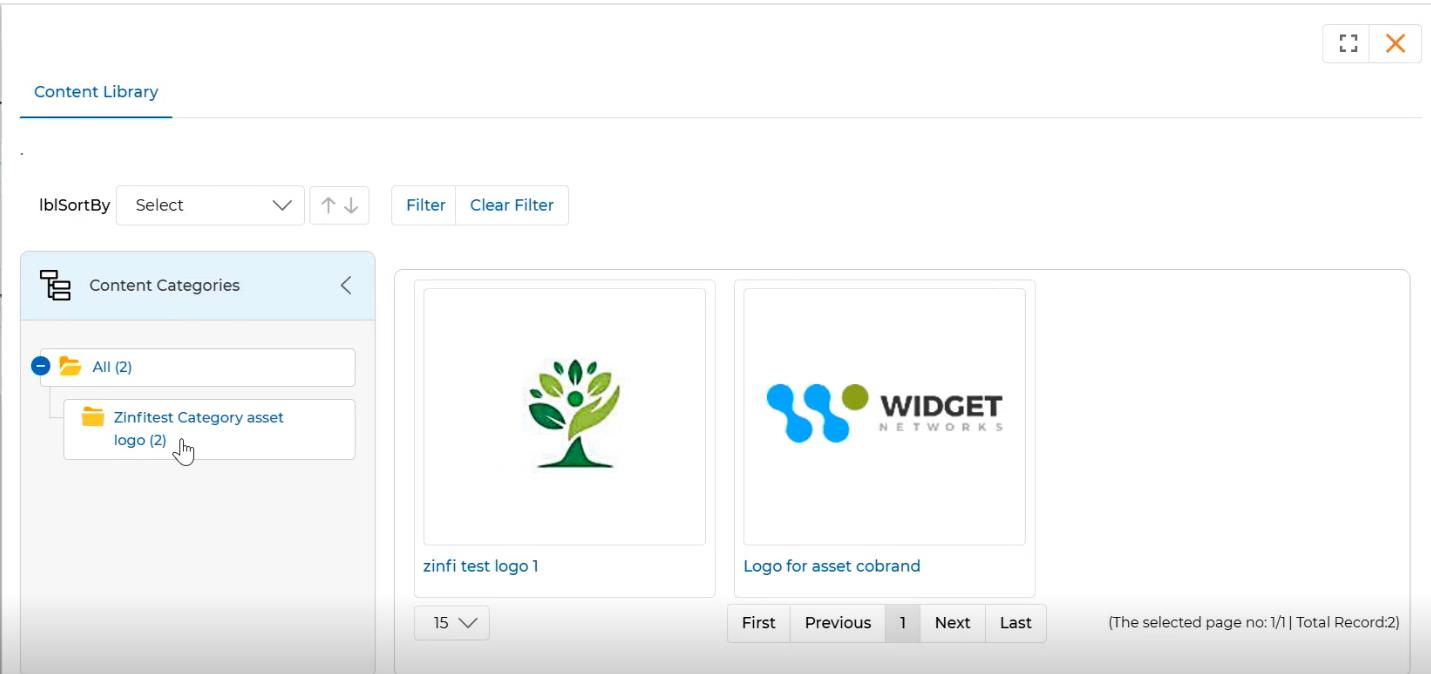
Content Library side panel — browse category folders and click a logo to select it for co-branding. -
Once an image or logo is selected, it appears in the Upload Image section as a thumbnail, confirming the selection.
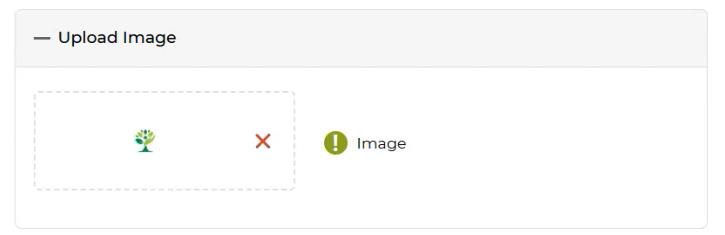
Selected image displayed — click the X to remove and choose a different image if needed. -
The partner user can preview the co-branded document by clicking Preview. Finally, clicking Save saves the Co-Branded Asset.
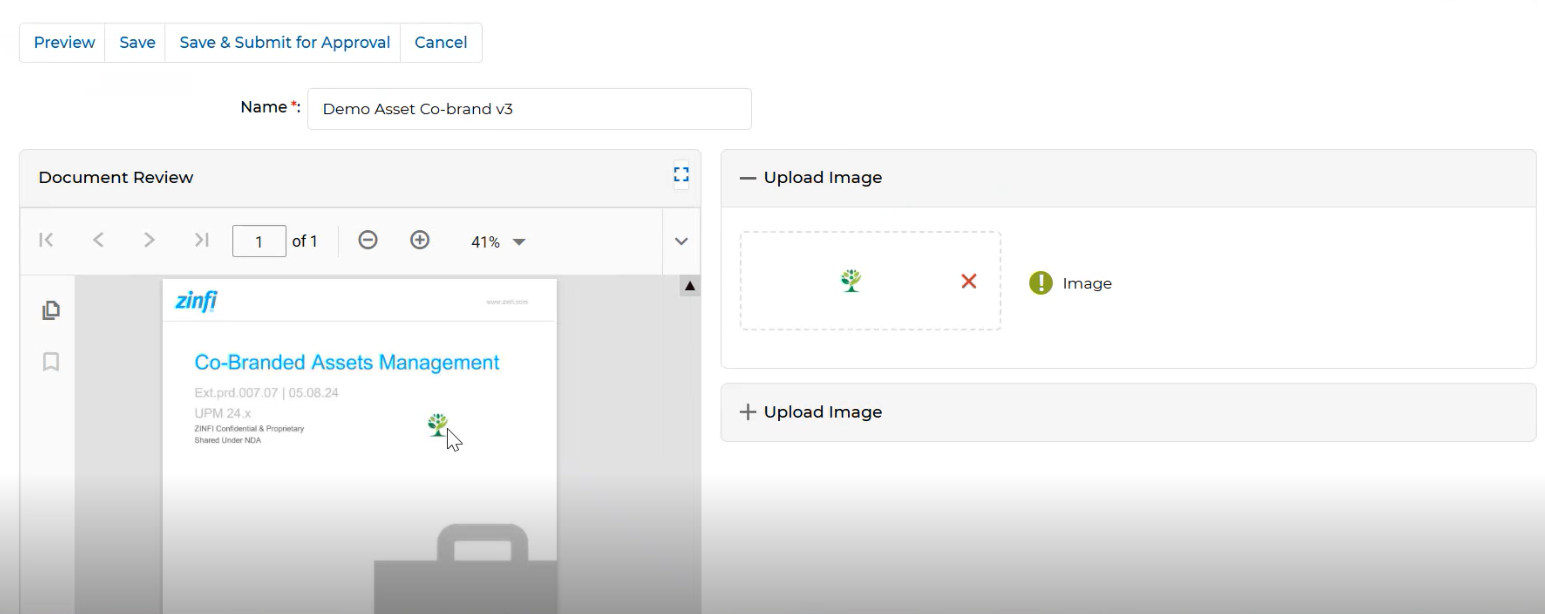
Preview of the co-branded asset — review logo placement before saving.
Re-Editing a Co-branded Asset
After saving a co-branded asset, partners can return to edit it at any time — unless it has already been submitted for approval, at which point further co-branding is locked.
-
Once the asset is co-branded and Save is clicked, the Co-Brand Asset page shows the saved state, including the currently applied logo and settings.
Saved co-branded asset — the partner logo appears in the document preview footer. -
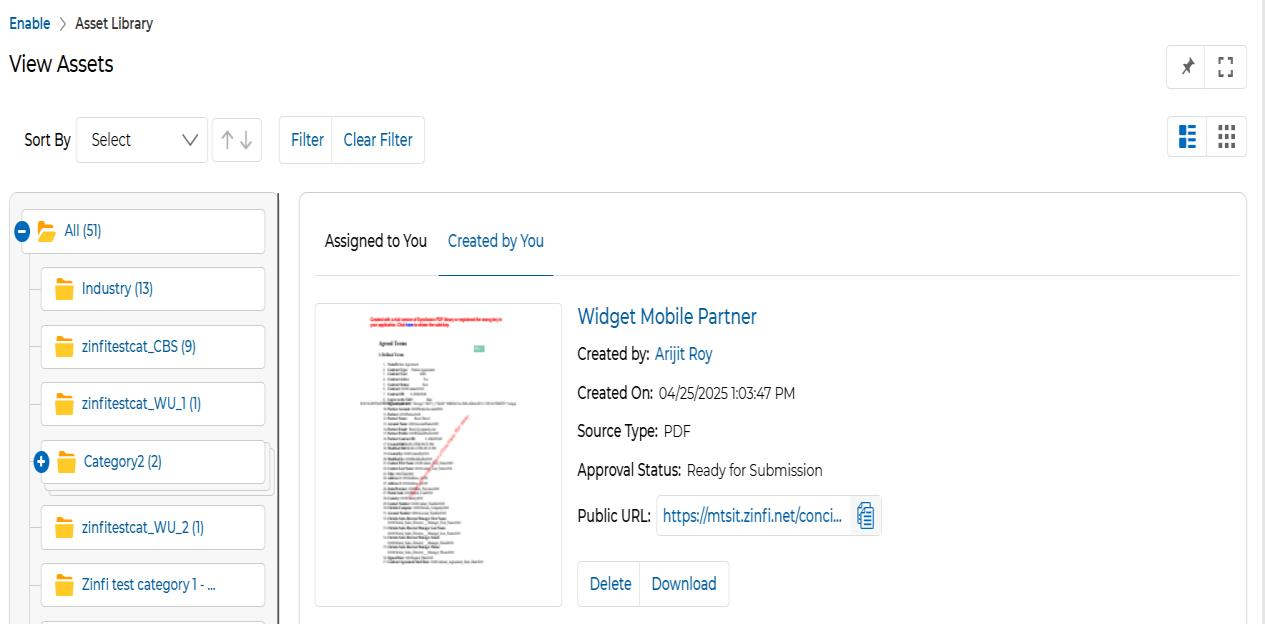
Navigate to the Asset Library and click the Created by You tab to see the newly co-branded asset in the listing.
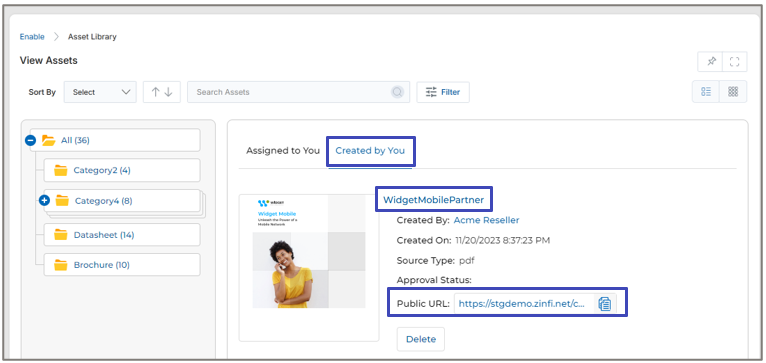
Created by You listing — your co-branded asset appears here with a Public URL. - Public URL — Once the partner co-brands an asset, an auto-generated Public URL appears on the co-branded asset listing. This URL can be copied and embedded into web landing pages, or other marketing and sales materials, to link directly back to the co-branded content.
-
Clicking the Name of the co-branded asset opens its details page, from where you can:
- Download the co-branded asset.
- Submit for Approval to send it to the OEM Admin.
- Cobrand again to re-edit the co-branded asset contents.
View Asset details page — use the Cobrand button to re-open the editor and make further changes. NOTEAfter co-branding an asset, if it is submitted for approval, you will not be able to further co-brand the asset. The Cobrand button will be disabled once a submission is in progress.
-
Clicking the Cobrand button reopens the Co-Brand Asset page, where you can again modify the logo, insignia, or web address.
Re-edit mode — make changes to the logos or web address and save again. - Once the asset is co-branded, it is available in the Created by You section of the View Assets page.
-
In List View on the listing page, each co-branded asset displays a Download button. Clicking it lets the partner directly download their co-branded asset.
List view — the Download button appears on each co-branded asset for quick download. -
In Card View, each asset shows a "four dots" menu (⋯⋯). Clicking on it reveals the Download option, allowing the partner to download the co-branded asset.
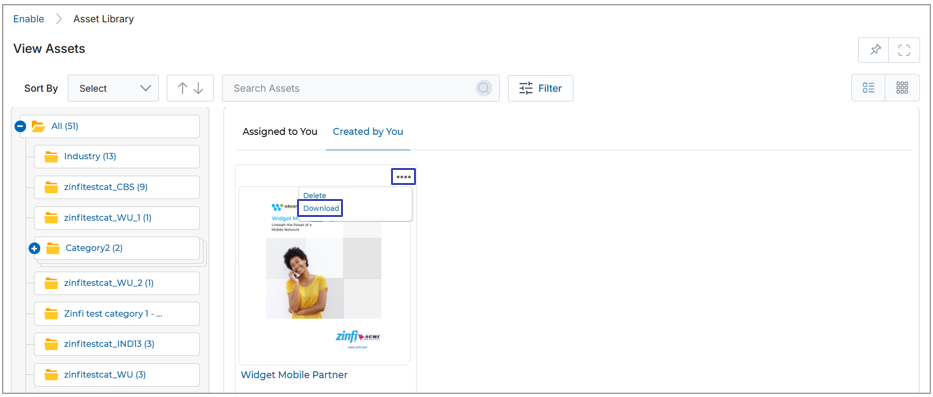
Card View — click the ⋯ icon to reveal the Download option for a co-branded asset. -
If the partner navigates to the details page of the co-branded asset, a Download button is also available there for easy retrieval.

Asset details page — the Download button is always accessible alongside Cobrand and Submit for Approval.