
Introduction
The Event Marketing Management application of ZINFI's partner marketing management (PMM) platform enables your organization to quickly launch trigger-ready multi-touch "event-in-a-box" campaigns that can be easily co-branded and customized. With ZINFI's Event Marketing Management application, your organization can easily configure readymade templates made available by portal admins to drive end-users to your event registration landing page — including both pre-event and post-event email templates.
You can quickly customize existing templates with specific information about the event you wish to host. The customized event templates enable your organization to engage more end-users via webinars or roadshows, driving lead generation and potential sales. The application allows you to enter specific event details within the system to showcase on the event registration page as invitees register, use registration forms with pre-set fields to capture registrant information, and support multilingual audiences.
Real-time analytics provide valuable insights into campaign elements that are working well and those that need improvement. You can track all registrations received for events to be hosted, making it easy to prepare the required logistics for smooth and flawless event execution.
Co-Brand Events
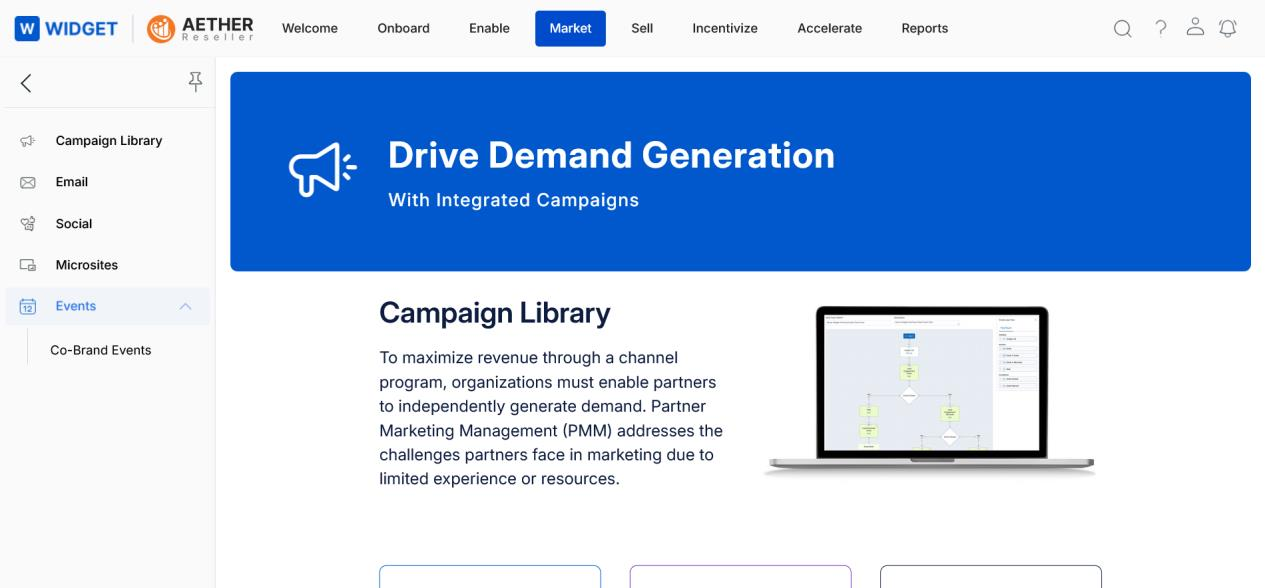
Access Events
- Click Market on the top menu.
- Click Events > Co-Brand Events from the left menu bar.
View Events
-
Use the toolbar controls:
- Sort By — Sort events by event name, creation date, or modification date.
- Filter — Opens the filter panel.
- Clear Filter — Clears the filter parameters.
-
Toggle between views:
- Assigned to You — Displays events assigned to you by the admin.
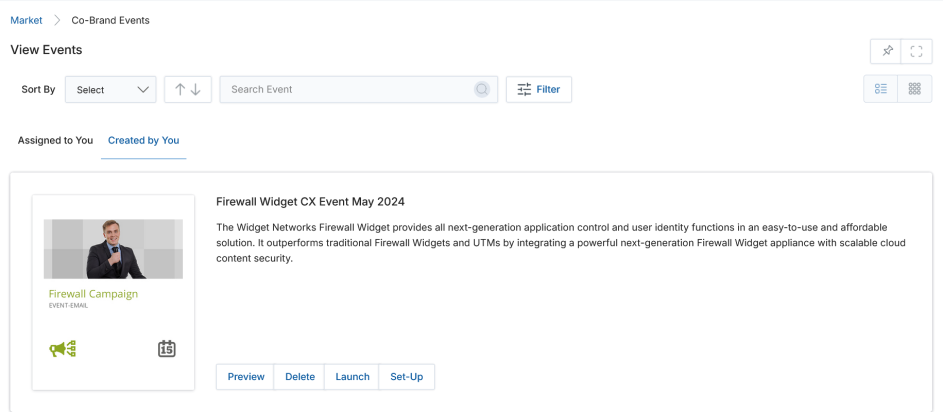
- Created by You — Displays events you have created (cloned).
-
Switch display format:
- List View — Displays events in list format.
- Thumb View — Displays events as thumbnail cards.
-
For each event:
- Preview — View the event registration page before implementation.
- Clone — Create a duplicate copy of the specific event for co-branding.
- Delete — Delete the event.
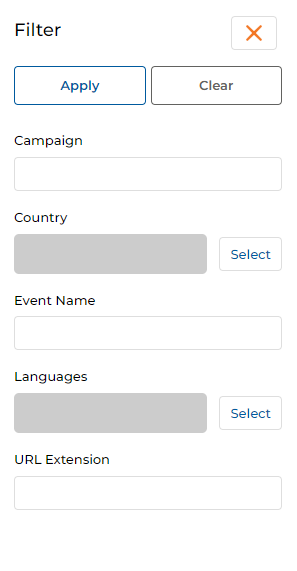
- Filter events by any or all of the following attributes:
| Filter Field | Description |
|---|---|
| Campaign | Filter by campaign name. |
| Country | Filter by one or more countries. |
| Languages | Filter by one or more languages. |
| Event Name | Filter by the event name. |
| URL Extension | Unique URL extension that identifies the event. |
- Click Apply after setting filter attributes.
Preview an Event
Click the Preview button corresponding to any event to view the event registration page before making changes.

Clone to Set Up and Edit an Event
The Clone button allows you to replicate an existing event. By using this feature, you can create a duplicate of an event while incorporating additional customizations. Clicking Clone takes you to the Set-Up Event page, which contains four numbered steps.
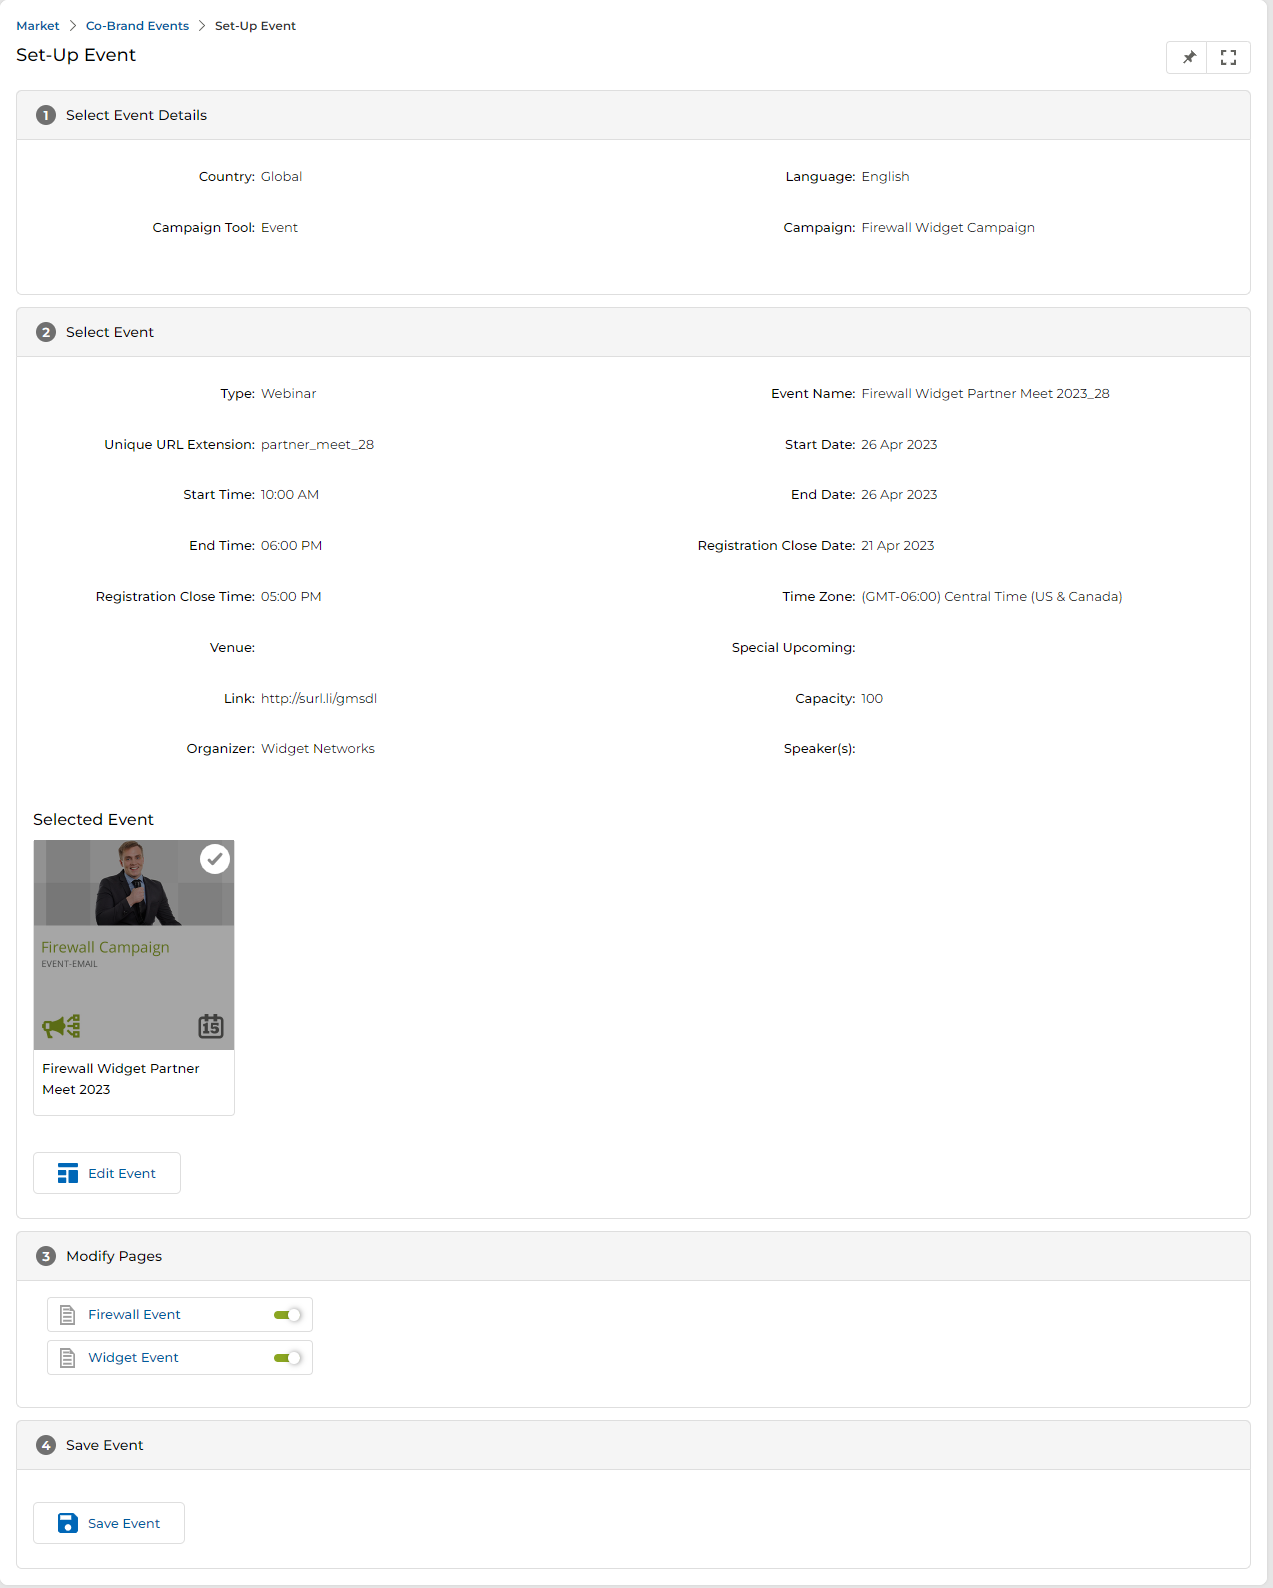
Step 1 — Select Event Details
The Select Event Details section is read-only. It shows the campaign context: Country, Language, Campaign Tool, and Campaign name the event is associated with.

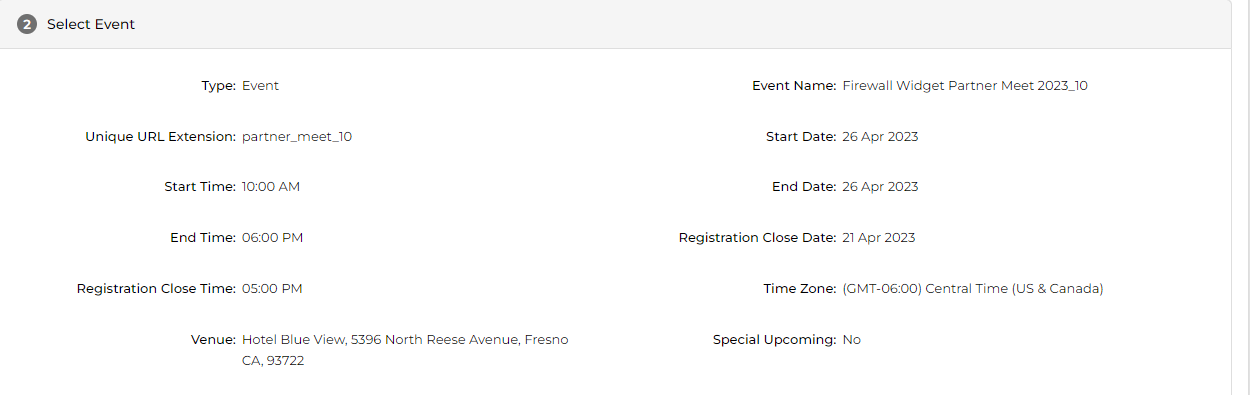
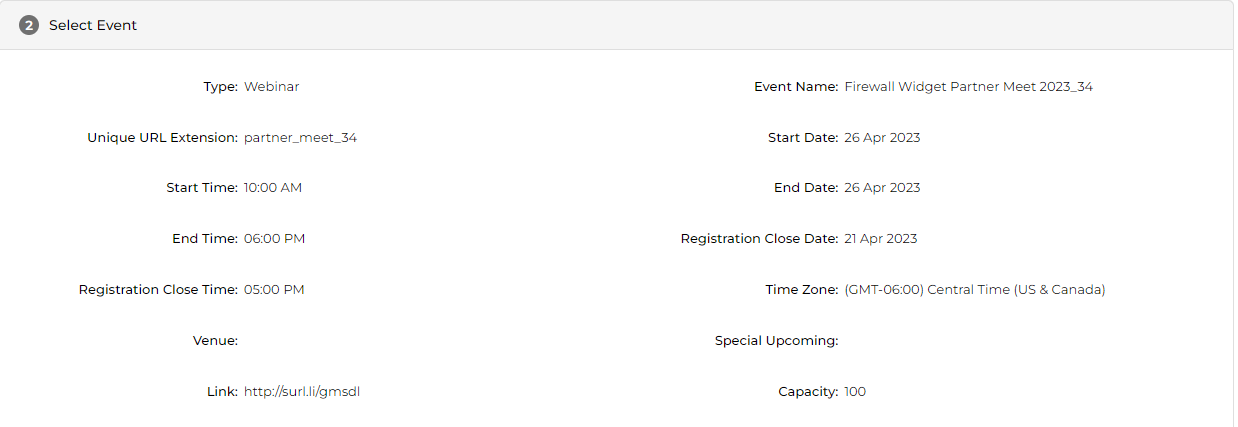
Step 2 — Select Event
- The Select Event section shows preliminary event information: Type, Event Name, Unique URL Extension, Start/End Dates and Times, Registration Close Date/Time, Time Zone, Venue, Link, Capacity, Organizer, and Speaker(s).
- The Time Zone defaults to the value set in the User profile and can be edited.
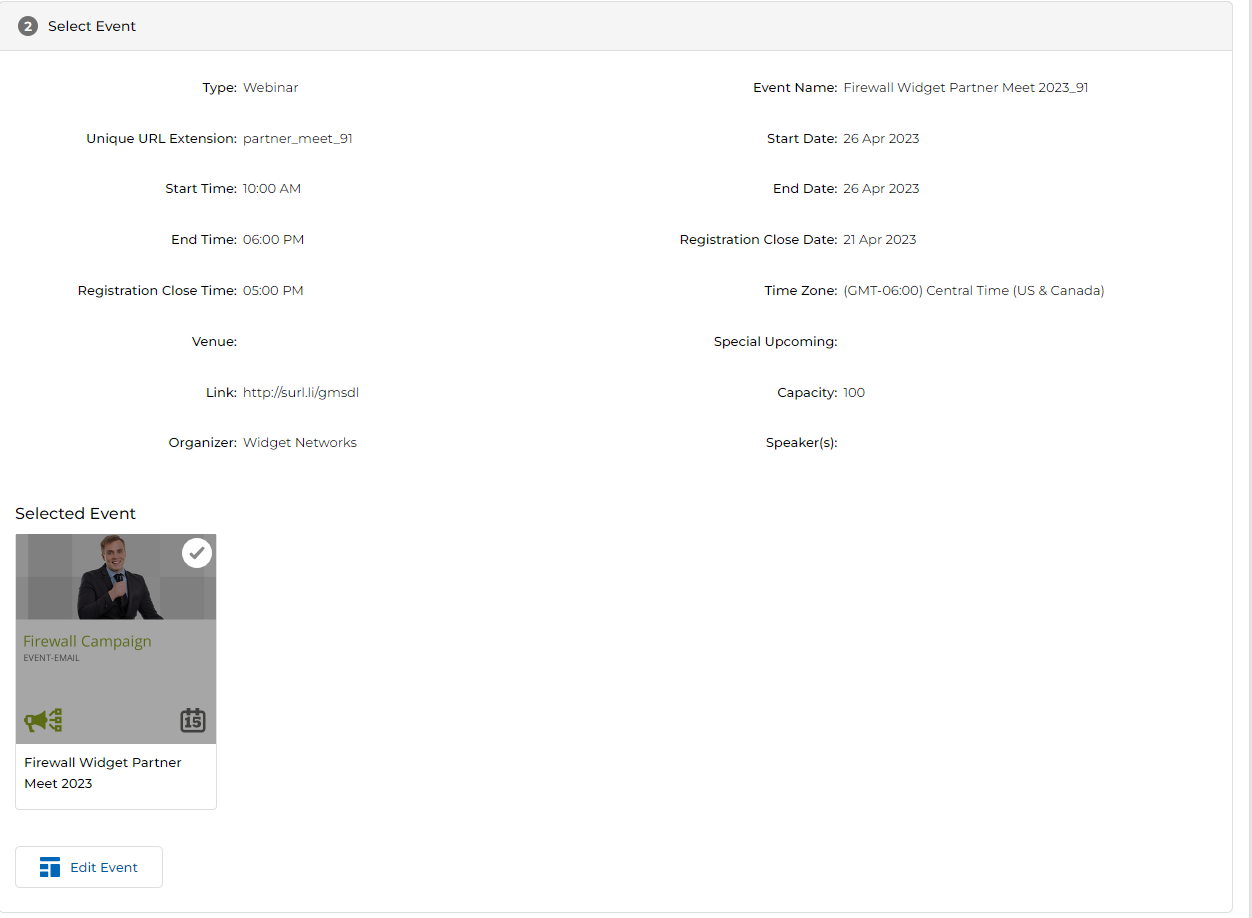
- To update any field, click Edit Event. A slide-out panel opens on the right with all editable fields.
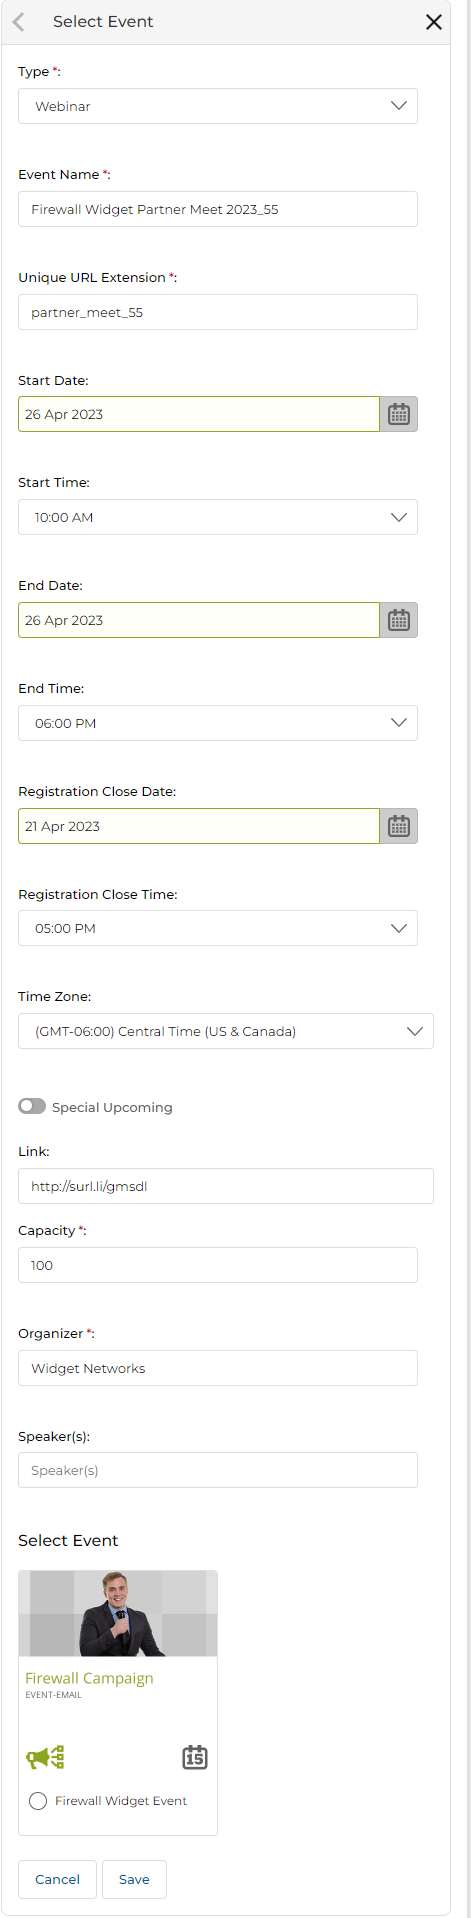
| Field | Description | Required |
|---|---|---|
| Type | Select Event (physical) or Webinar (online). Each type reveals different additional fields. | Yes |
| Event Name | Name of the event (auto-appended with a unique suffix on clone). | Yes |
| Unique URL Extension | The URL path slug used to identify the event registration page. | Yes |
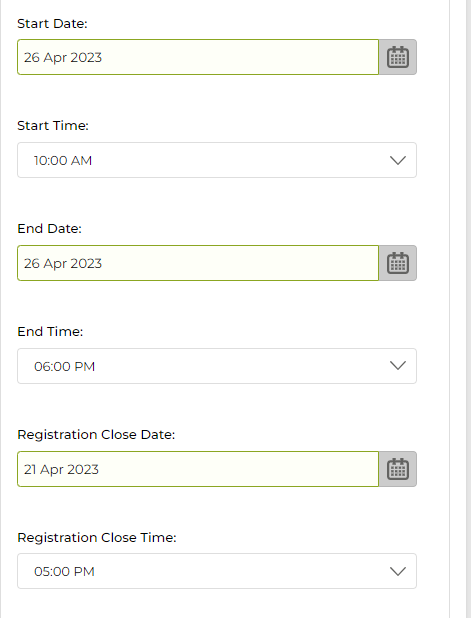
| Start Date / Start Time | Date and time the event begins. | No |
| End Date / End Time | Date and time the event ends. | No |
| Registration Close Date / Time | Deadline for registration. When reached, registrations are automatically closed. | No |
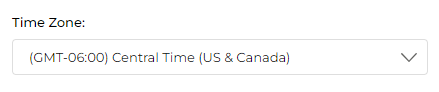
| Time Zone | Defaults from User profile. Can be updated to any supported time zone. | No |
| Special Upcoming | Toggle to mark this event as a featured/upcoming event. | No |
| Venue | Physical venue address. Appears only when Type = Event. | Conditional |
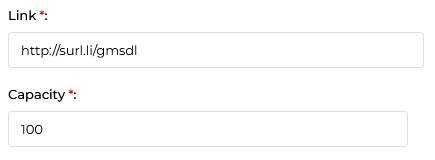
| Link | Webinar join URL. Appears only when Type = Webinar. | Conditional |
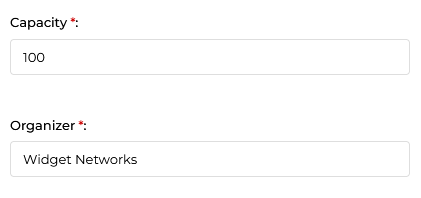
| Capacity | Maximum number of registrants. When reached, registrations auto-close. | Yes |
| Organizer | Name of the event organizer. | Yes |
| Speaker(s) | Name(s) of speaker(s) for the event. | No |
-
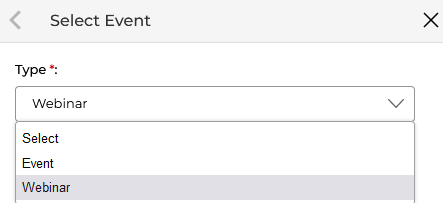
The Type dropdown offers two options:
- Event — For hosting physical in-person events. Reveals the Venue text field.
- Webinar — For hosting online webinars. Reveals the Link URL field.
- When Event is selected, the Venue field appears. Enter the physical address of the event location.
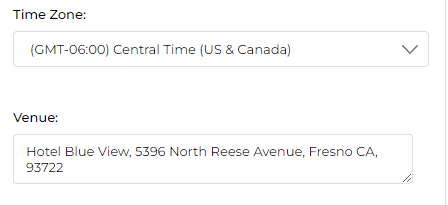
- Once saved, the venue address is reflected in the Select Event section.
- When Webinar is selected, the Link URL field and Capacity field appear. Provide the webinar join URL.
- To change the default Time Zone, select a new option from the Time Zone dropdown.
- Once webinar details are saved, the Select Event section reflects the Link field.
- Start Date, Start Time, End Date, End Time, Registration Close Date, and Registration Close Time can all be edited as needed.
- The Capacity and Organizer fields are mandatory and must be filled in.
- Click Save once all changes are made.
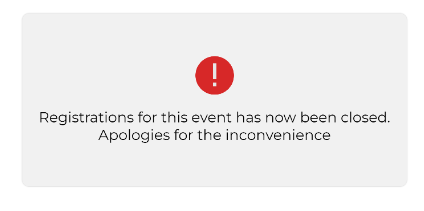
- The system automatically closes event registration when either the Registration Close Date/Time or the Capacity limit is reached — whichever comes first. A message is displayed to visitors attempting to register after that point.
When a registration is auto-closed (by capacity or date), the system displays: "Registrations for this event has now been closed. Apologies for the inconvenience." This prevents further registrations and informs visitors clearly.
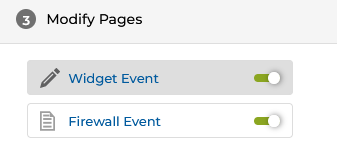
Step 3 — Modify Pages
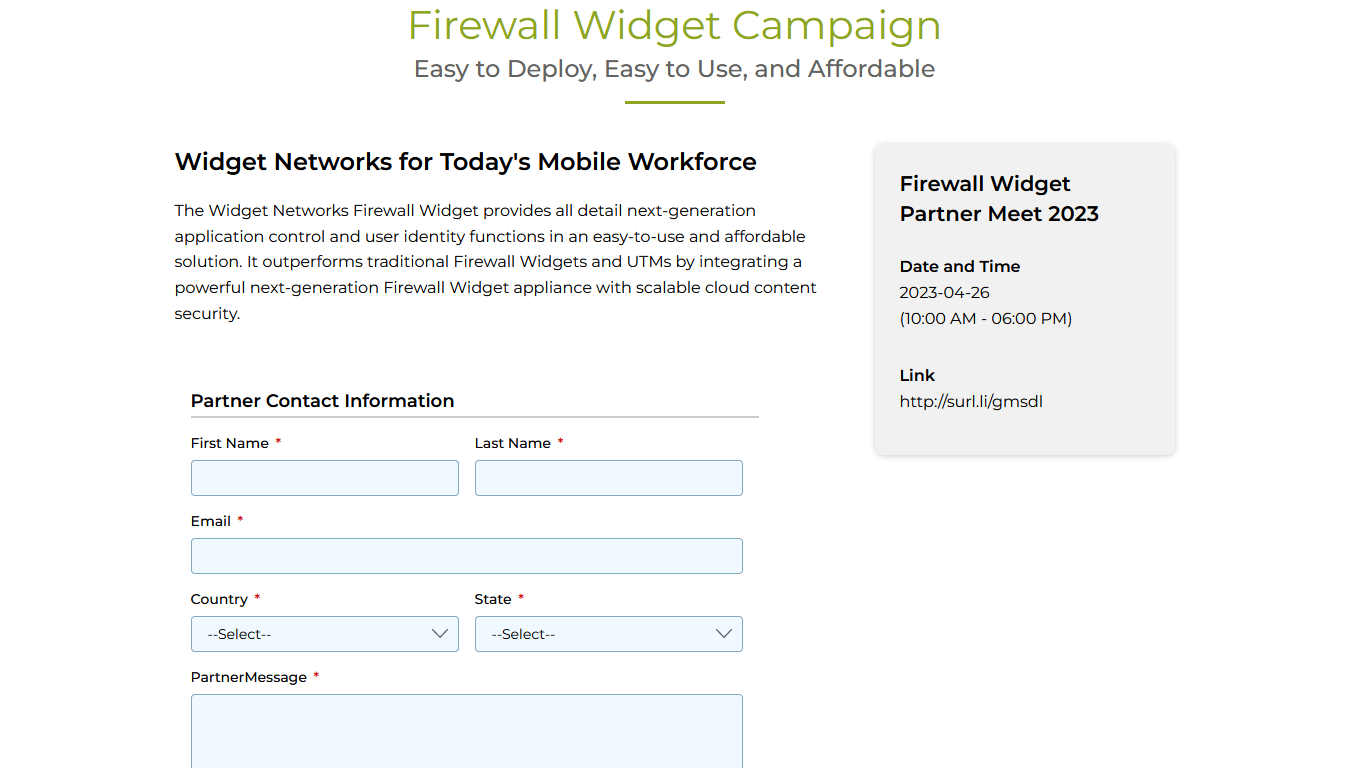
The Modify Pages section lists all registration page templates associated with the event. Partners can edit each page inline.
- Click the Page icon next to any page to open an inline editor on the right. The icon changes to a Pencil icon to indicate edit mode is active.
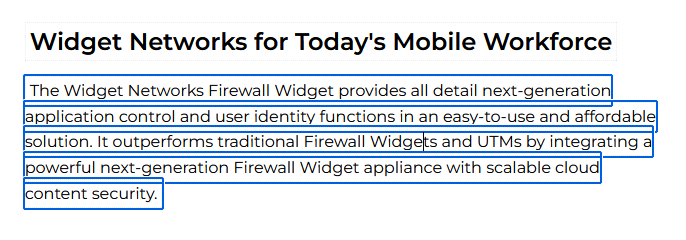
- Click any image or text in the page. That section is highlighted (shown with a blue border) and can be edited directly in the inline editor.
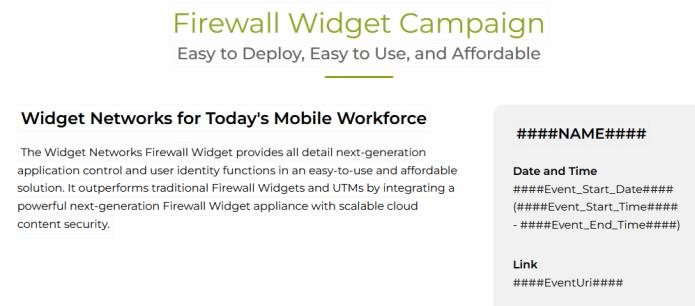
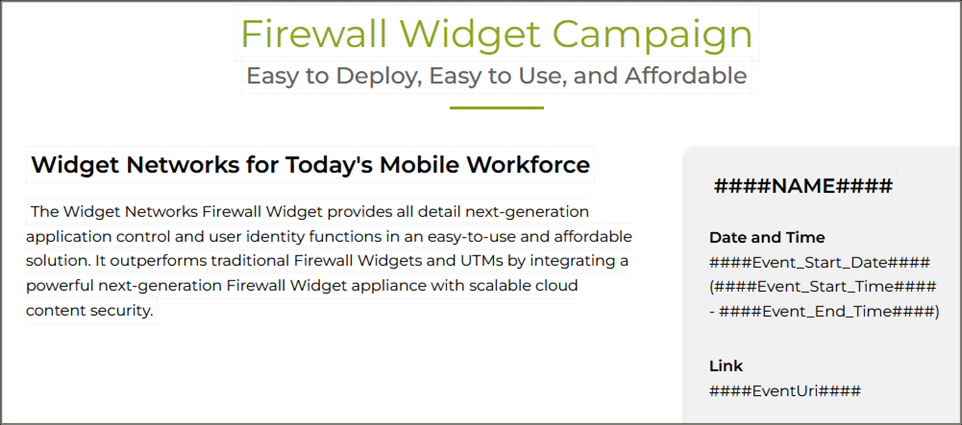
- Hash codes can be embedded in the page HTML to dynamically populate event-specific information when the page is viewed. Common hash codes used in event templates:
| Hash Code | Replaces With |
|---|---|
####NAME#### | Event name |
####Event_Start_Date#### | Event start date |
####Event_Start_Time#### | Event start time |
####Event_End_Time#### | Event end time |
####EventUri#### | Event registration URL / webinar join link |
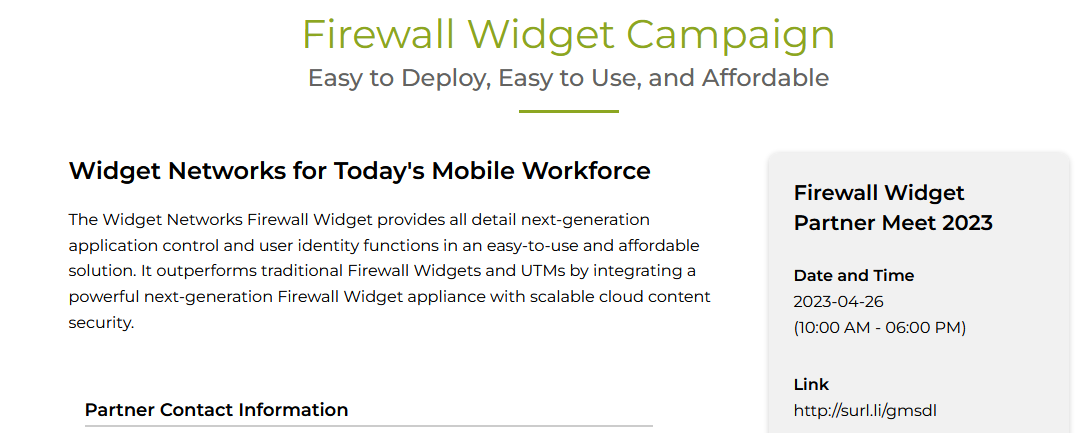
- Once the event is assigned to partners, they will see the template with hash codes replaced by actual event values.
Step 4 — Save Event
- Once all details are provided, click Save Event to save the changes.
- Click Preview to view the preview of the completed event registration page.
Launching an Event
The Co-Brand Events page shows events under two tabs: Assigned to You (vendor-assigned, cannot be launched) and Created By You (your cloned events, eligible for launch).
To launch a specific event, click the Launch button corresponding to the event listed under the Created By You tab.

Clicking Launch takes you to the Launch Event Campaign page.
The process of launching an Event follows the same steps as launching a Microsite or Email campaign: Campaign Details (read-only) → Provide Details of Your Email → Customize Email Template → Select Recipients and Test Email → Send Email (Schedule, Launch, or Save As Draft).