
Introduction
ZINFI's escalation management approach via the UPM Support application ensures that unresolved problems don't linger and issues are promptly addressed. Through the Support application, you can define the criteria for escalation — such as missed deadlines — and outline the appropriate action required to resolve issues, such as a change of status or a notification to an organizational member or partner.
Monitor and Manage Situations
The first goal of the Support application is to restore normal service as quickly as possible and minimize the impact on business operations, thus ensuring that the best possible levels of service quality and availability are maintained. UPM's Support application allows your organization to identify, track, monitor, and manage situations that require attention and action.
The issue and action item management process followed by the Support application consists of the following sequential steps: Identification and ticket creation → Validation and prioritization → Analysis → Tracking and reporting → Escalation (if needed) → Resolution and closure.
- Customer satisfaction
- Increased productivity
- Searching the Library
- Faster Resolution
Customer Insights
The Support application lets you see who your partners are and track who you're communicating with. You can add tasks and notes, review previous tickets, and get to know your customers better to increase the quality of your organizational support. Key capabilities include tracking response times from ticket creation to modification, filtering tickets for problem-specific support, and exchanging comments and attachments on individual ticket threads.
UPM's Support also provides metrics and analytics through UPM's EDISON platform, giving you insight into team performance at a glance — including tickets closed and average time to resolve issues. This helps you identify when team members are falling behind so issues can be addressed before they escalate further.
- Track Times
- Prioritize issues
- Knowledge Base
- Reduced Ticket Backlog
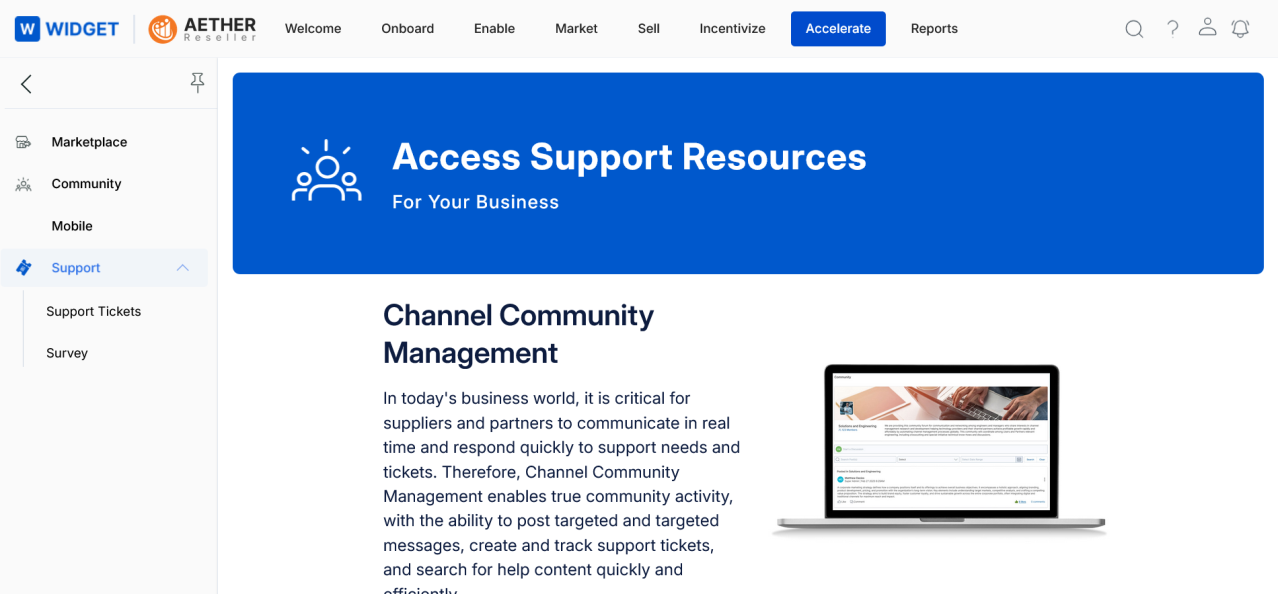
Manage Support Tickets
To access Support Tickets, navigate as follows:
- Click Accelerate on the top menu.
- Click Community > Support > Support Tickets in the left menu bar.
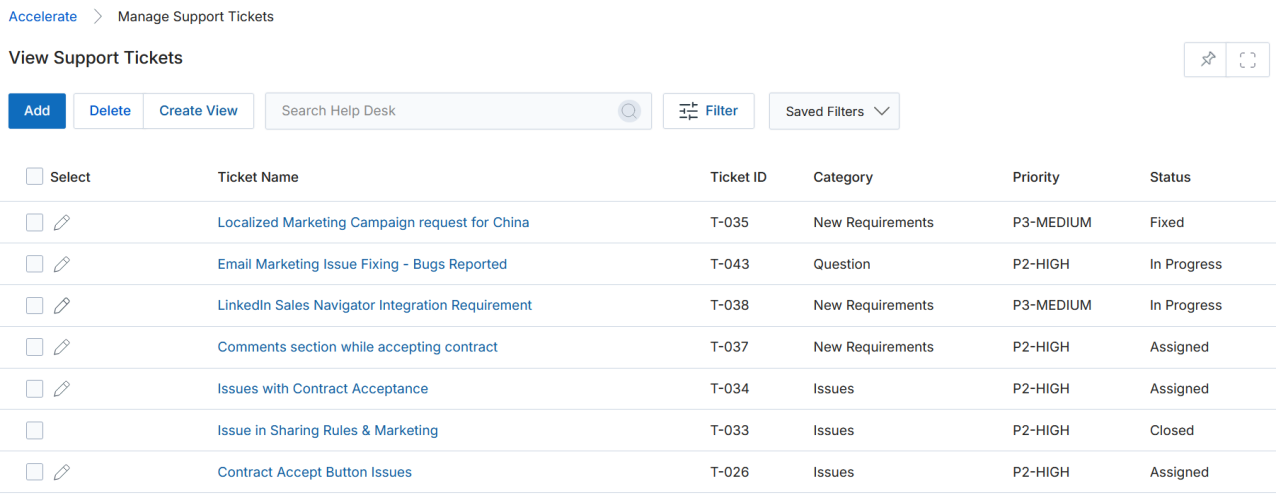
View Support Tickets
The View Support Tickets page lists all existing support tickets. The toolbar at the top provides the following actions:
- Add — Opens a new page to add a new ticket record.
- Delete — Deletes the selected record(s) from the listing page.
- Create View — Lets you create a custom view with a specific set of columns.
- Filter — Opens a pop-up window where you can enter search criteria to find desired records.
For each record in the grid:
- Edit (Pen icon) — Lets you edit the selected record. The pen icon is not visible if the ticket's Status is Closed.
- Any linkable item — Clicking a linked ticket name or ID takes you to its details page.

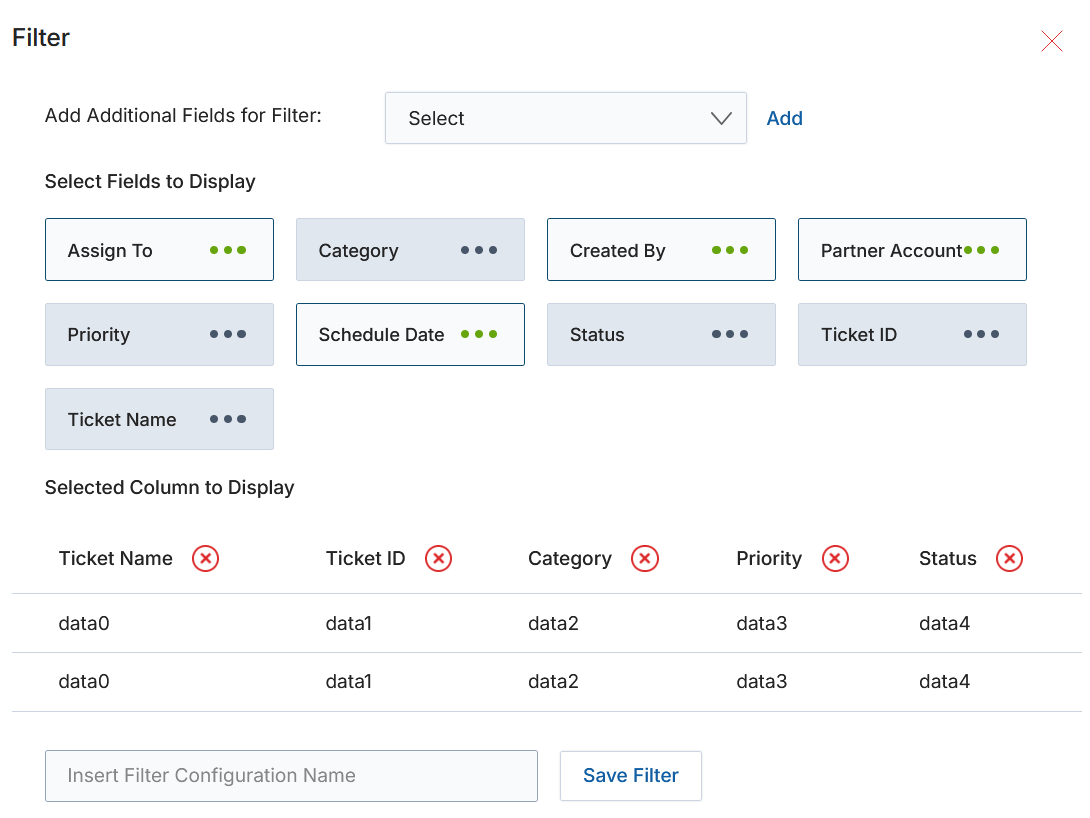
Create New View
The Create View feature allows you to build a custom column layout for the ticket listing, saving it as a named filter configuration for reuse.
- Click Create View in the toolbar. The Filter panel opens.
- In the Add Additional Fields for Filter dropdown, select an additional field and click Add.
- In the Select Fields to Display section, click the Green Dots (•••) on any field to select it for display. Selected columns appear in the Selected Column to Display table below.
- To remove a selected column from the display list, click the ✕ (cross) button next to its name in the Selected Column table.
- Enter a name in the Insert Filter Configuration Name field, then click Save Filter to create and save the new view.
View Ticket Details
To open the full detail view for a specific ticket:
- In the View Support Tickets page, click on the Name/Title of any ticket in the list.

- On the View a Support Ticket page, the top toolbar provides:
- Edit — Opens the record in Edit mode.
- Delete — Deletes the selected record from the list.
- The page is organized into the following sections:
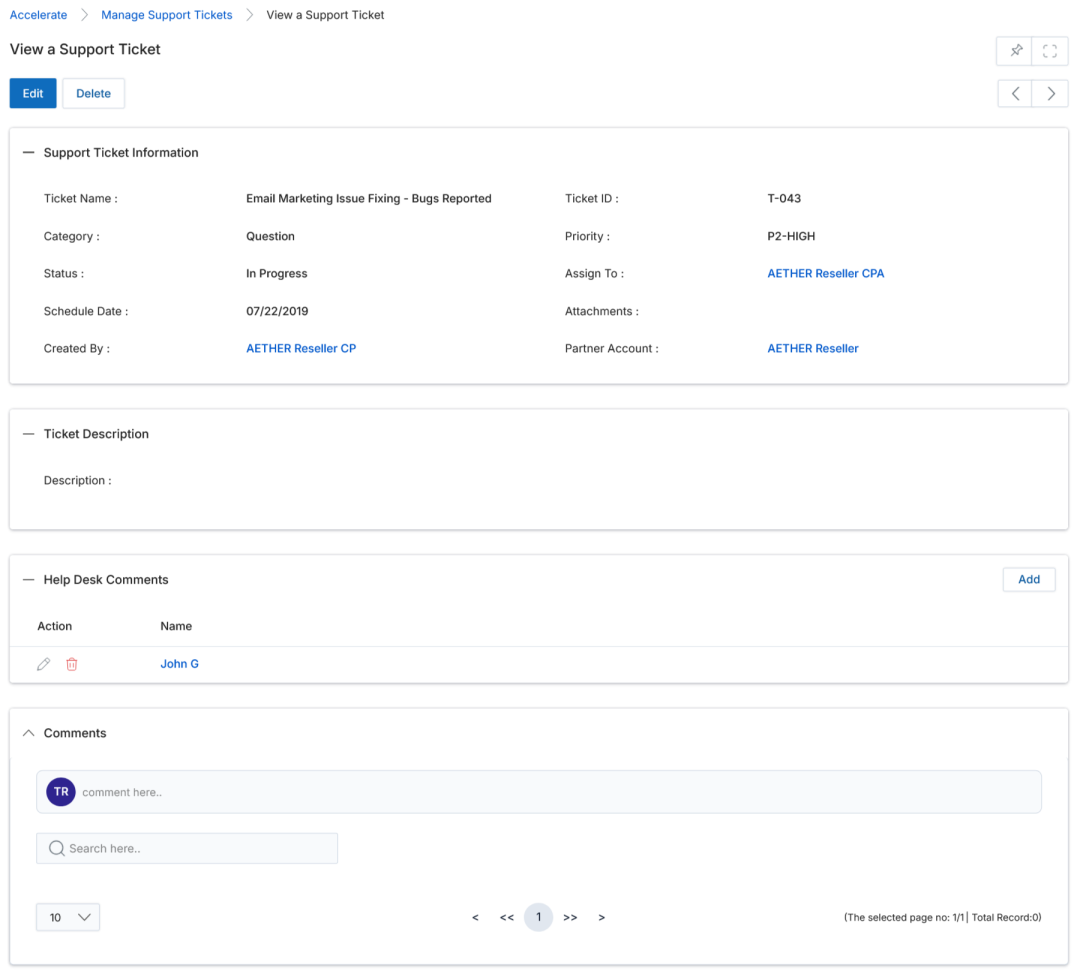
Support Ticket Information Fields
| Field | Description |
|---|---|
| Ticket Name | User-friendly name to quickly identify the ticket. |
| Ticket ID | Unique system-generated number to identify the ticket. |
| Category | Category or type of the ticket. Available values: New Requirements, Issues, Design Change Request, Configuration, Question. |
| Priority | Priority level of the task. Available values: Urgent, High, Medium, Low, Enhancement. |
| Status | Current status of the ticket. Available values: New, Assigned, In Progress, Fixed, Closed. |
| Assign To | The assignee responsible for completing the task mentioned in the ticket. |
| Schedule Date | Target completion date of the task mentioned in the ticket. |
| Attachments | Files or documents associated with the ticket. |
| Created By | The user who created the ticket. |
| Partner Account | The associated partner account. |
The Ticket Description section contains a Description field — a full description of the task to be fulfilled.
Comments
The Comments section is a 1-dimensional communication tool for sharing messages and files with users or groups in the context of a specific ticket record. Its primary aim is to pass communication and share files between users and groups for records associated with Sales.
To use the Comments section on a ticket:
- Click on the Comments section header to expand it.
- Write the message you want to communicate in the comment field.
- Attach files if needed — single or multiple files are supported.
- Choose the Users/Groups you want to include.
- Click Post to submit the comment.
- View comments posted by others on the same thread in the scrollable comment feed below.
Note on Comments permissions:
- The owner of the record can view comments.
- Users with admin permission can edit comments.
- Associated attachments can be downloaded by the viewer or owner.
Add / Edit a Ticket
To create a new ticket or modify an existing one:
- To edit an existing ticket — click the pencil icon on any row in the View Support Tickets list. Note: the edit icon is not shown for tickets with a Closed status.
- To add a new ticket — click the Add button at the top of the View Support Tickets page.
Both actions open the Add/Edit a Support Ticket page with the following fields:
Support Ticket Information
| Field | Description |
|---|---|
| Ticket Name | User-friendly name to quickly identify the ticket. |
| Ticket ID | Unique number to identify the ticket (auto-assigned). |
| Category | Category/type of the ticket. Options: New Requirements, Issues, Design Change Request, Configuration, Question. Choose the category which best suits the task. |
| Priority | Priority of the task. Options: Urgent, High, Medium, Low, Enhancement. |
| Status | Current status. Options: New, Assigned, In Progress, Fixed, Closed. |
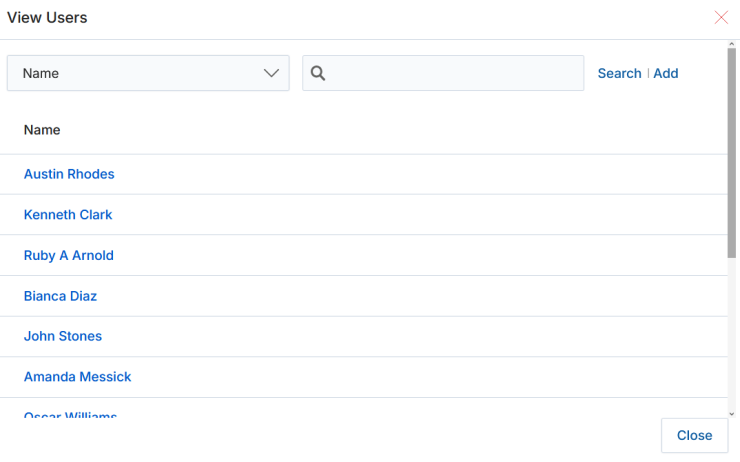
| Assign To | The user responsible for completing the task. Click Select to open the View Users dialog and choose the assignee. |
| Schedule Date | Target completion date of the task. |
| Attachments | Files or documents for the ticket. Click Browse to upload from an accessible machine folder. |
| Created By | Displays the user who created the ticket. |
| Partner Account | Displays the associated partner account. |
The Ticket Description section contains a rich-text Description field for the full description of the task to be fulfilled.
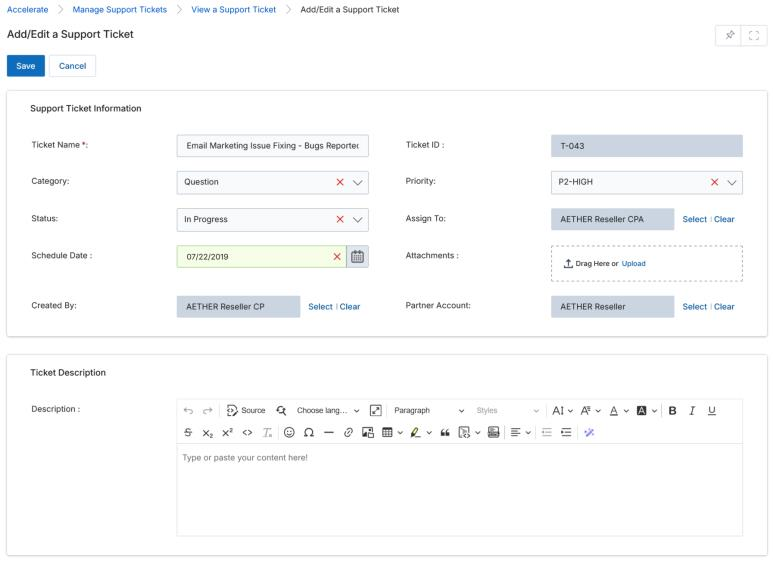
When all fields are complete, click Save. You will be returned to the View Tickets page, where you can open the ticket again to add comments or make further edits.