

Overview
Communities are integral to fostering collaboration and knowledge sharing among partners within the ecosystem. This module enables administrators to oversee the various discussion forums and groups available to partners, ensuring they can easily find relevant communities and manage their engagement preferences. By providing options for email notifications and the ability to mark communities as favorites, the platform helps partners stay informed and connected to the discussions most pertinent to their business needs.
Viewing Communities
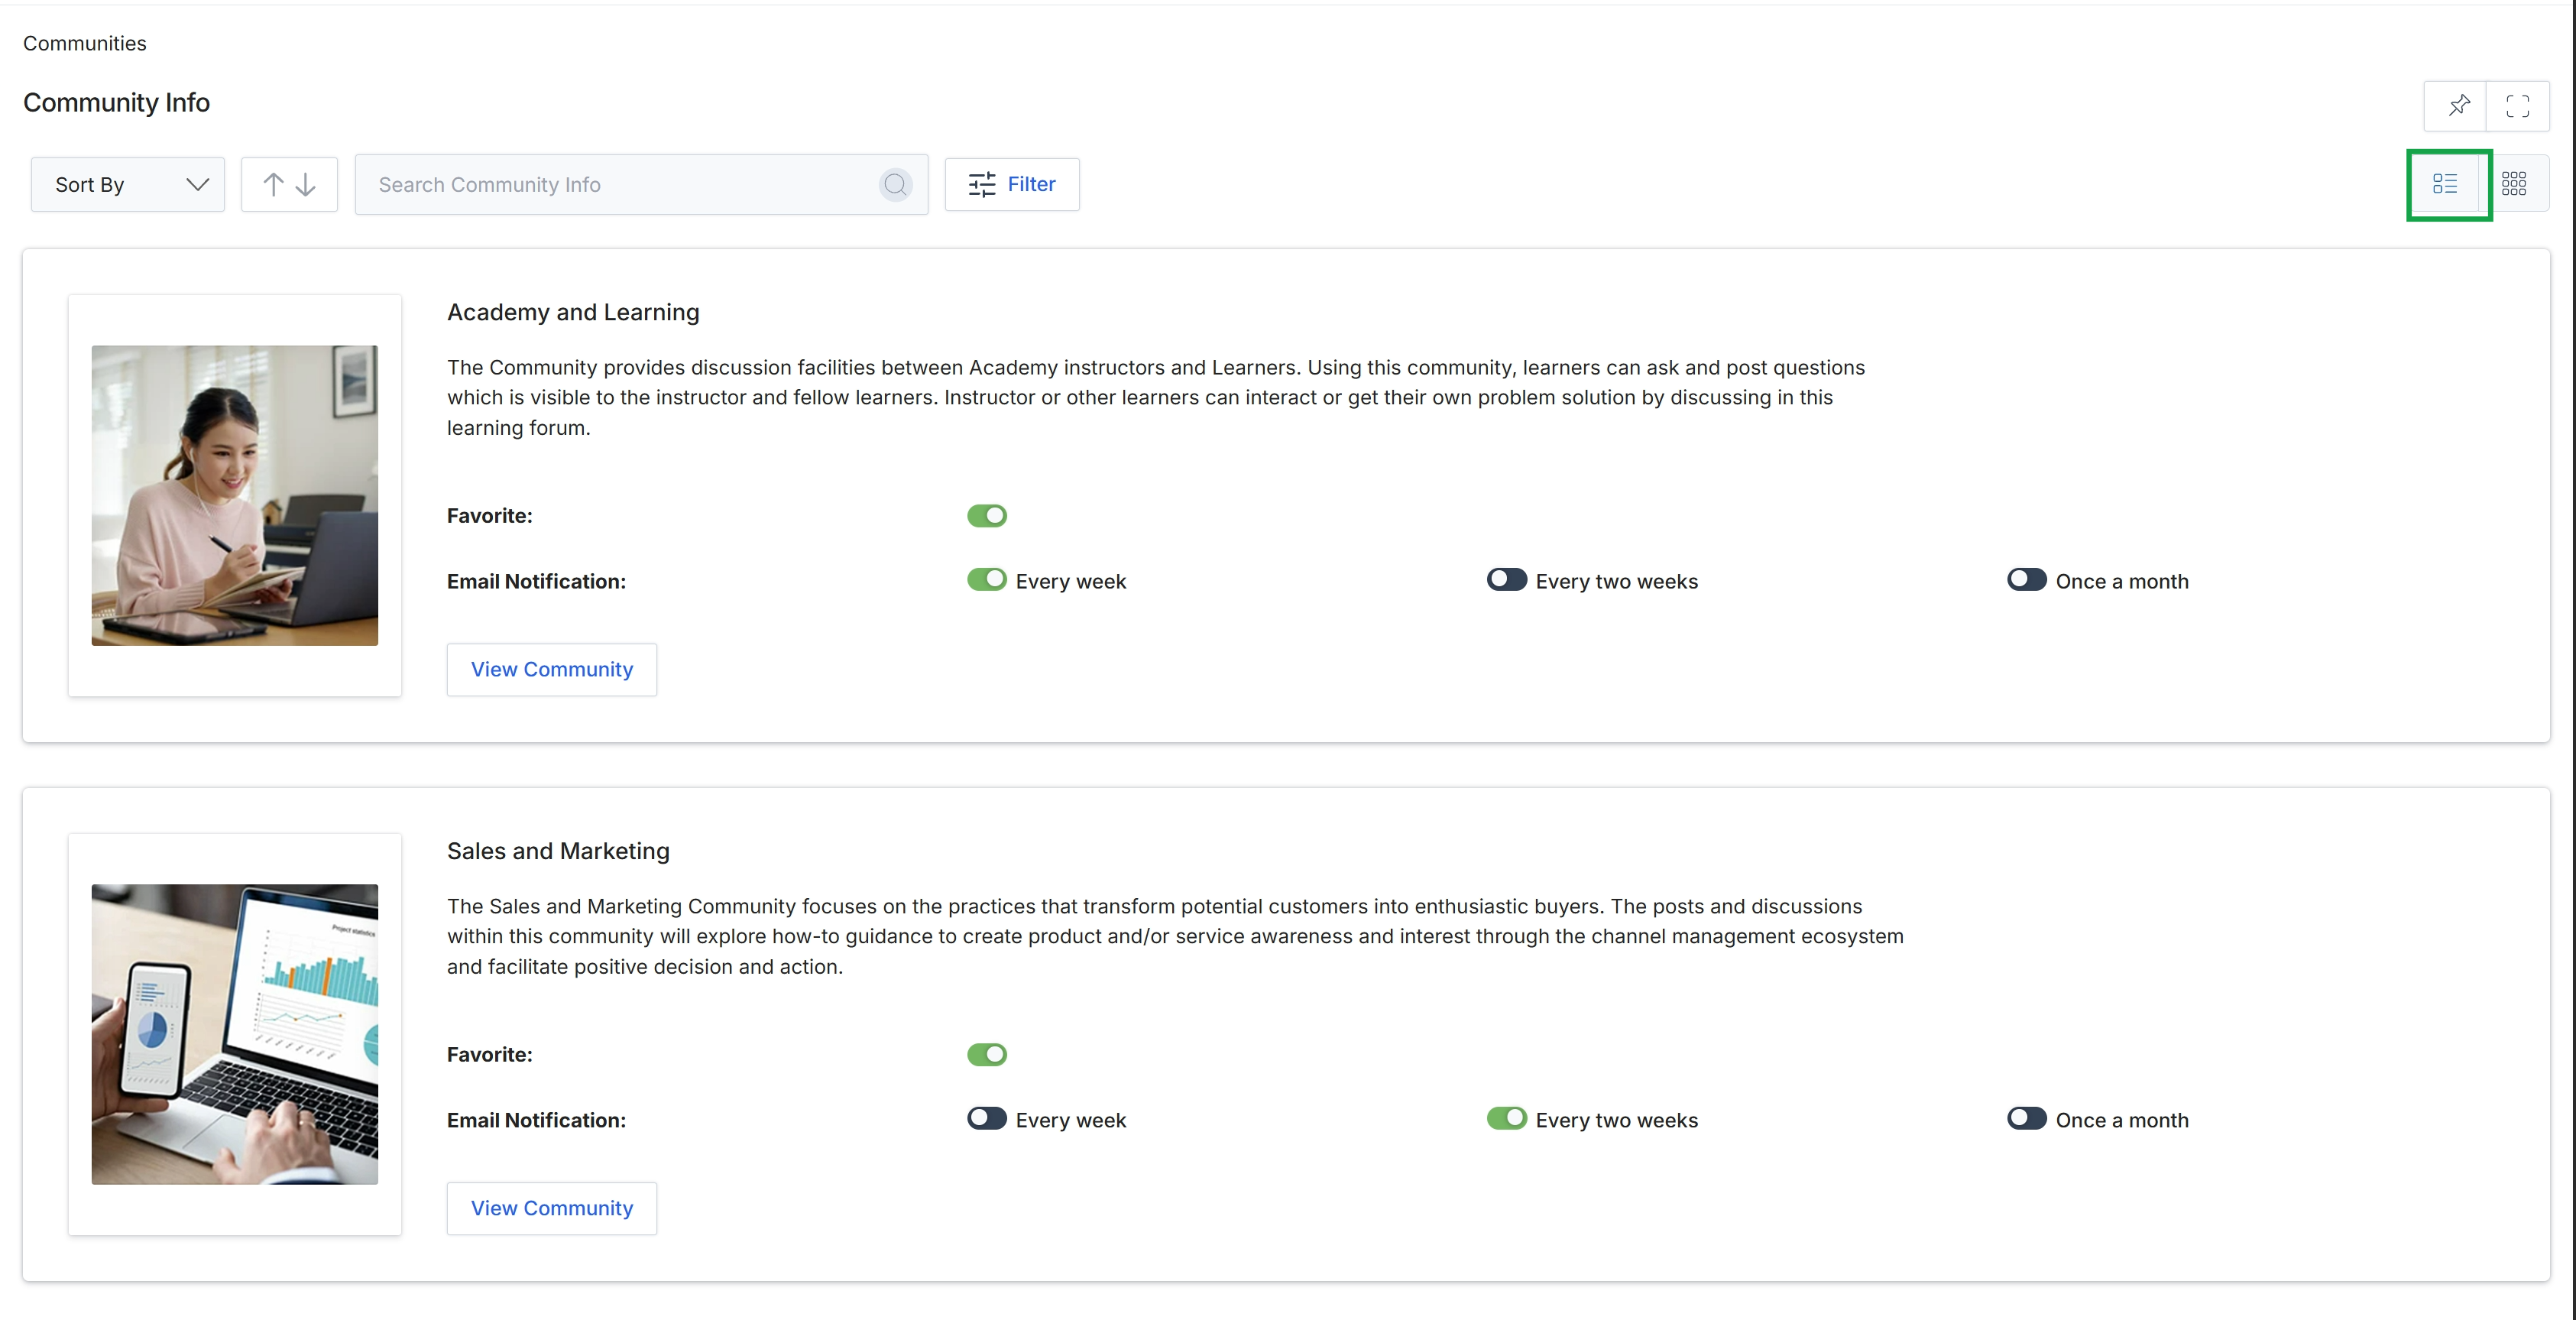
Click the List View icon.
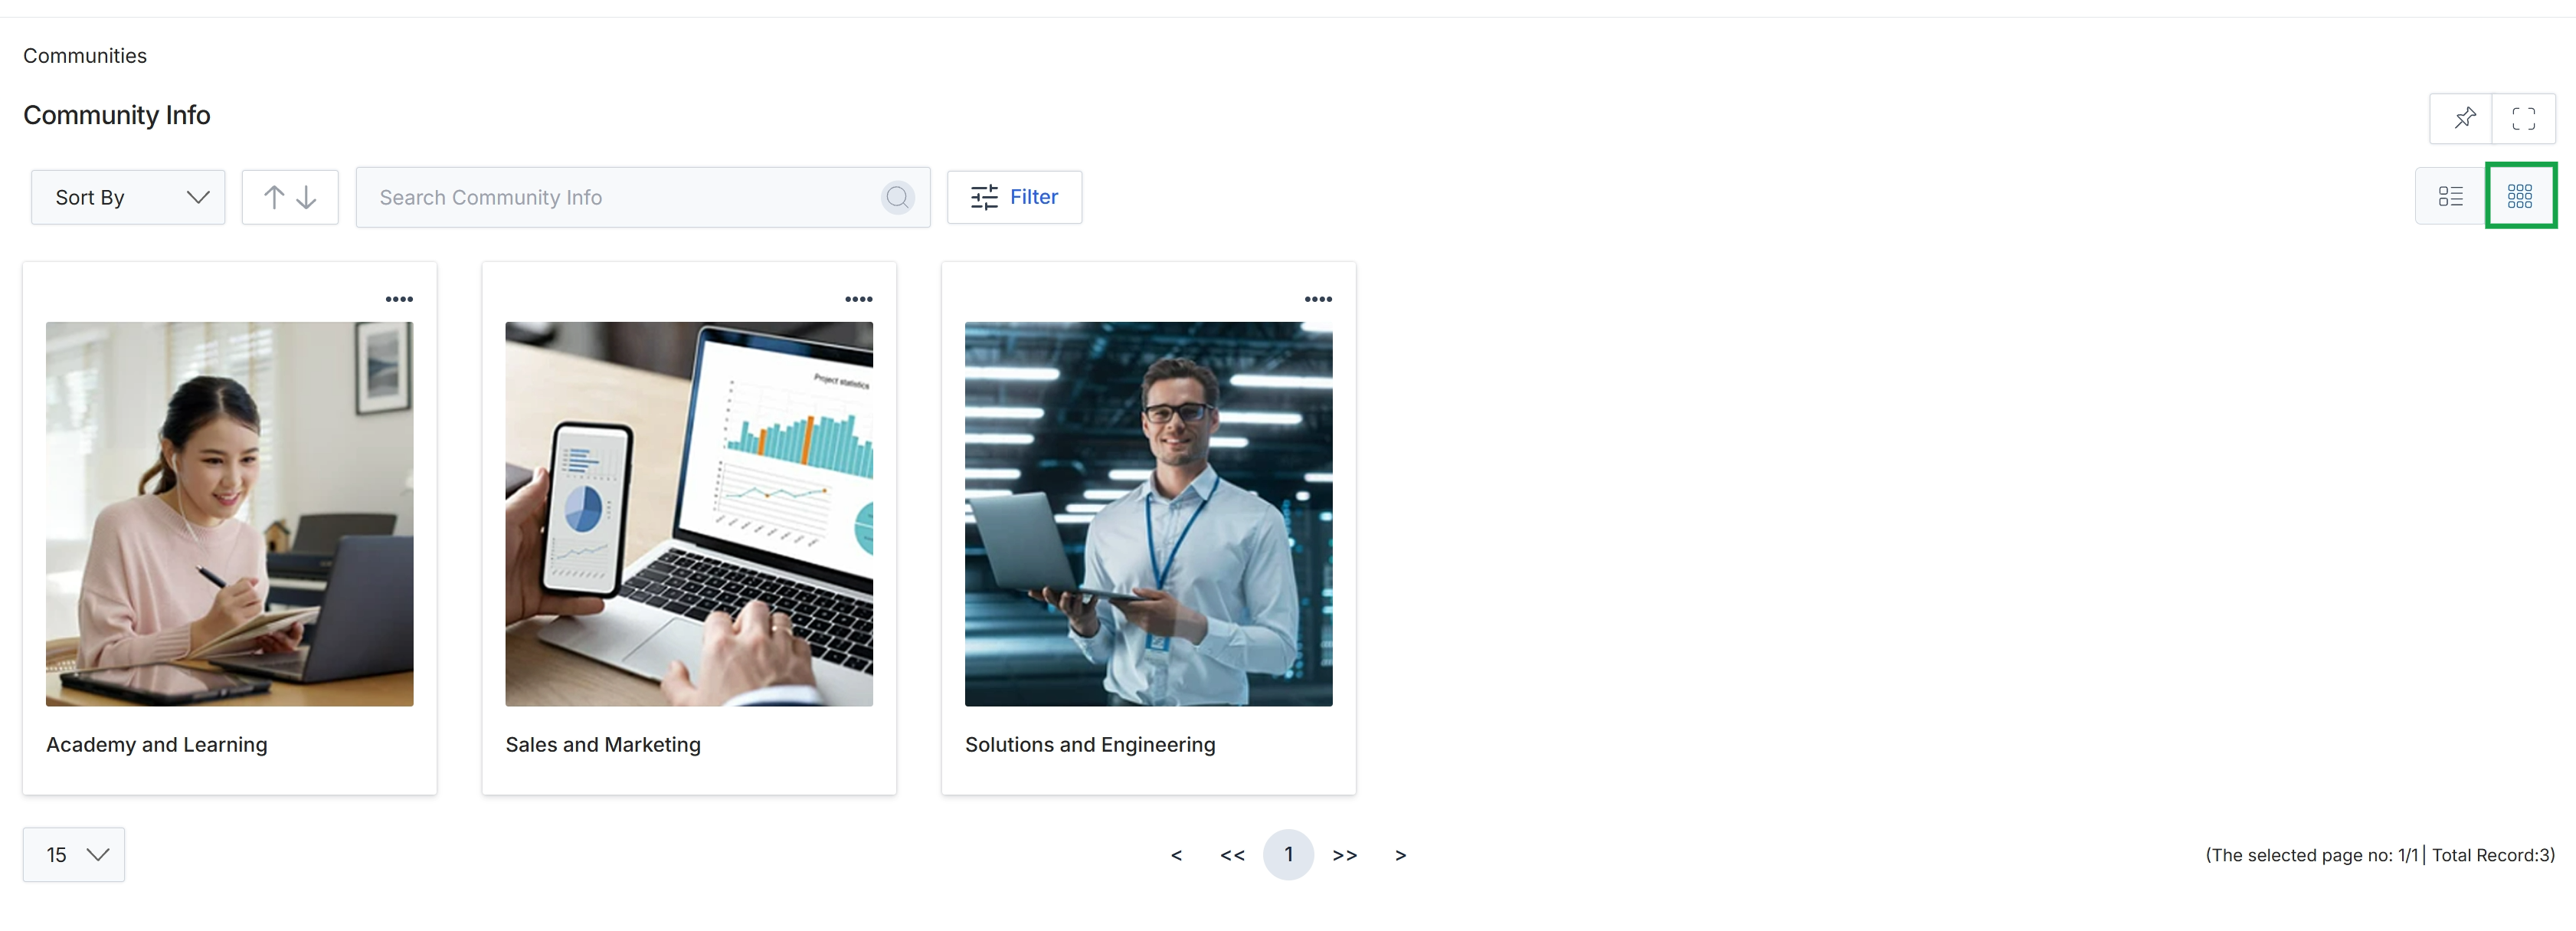
Click the Grid View icon.
Searching and Filtering Communities
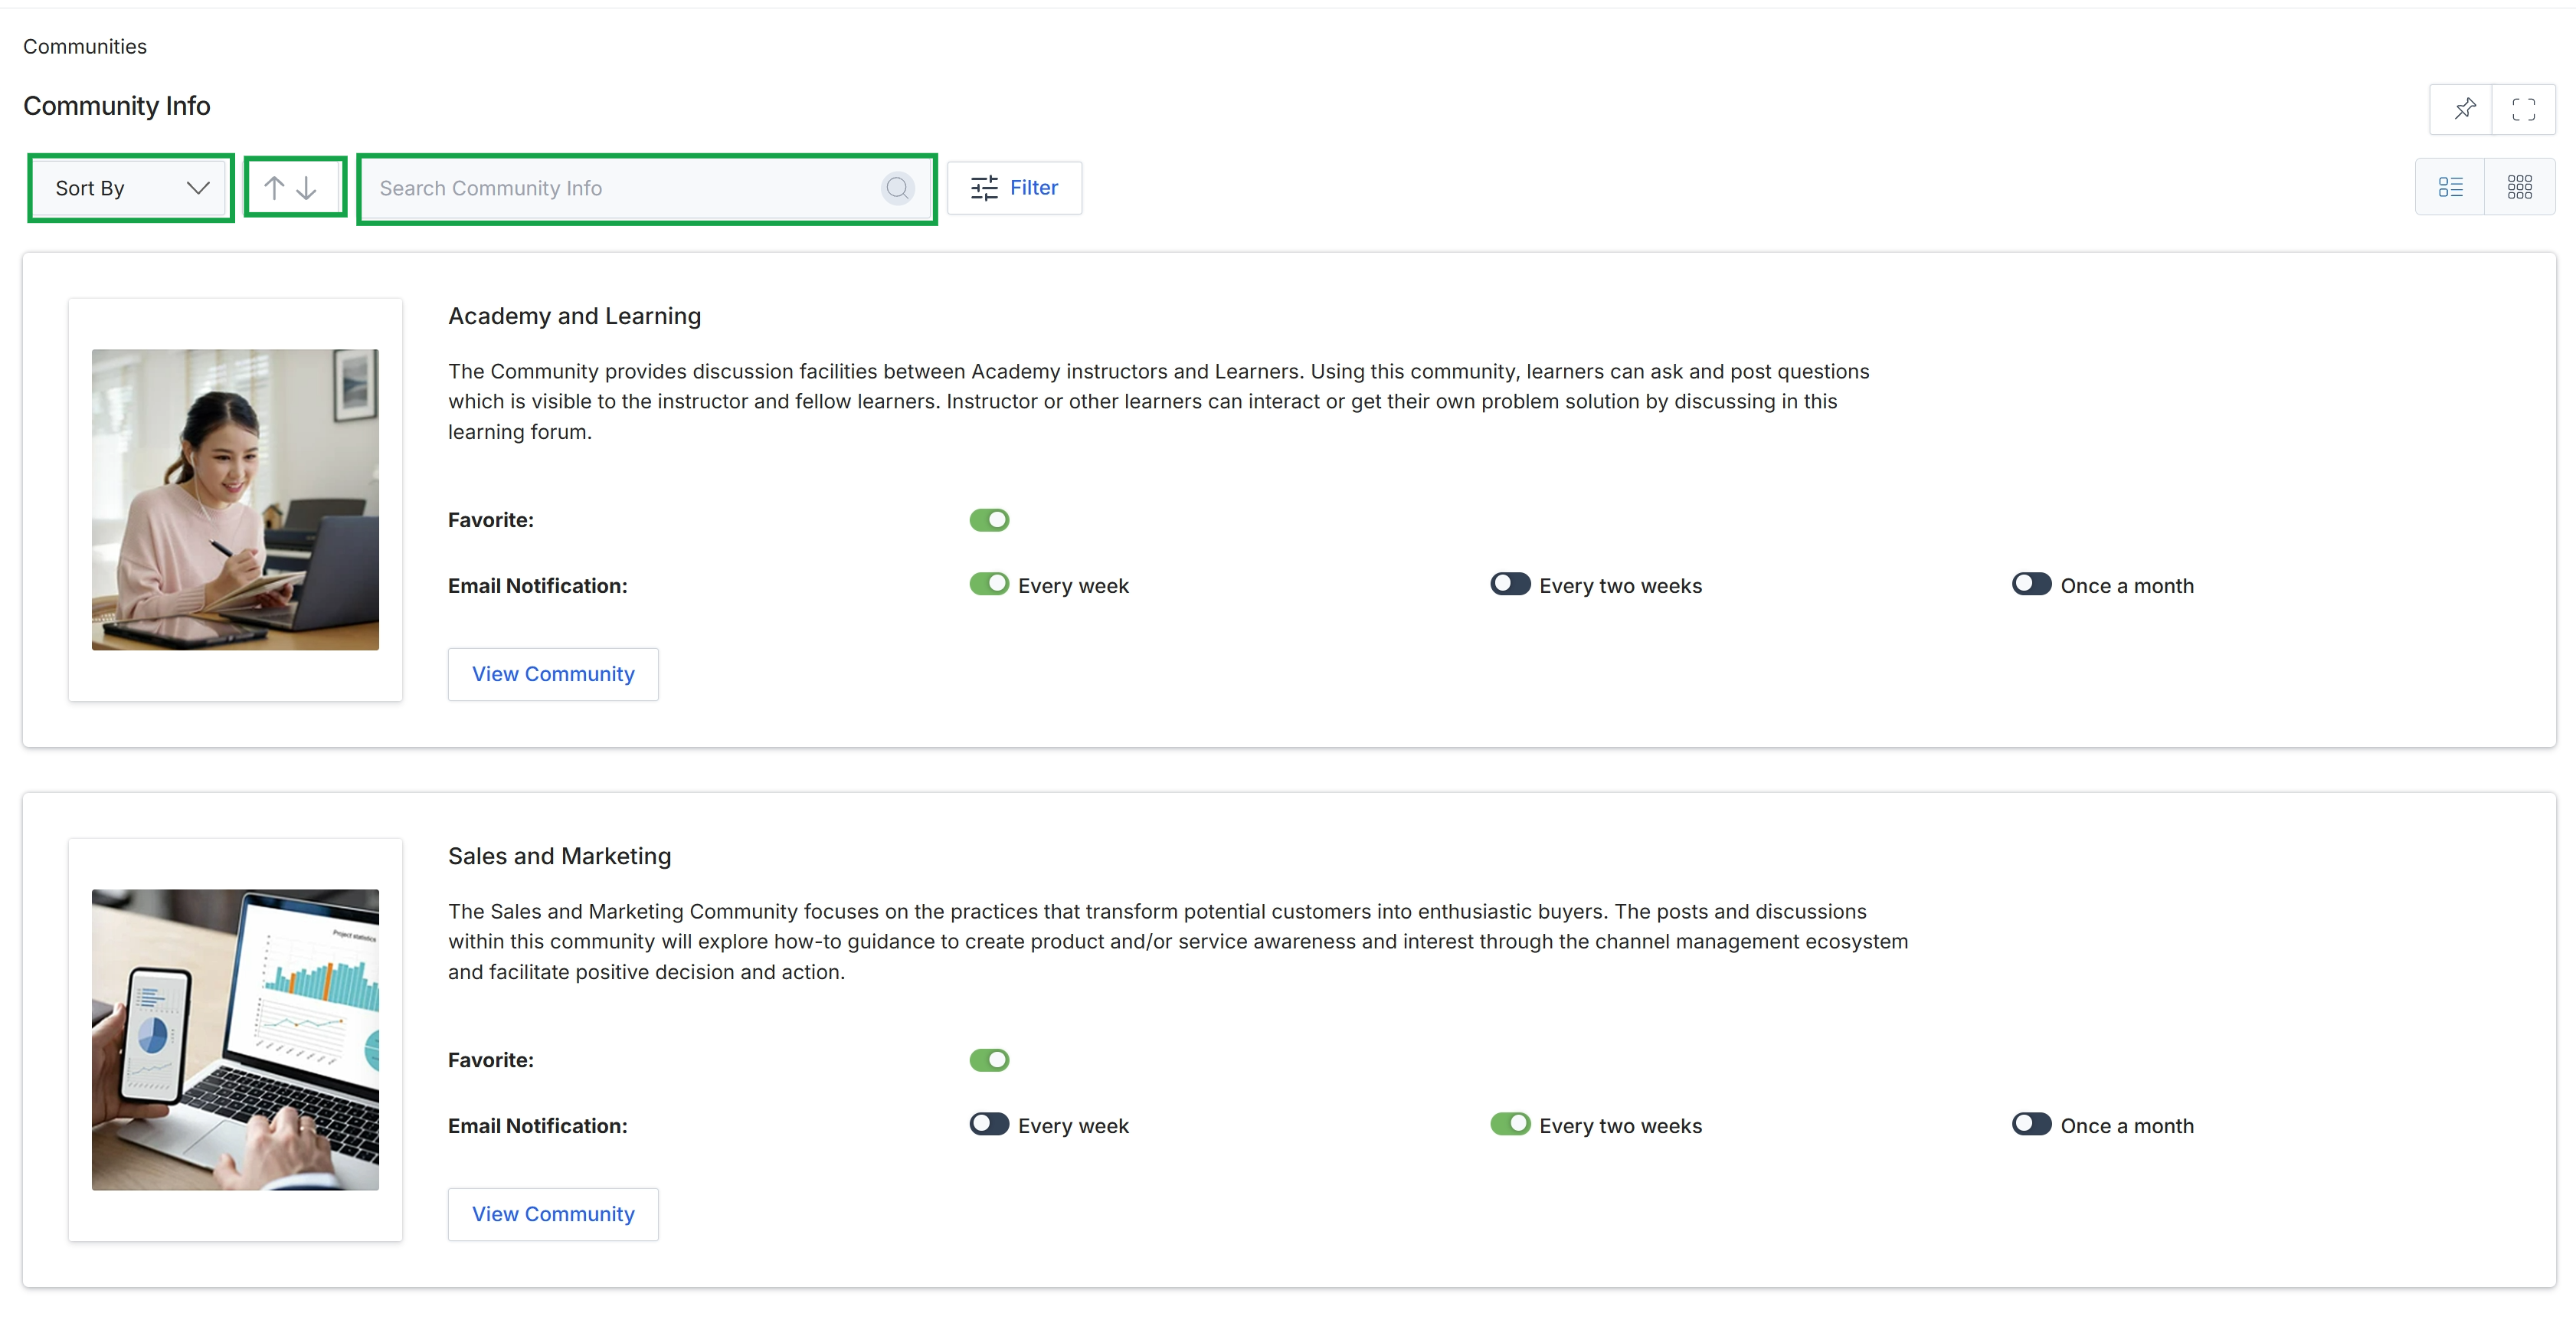
This screen presents a list of available communities within the platform, allowing users to browse and manage their engagement with each one. Each community is displayed as a card, providing a brief description and options for marking it as a favorite and configuring email notification frequency. Users can sort the communities, adjust the display order, and search for specific communities using the provided search bar, facilitating discovery and personalized interaction with the community features.
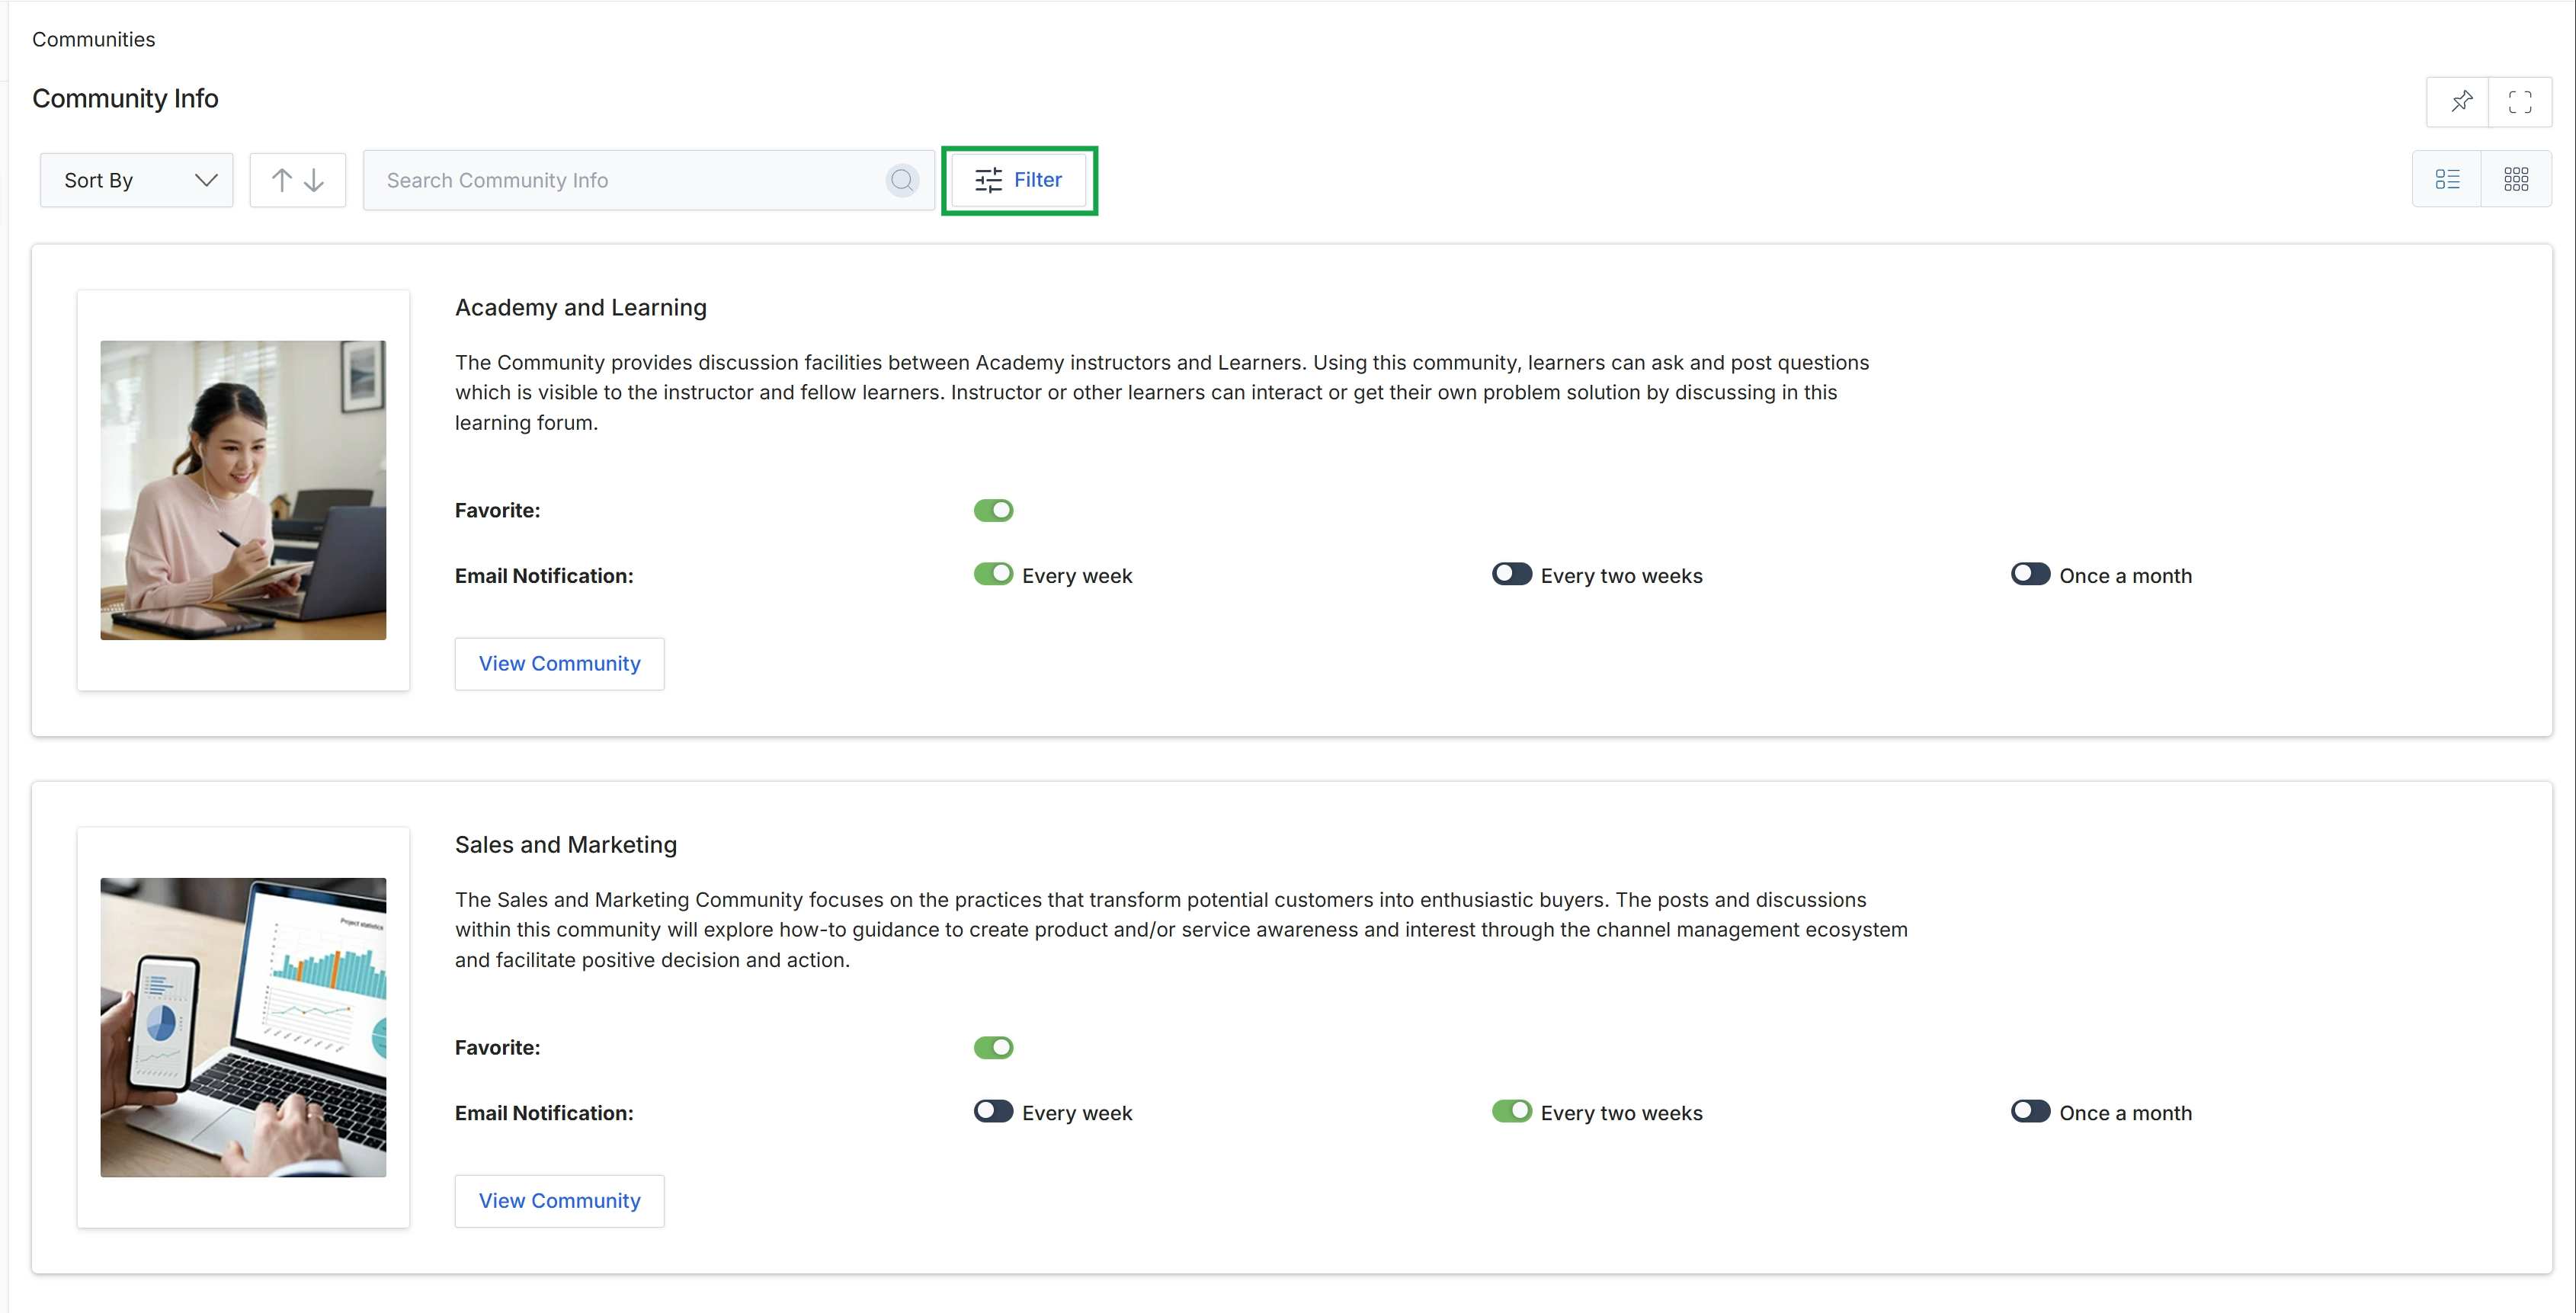
Click the Filter button.
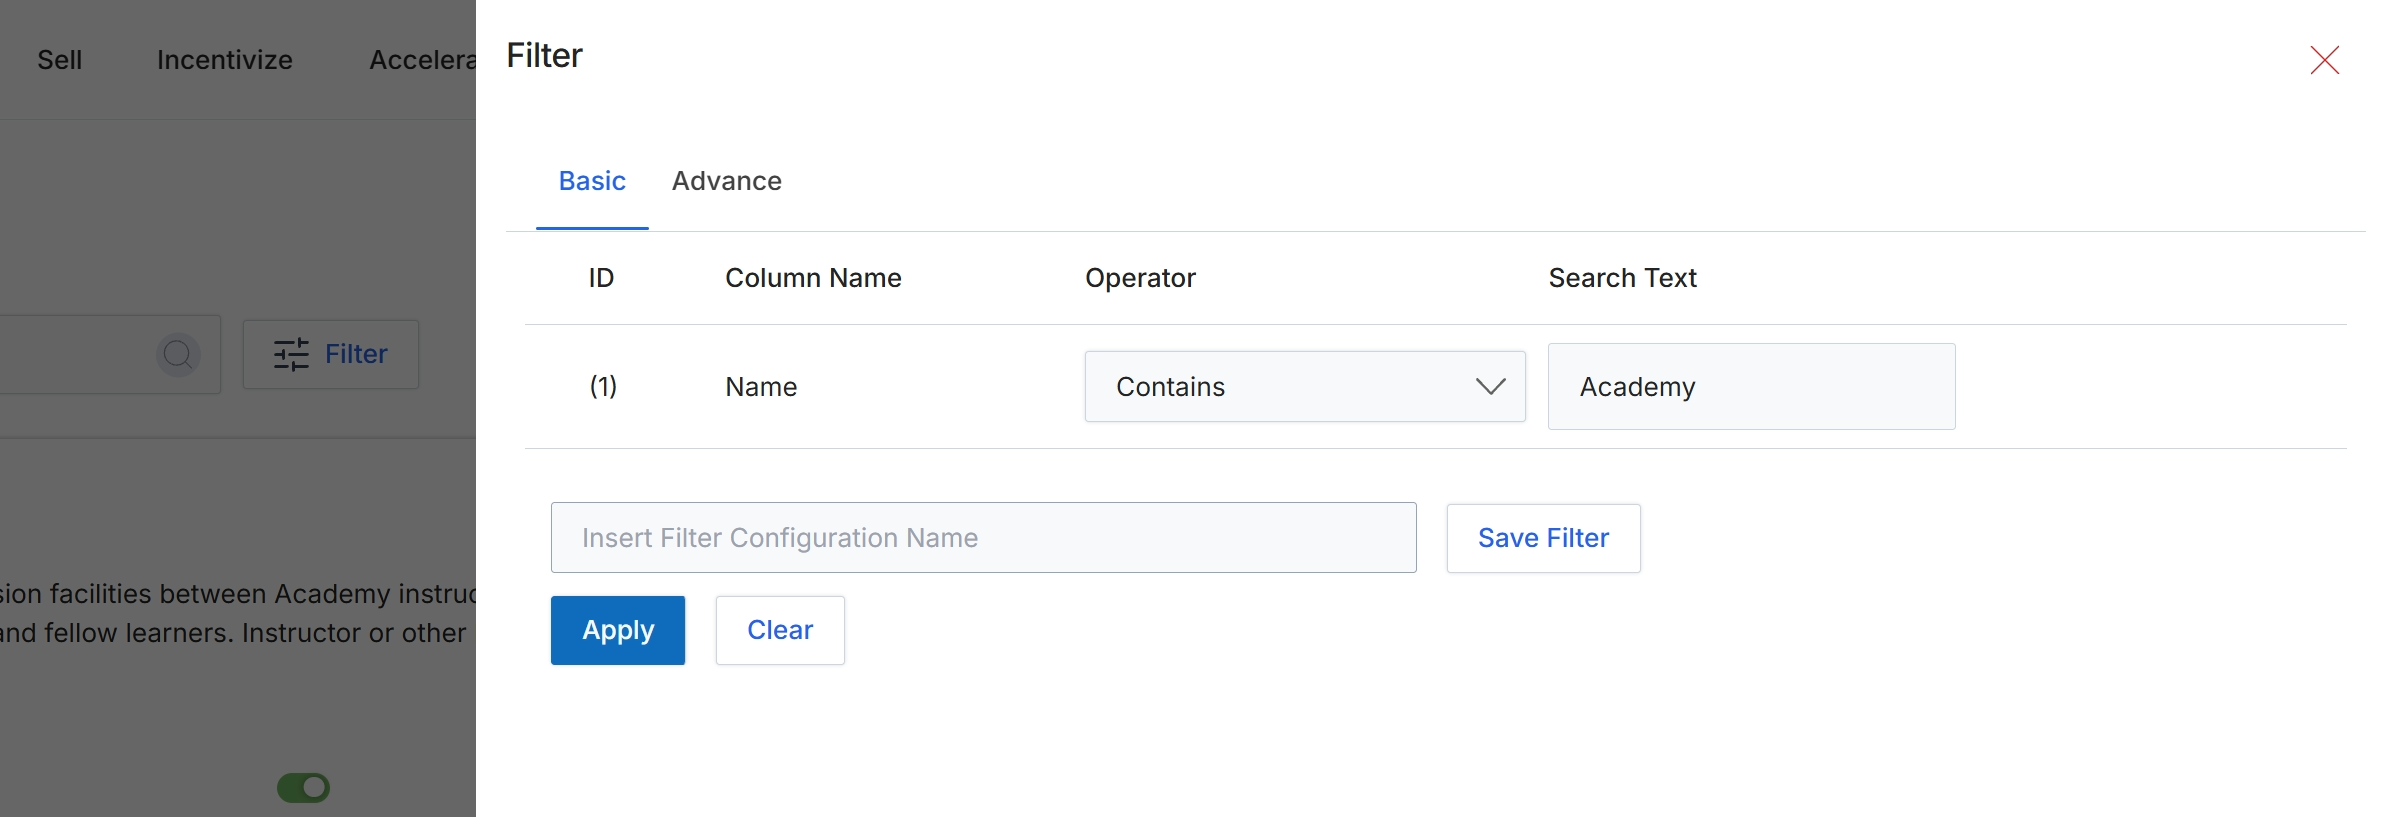
This filter dialog provides a mechanism for users to refine the data displayed in a list or table view by applying specific criteria. It allows for both basic and advanced filtering options, enabling users to narrow down results based on various attributes of the displayed items. In the context of the Community & Discussions Management module, this feature helps users quickly locate specific communities or discussions by filtering on properties like name, status, or other relevant fields. Filters can be applied temporarily or saved for future use, streamlining data analysis and navigation within the platform.
Apply the filter condition to refine the displayed list of communities.
Buttons
| Button | Description |
|---|---|
| Basic | A tab to configure basic filter conditions. |
| Advance | A tab to configure advanced filter conditions. |
| Save Filter | A button to save the current filter configuration under the specified name. |
| Apply | A button to apply the configured filter conditions to the data and update the displayed list. |
| Clear | A button to remove all active filter conditions and reset the view to show all items. |
| Close | A button to close the filter dialog without applying or saving changes. |
Fields
| Field | Description |
|---|---|
| Name | The selected column name for the filter condition, indicating that the filter is applied to the 'Name' field of the items. |
| Contains | The selected operator for the filter condition, specifying that the 'Name' field should contain the search text. |
| Academy | The text value to search for within the 'Name' field. |
| Insert Filter Configuration Name | A text input field to enter a name for saving the current filter configuration for future use. |
Column Headings
| Column | Description |
|---|---|
| ID | A header for the filter condition's unique identifier. |
| Column Name | A header for the name of the column or field to which the filter is applied. |
| Operator | A header for the comparison operator used in the filter condition (e.g., 'Contains', 'Equals', 'Starts With'). |
| Search Text | A header for the value or text to search for within the specified column. |
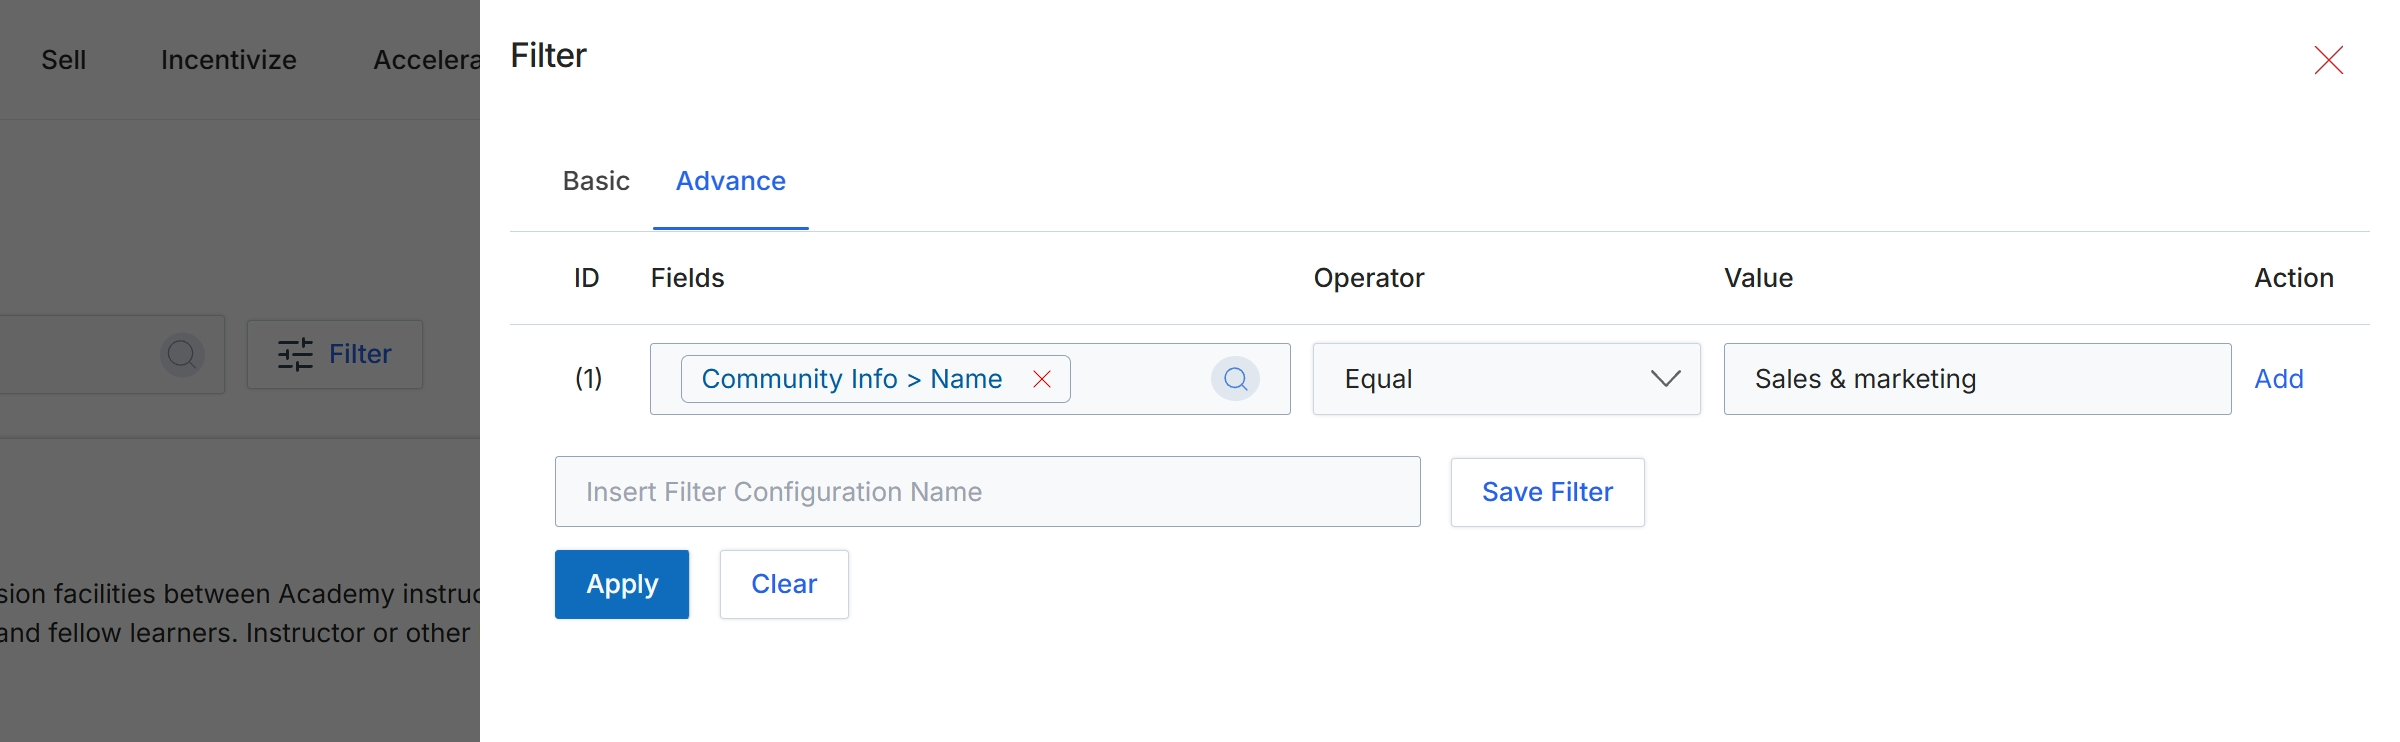
This filter dialog provides advanced options for refining data displayed in list views across the UPM. It allows users to construct complex queries by defining one or more filter rules, each specifying a field, an operator, and a value. This granular filtering capability helps users quickly locate specific records, such as communities, by focusing on specific attributes like community name or type. The dialog supports saving frequently used filter configurations for future application, enhancing efficiency in data retrieval and analysis.
Define a filter rule by selecting a field, an operator, and a value, then click 'Apply' to filter the displayed data.
Buttons
| Button | Description |
|---|---|
| Basic | Switches to the basic filter configuration options. |
| Advance | Switches to the advanced filter configuration options, allowing for more complex rule definitions. |
| Add | Adds a new filter rule row to the configuration. |
| Save Filter | Saves the current filter configuration with the specified name. |
| Apply | Applies the defined filter rules to the data and updates the list view. |
| Clear | Clears all defined filter rules and resets the filter dialog. |
| Close | Closes the filter dialog without applying or saving changes. |
Fields
| Field | Description |
|---|---|
| Insert Filter Configuration Name | An input field to enter a name for the current filter configuration to save it for future use. |
Column Headings
| Column | Description |
|---|---|
| ID | Identifies the sequence number of each filter rule. |
| Fields | A dropdown to select the data field to which the filter rule will be applied, such as 'Community Info > Name'. |
| Operator | A dropdown to select the comparison operator for the filter rule, such as 'Equal', 'Contains', 'Starts With', etc. |
| Value | An input field or dropdown to specify the value against which the selected field will be compared. |