

Overview
The Co-Branded Assets Management feature empowers partners to localize and personalize vendor-created marketing collateral, making it directly applicable to their own sales and marketing activities. By enabling partners to easily add their company's logo and contact details to approved assets, the platform ensures brand consistency while allowing partners to present themselves as a unified extension of the vendor. This capability is crucial for partners looking to leverage high-quality marketing materials without the overhead of creating them from scratch, fostering a more effective and integrated go-to-market strategy.
Partners can select from a library of co-brandable assets, customize them with their unique branding elements, and then submit the personalized version for an internal approval process. Once approved, the co-branded asset is ready for download and immediate use, streamlining the process of creating impactful, partner-specific marketing content.
Initiating Co-Branding
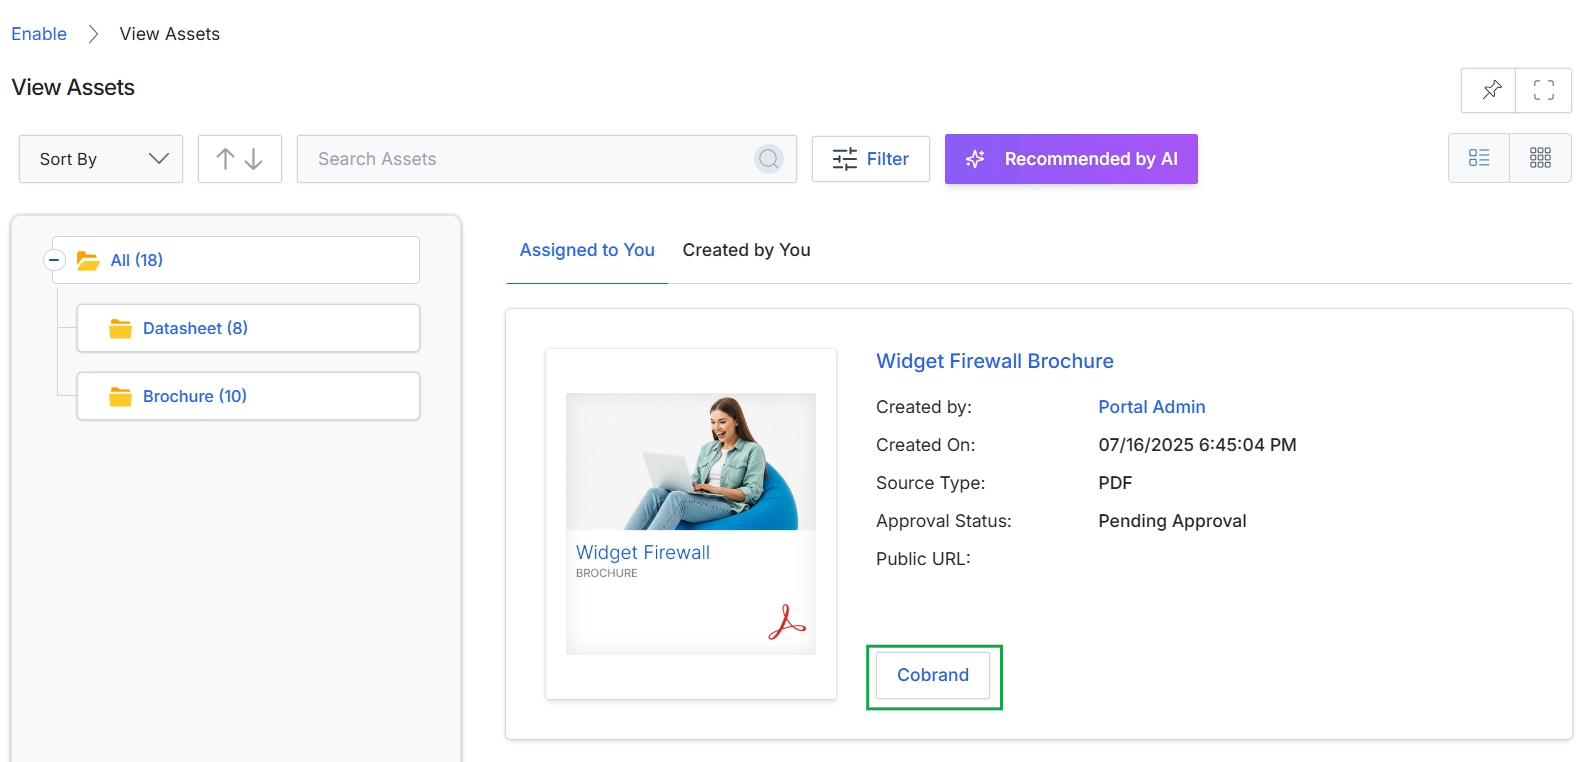
Click the Cobrand button.
Customizing the Asset
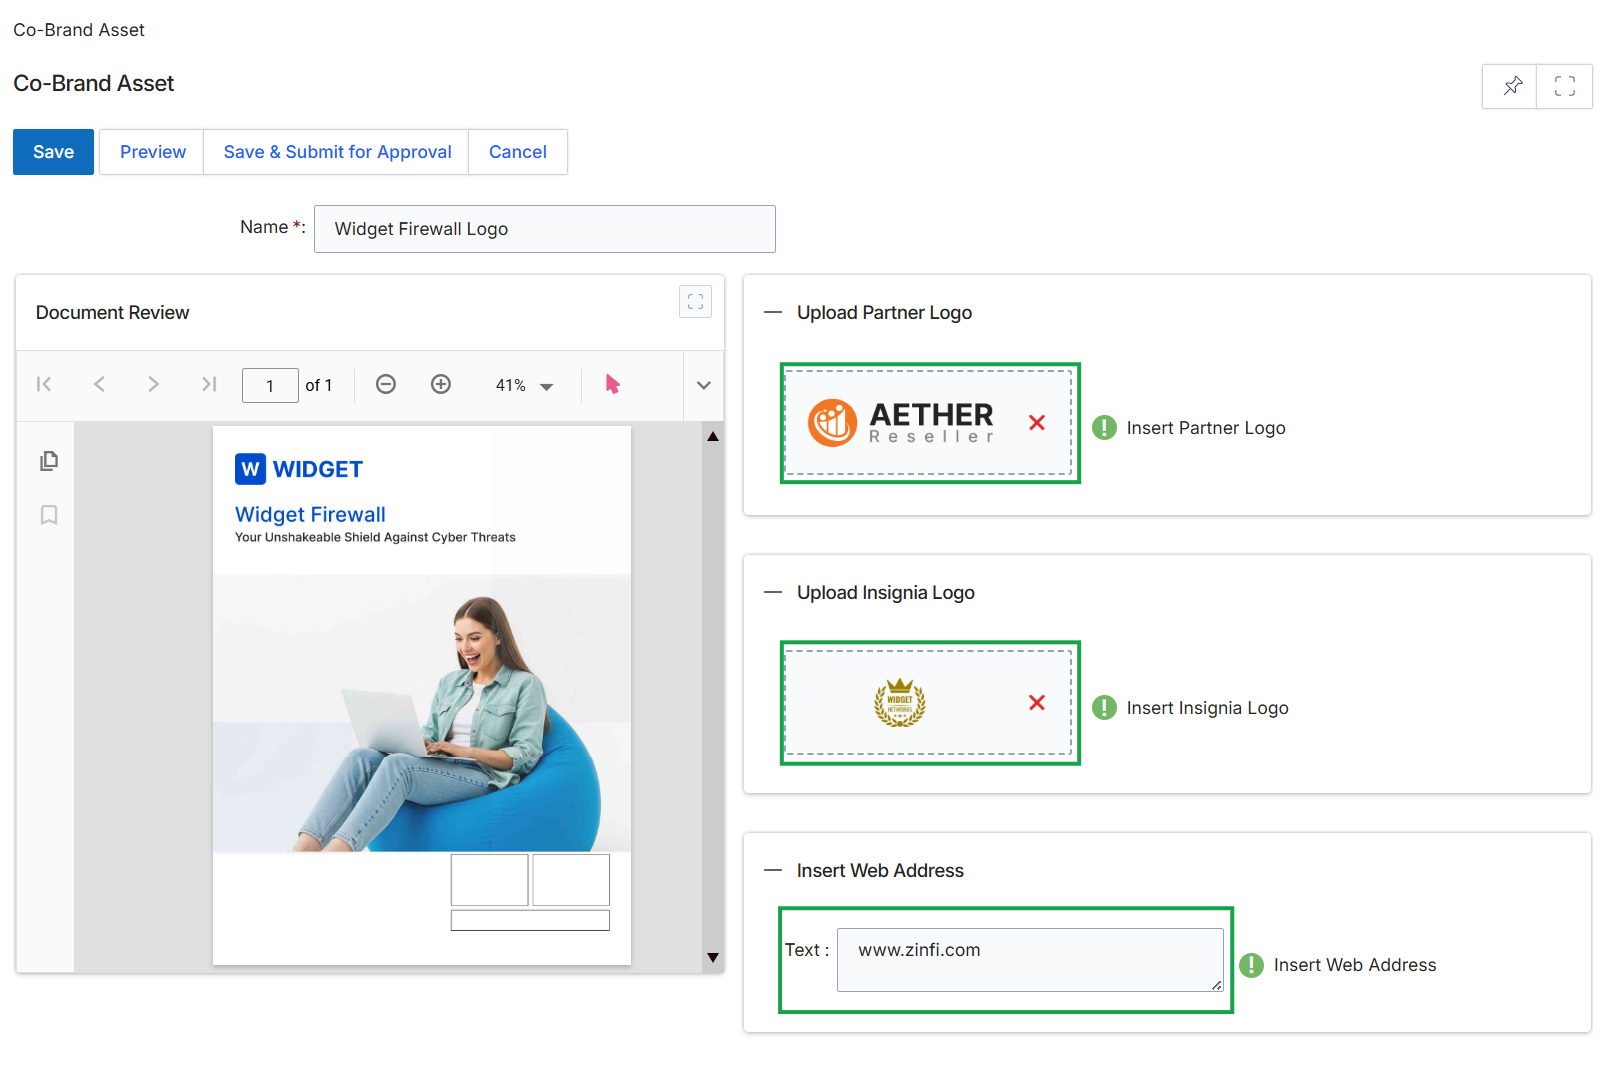
This screen is the Co-Brand Asset creation and editing interface, which allows vendor administrators to configure a marketing asset for partner co-branding. Co-branding is a feature within the Enable module's Asset / Content Library management workflow, enabling partners to personalize vendor-provided collateral with their own logos and contact information. This form facilitates the setup of such an asset by defining its name, specifying where partner-specific branding elements like logos and web addresses should be inserted, and providing a real-time preview of how the co-branded asset will appear. Once configured, these assets can be made available to partners through the partner portal, allowing them to generate personalized versions for their marketing efforts.
Enter a name for the co-brandable asset, upload the partner and insignia logos, and specify the web address to be inserted.
Buttons
| Button | Description |
|---|---|
| Save | Saves the current configuration of the co-brand asset as a draft. |
| Preview | Displays a preview of the co-brand asset with the current settings. |
| Save & Submit for Approval | Saves the co-brand asset and submits it for an approval workflow, making it available to partners upon approval. |
| Cancel | Discards any unsaved changes and exits the co-brand asset creation/edit screen. |
Fields
| Field | Description |
|---|---|
| Name | The required name for the co-brand asset, which helps identify it within the asset library. |
Upload Partner Logo
| Field | Description |
|---|---|
| Upload Partner Logo | Allows the administrator to upload the partner's logo, which will be dynamically inserted into the co-brandable asset. |
| Insert Partner Logo | A placeholder indicating where the partner's logo will be displayed in the asset preview. |
Upload Insignia Logo
| Field | Description |
|---|---|
| Upload Insignia Logo | Allows the administrator to upload an insignia or badge logo, which will be dynamically inserted into the co-brandable asset. |
| Insert Insignia Logo | A placeholder indicating where the insignia logo will be displayed in the asset preview. |
Insert Web Address
| Field | Description |
|---|---|
| Text | The web address (URL) that will be inserted into the co-brandable asset, typically linking back to the partner's website. |
| Insert Web Address | A placeholder indicating where the specified web address will be displayed in the asset preview. |
Selecting Branding Elements
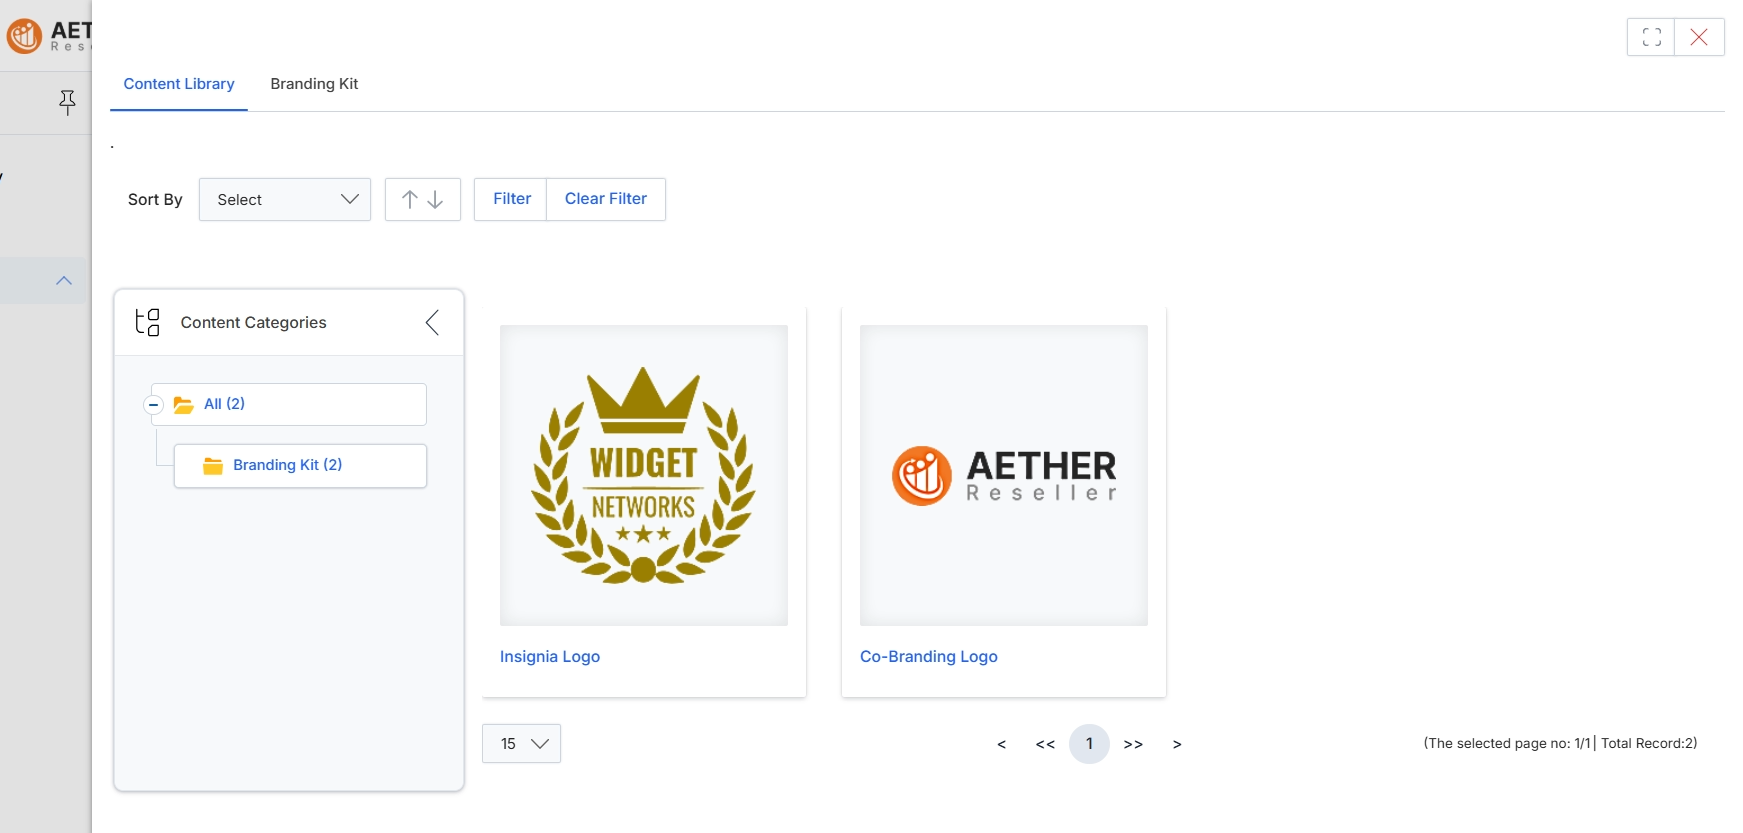
This screen displays the content library, specifically showing available branding assets that can be used for co-branding purposes. It allows administrators to browse and select logos or other branding elements that partners can later incorporate into marketing materials, as part of the co-branding functionality described in the asset library management workflow. The view includes options to sort and filter the displayed assets, and a category panel on the left helps organize the content, such as separating general assets from a dedicated 'Branding Kit' category.
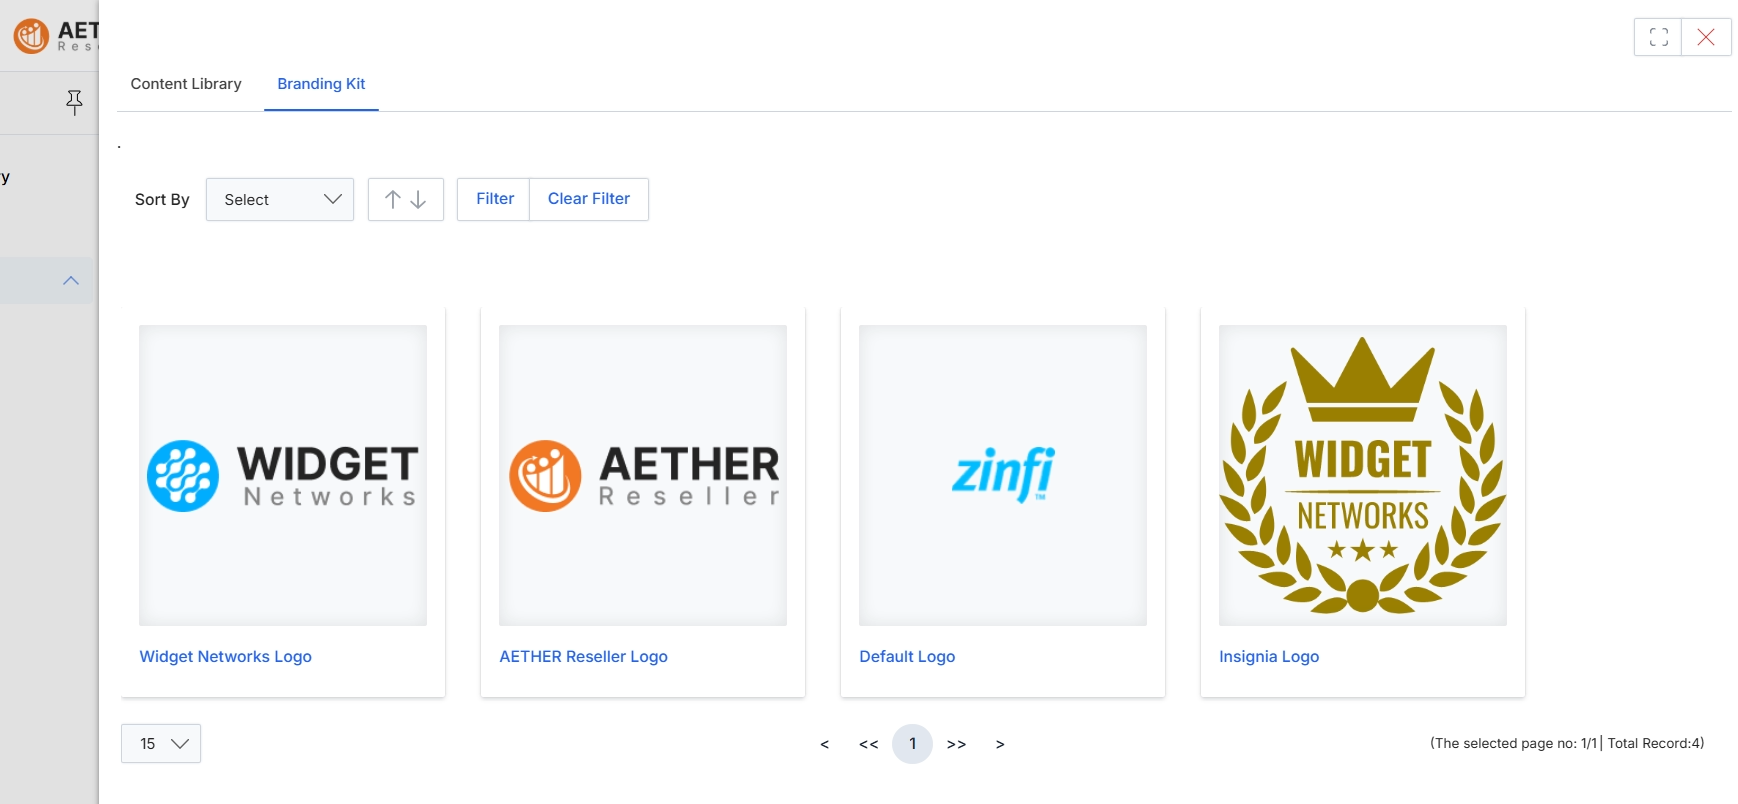
This screen presents the Branding Kit, which is a collection of pre-approved logos available for use in co-branded assets within the Enable module. It allows administrators to view and manage various logo options, such as partner-specific logos or default branding elements, that partners can apply when customizing marketing materials. The display includes sorting and filtering capabilities to help locate specific branding assets efficiently, supporting the workflow for creating co-brandable content.
Previewing and Submitting for Approval
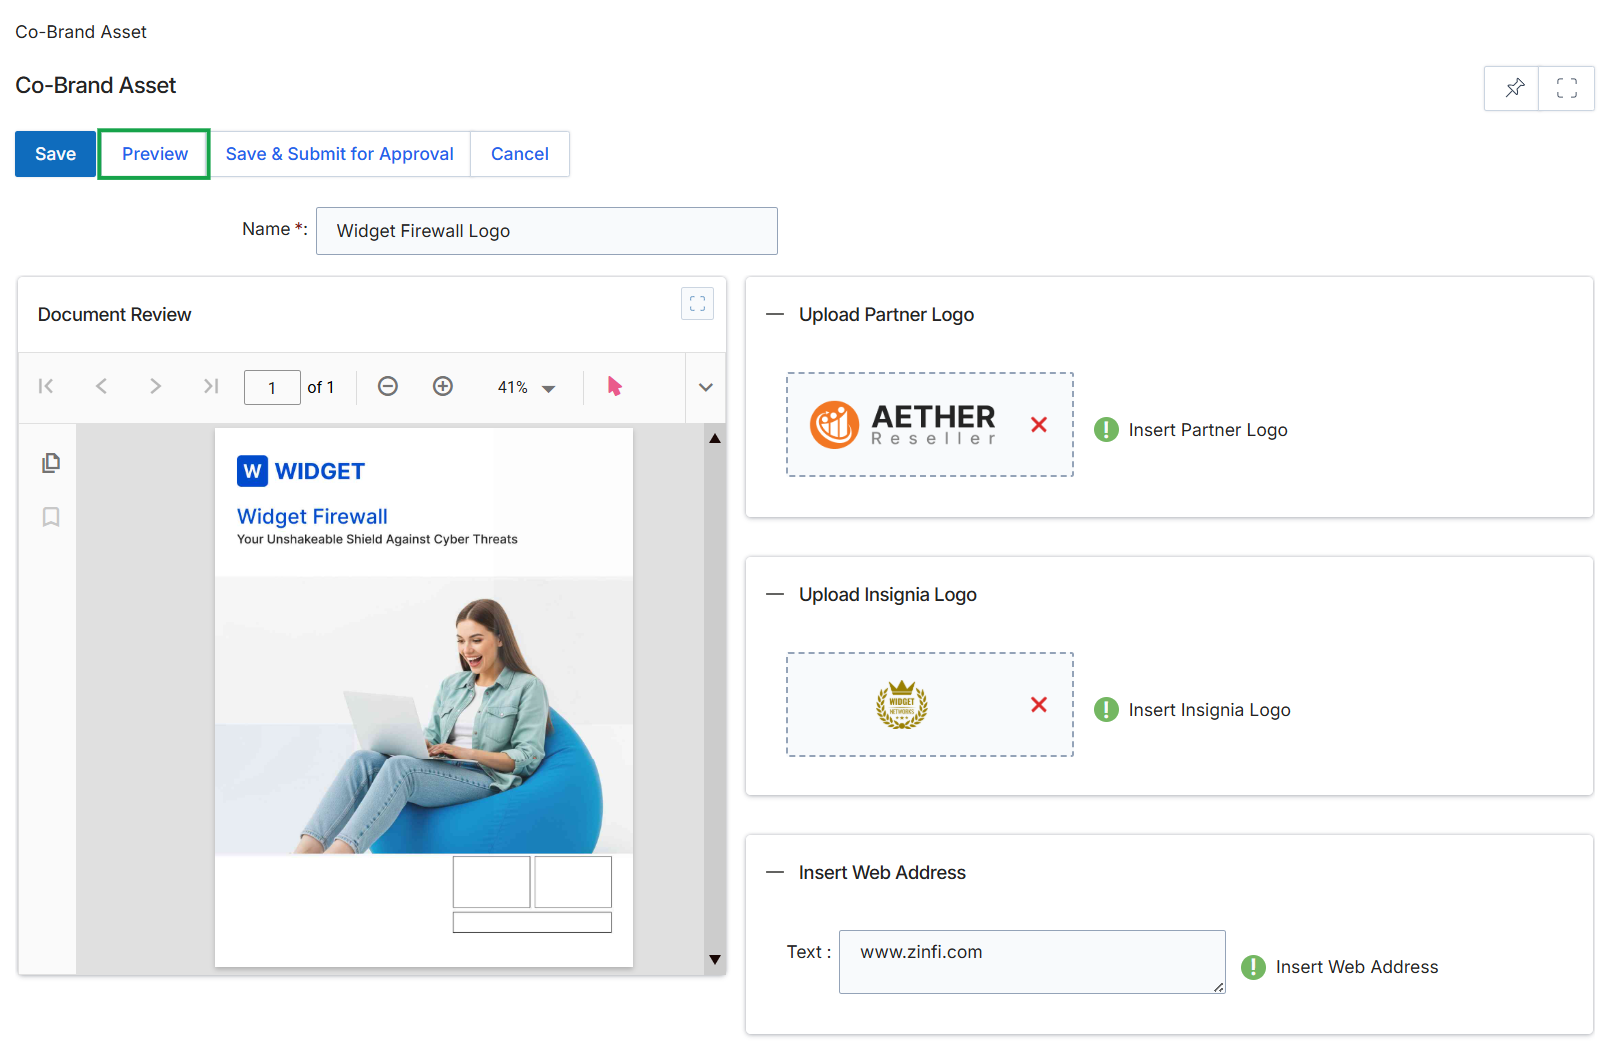
Click the Widget Networks Logo card.
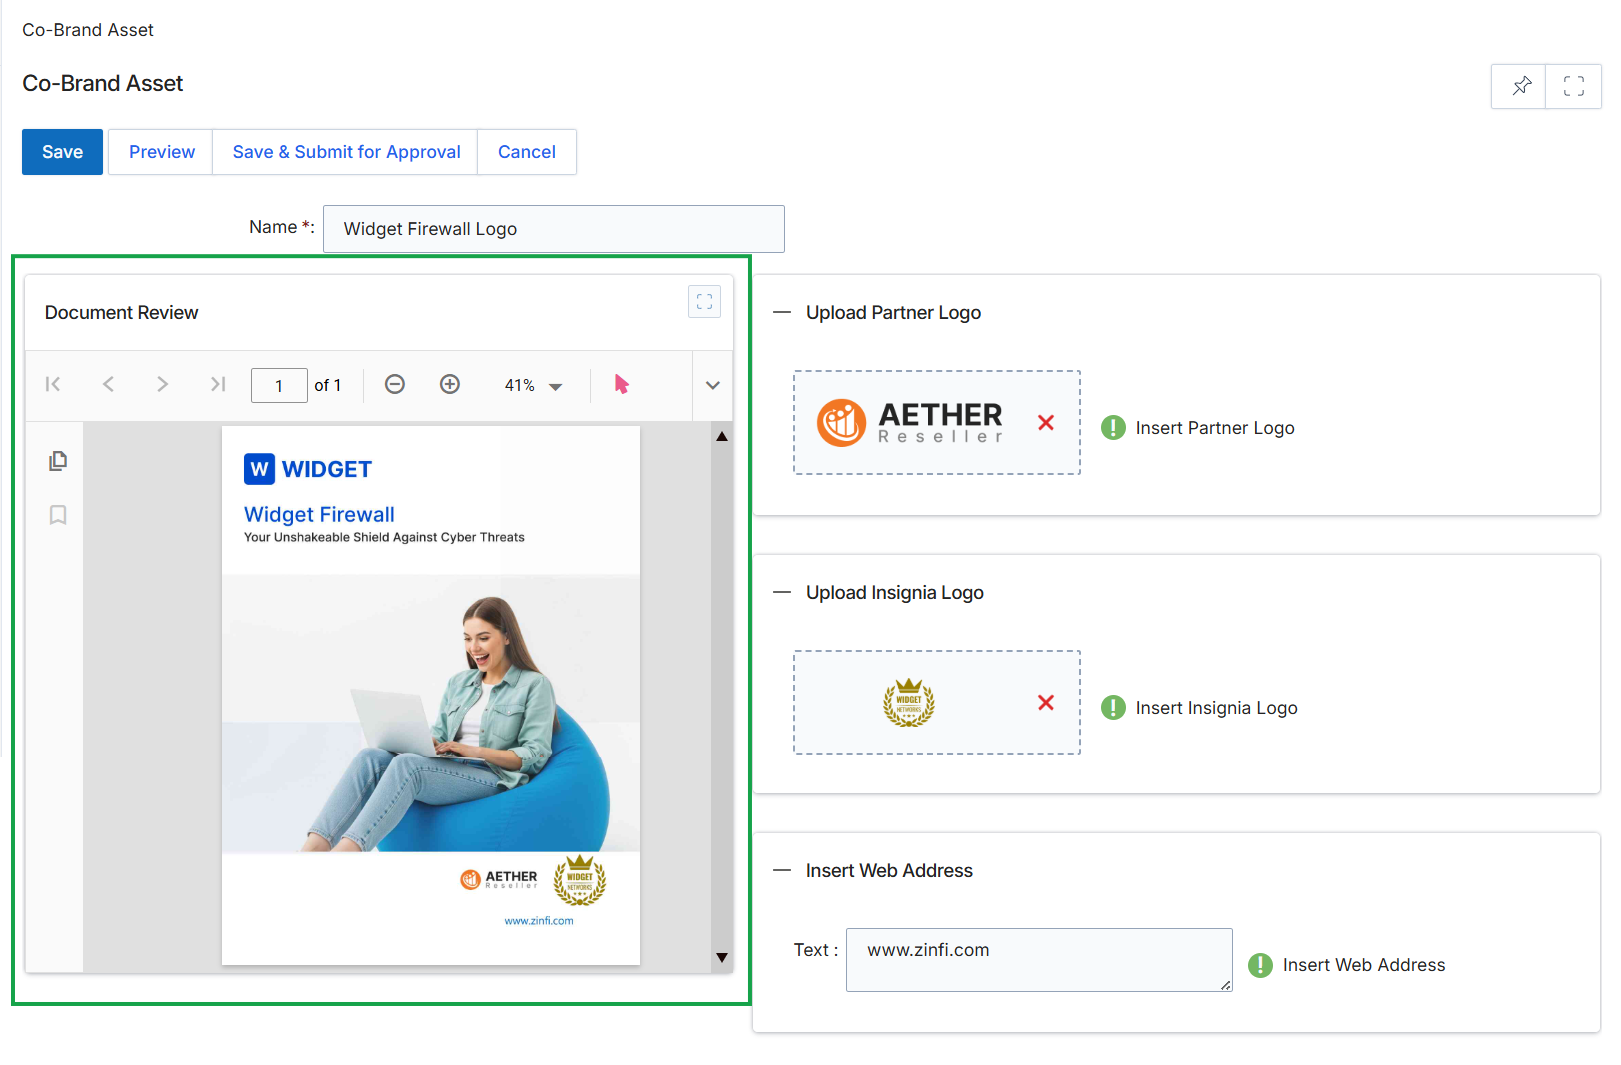
This screen displays the interface for configuring and previewing a co-branded asset within the Enable module. It allows a vendor to define how a marketing asset, such as a document, will appear when customized by a partner. The left panel provides a real-time document review, showing how partner-specific elements like logos and web addresses are integrated into the base asset, while the right panel presents the controls for uploading partner logos, insignia, and specifying a web address for insertion.
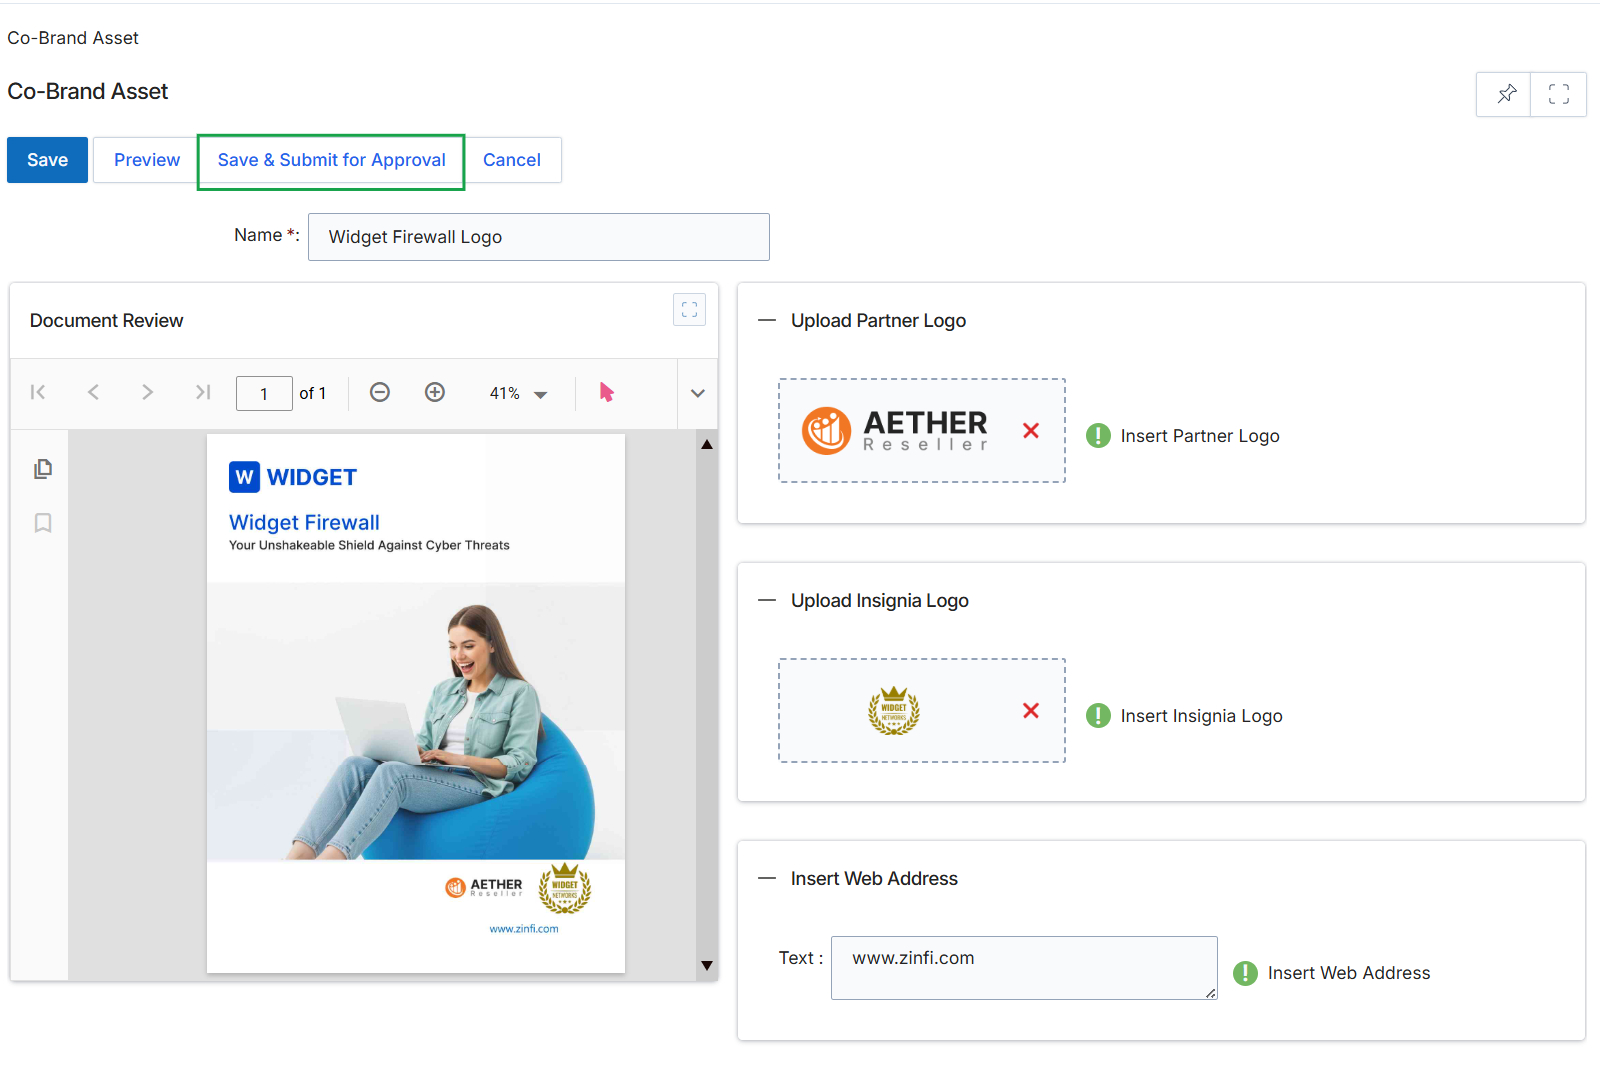
Click Save & Submit for Approval.
Downloading & Details Information of the Co-Branded Asset
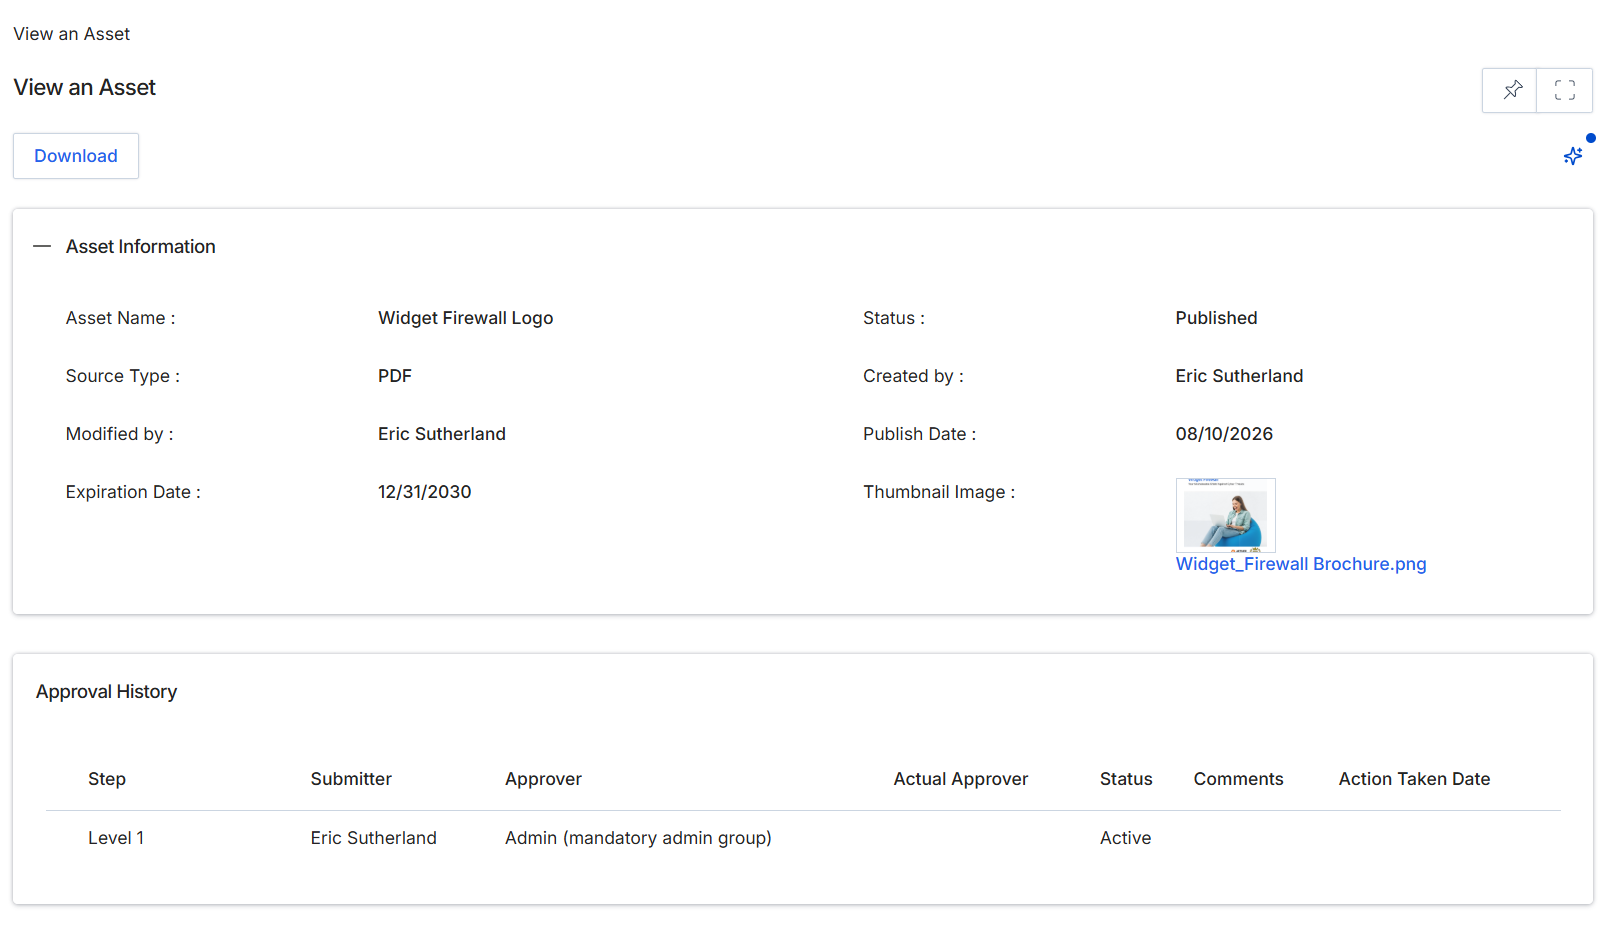
This screen displays the detailed information for a specific asset within the Enable module's content library. Assets are downloadable files such as PDFs, presentations, videos, or images that vendors provide to partners for marketing or sales enablement. This view provides a comprehensive overview of the asset's metadata, including its name, type, status, and important dates like publication and expiration. It also tracks who created and last modified the asset. Below the asset details, an approval history section provides a record of the workflow steps the asset underwent, including who submitted it, who approved it, and its status at each stage. This detailed view helps administrators manage the lifecycle of content, ensure compliance, and understand its journey through any required approval processes before it becomes available to partners.
Review the detailed information and approval history for the selected asset.
Buttons
| Button | Description |
|---|---|
| Download | Initiates the download of the asset file. |
Asset Information
| Field | Description |
|---|---|
| Asset Name | The name given to the asset. |
| Source Type | The file type or format of the asset, such as PDF, video, or image. |
| Modified by | The user who last made changes to the asset. |
| Expiration Date | The date on which the asset is scheduled to expire and potentially be archived. |
| Status | The current publication status of the asset, indicating if it is published, in draft, or archived. |
| Created by | The user who originally created the asset. |
| Publish Date | The date when the asset was made available to partners. |
| Thumbnail Image | A small preview image associated with the asset, often used in content listings. |
| Widget_Firewall Brochure.png | The filename of the thumbnail image. |
Approval History
| Column | Description |
|---|---|
| Step | Indicates the stage of the approval workflow. |
| Submitter | The user who submitted the asset for approval at this step. |
| Approver | The individual or group designated to approve the asset at this step. |
| Actual Approver | The specific user who performed the approval action. |
| Status | The approval status for this particular step in the workflow. |
| Comments | Any comments provided during the approval process. |
| Action Taken Date | The date when the approval action was performed. |
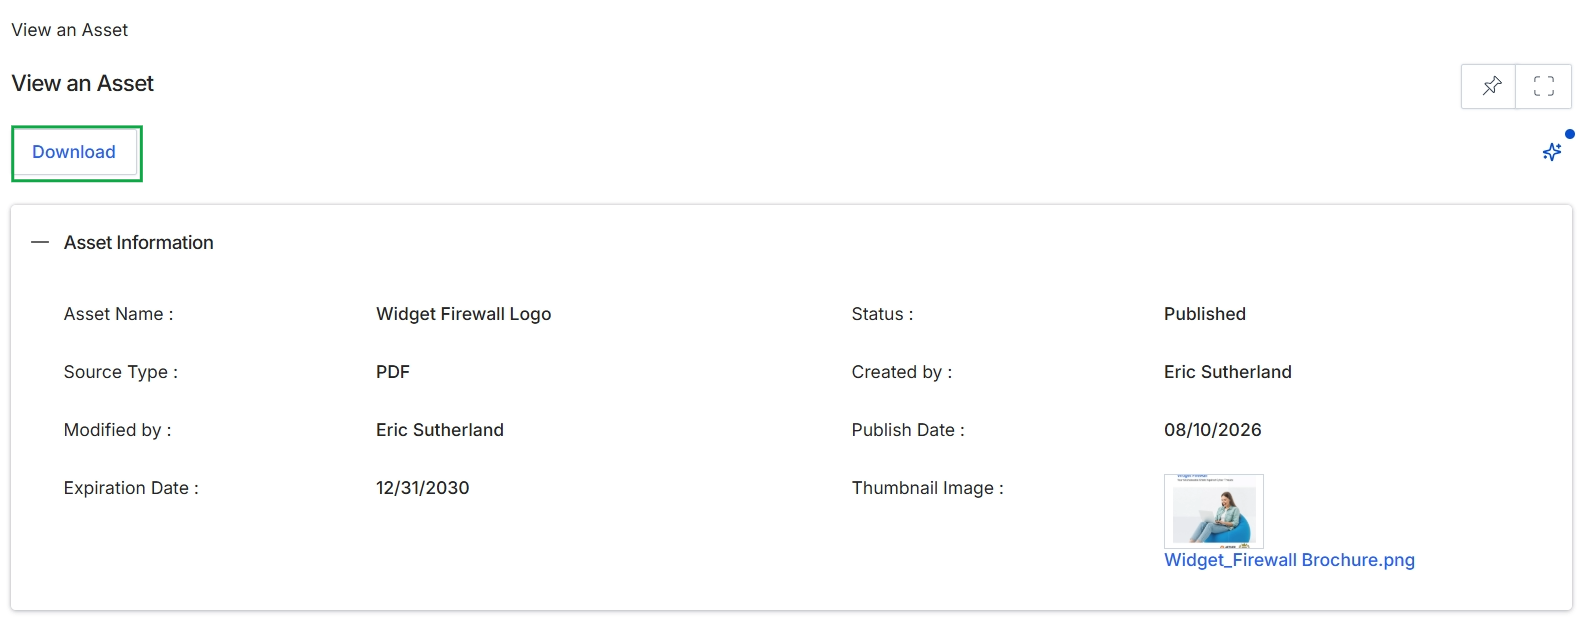
Click the Download button.