

Overview
Communities within the platform provide a vital space for partners to collaborate, share knowledge, and engage directly with the vendor and each other. These discussion forums are crucial for fostering a strong partner ecosystem, enabling partners to get support, share best practices, and stay informed about program updates. Administrators leverage this module to set up and maintain these communities, ensuring they are accessible to the right partners and configured to support effective communication.
Key Features
- Community List Management
- Search & Filter Communities
- Email Notification Settings
- Community Visibility Configuration
- Geographic & Language Targeting
- User & Group Assignment
- Access Level Control
- Card & List Views
Viewing and Filtering Communities
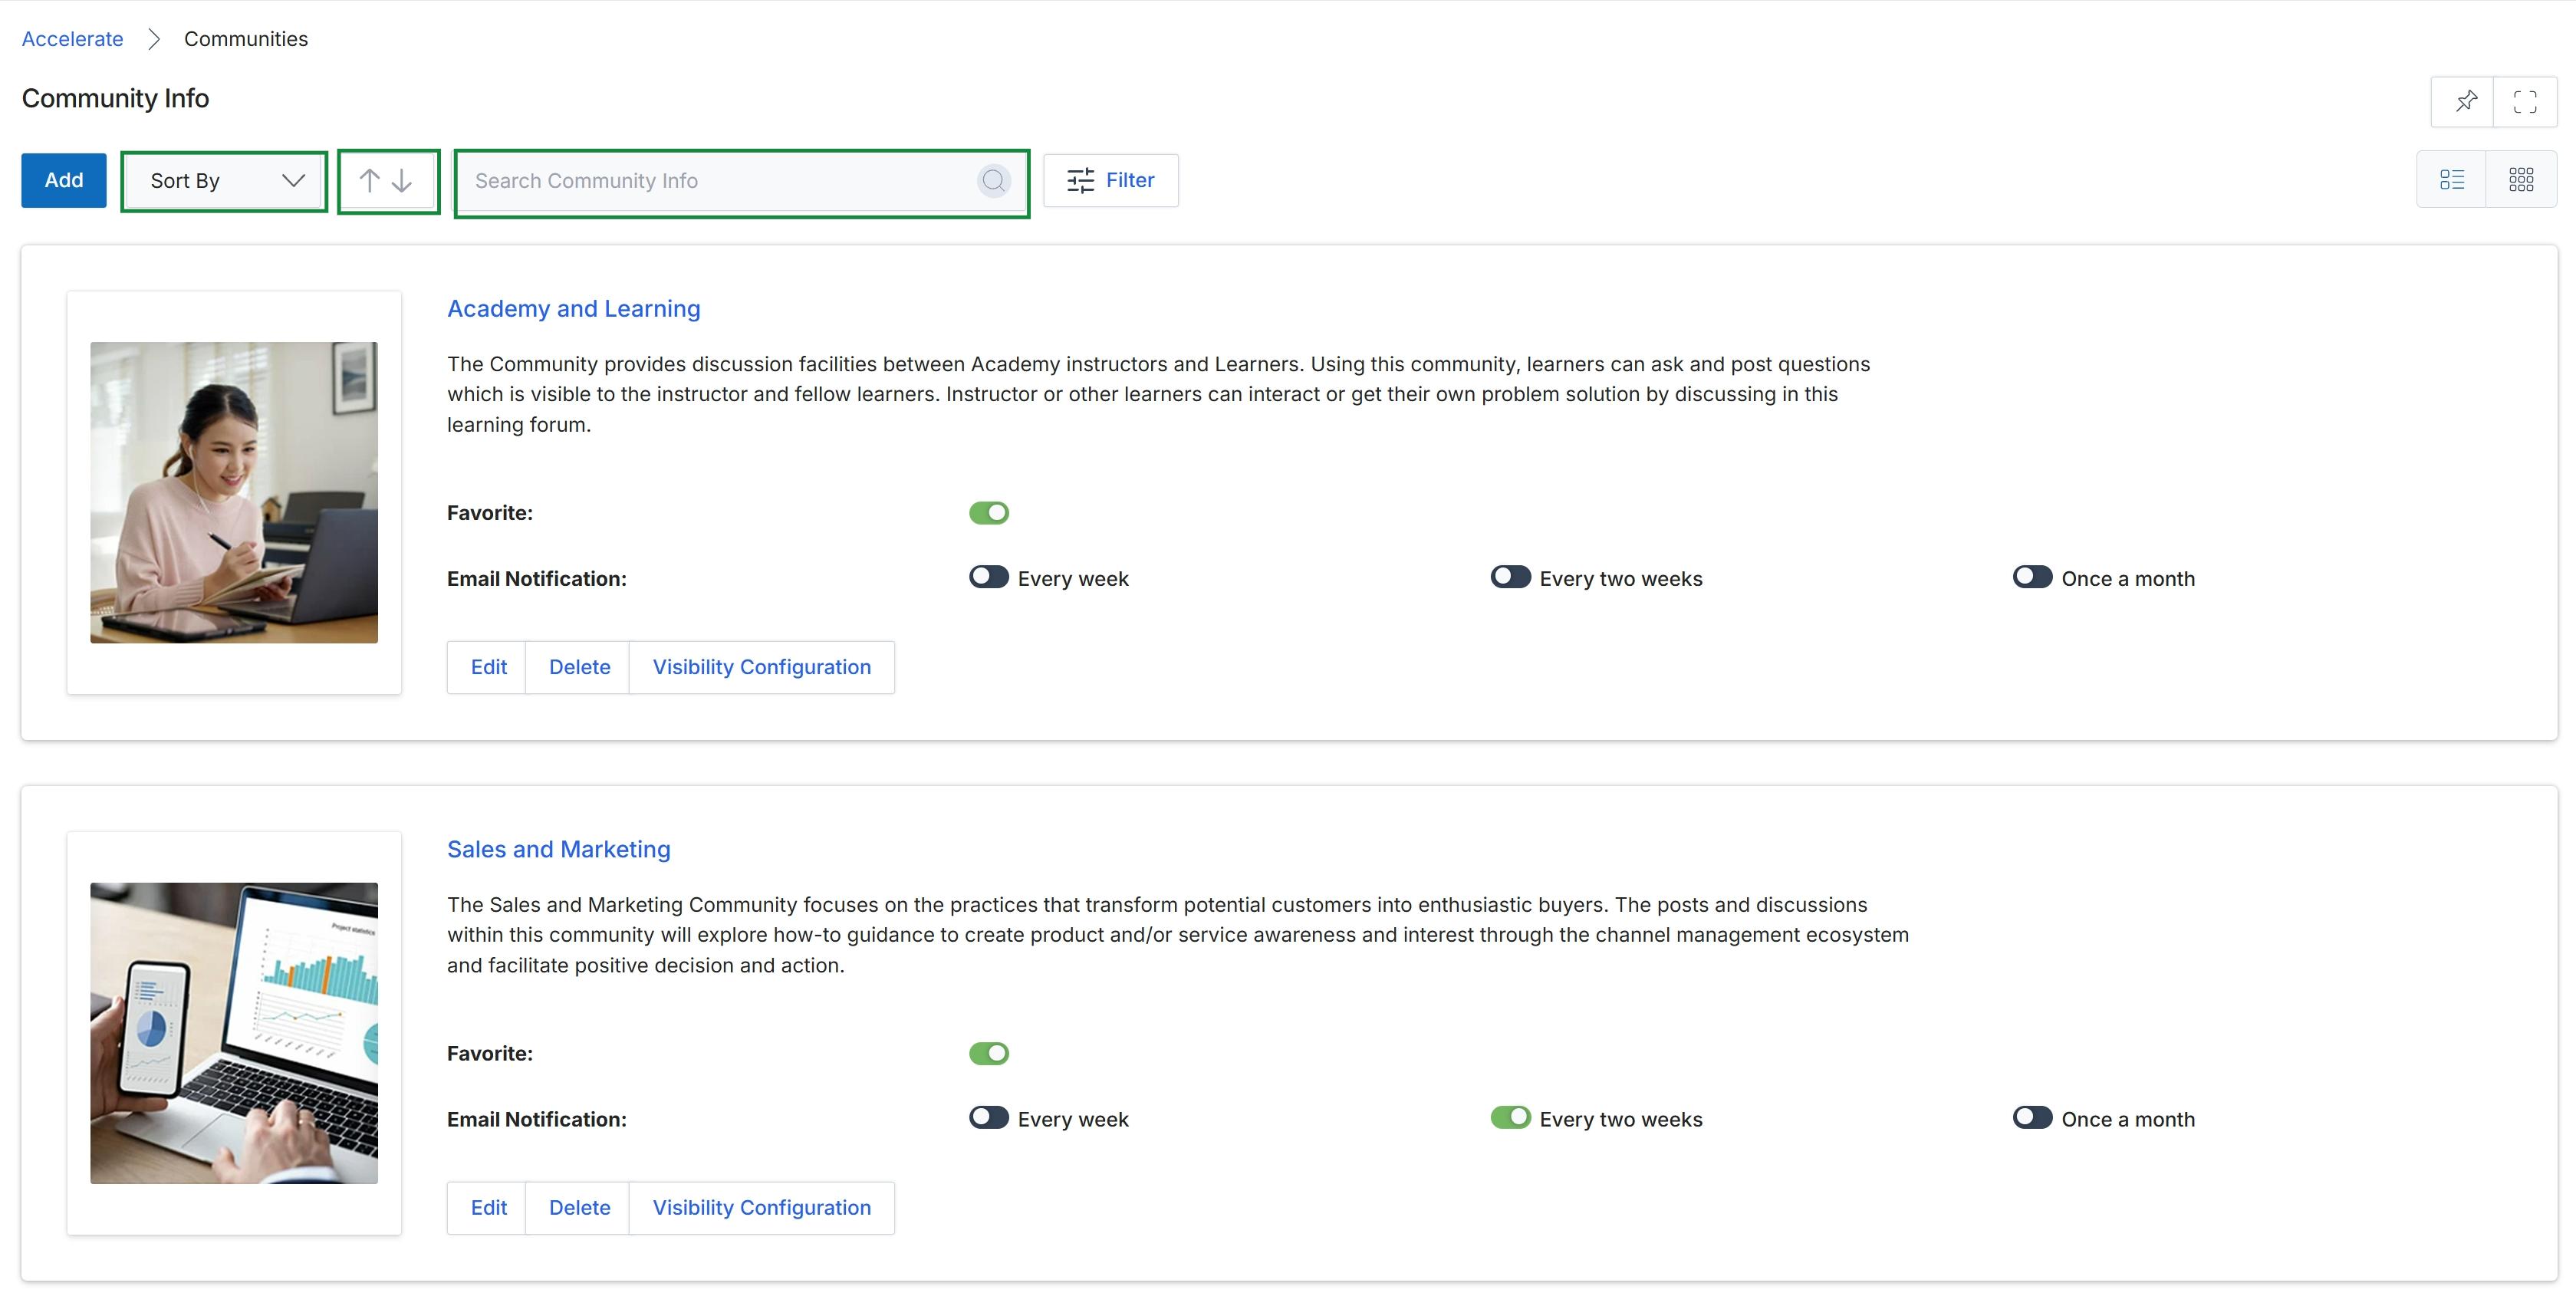
This screen displays a list of available communities within the platform, providing an overview of each community's purpose and current notification settings. Administrators can review community details, manage their visibility, and configure email notification frequencies for participants. This view supports the management of collaborative discussion groups, which are a key component for fostering engagement and knowledge sharing among partners.
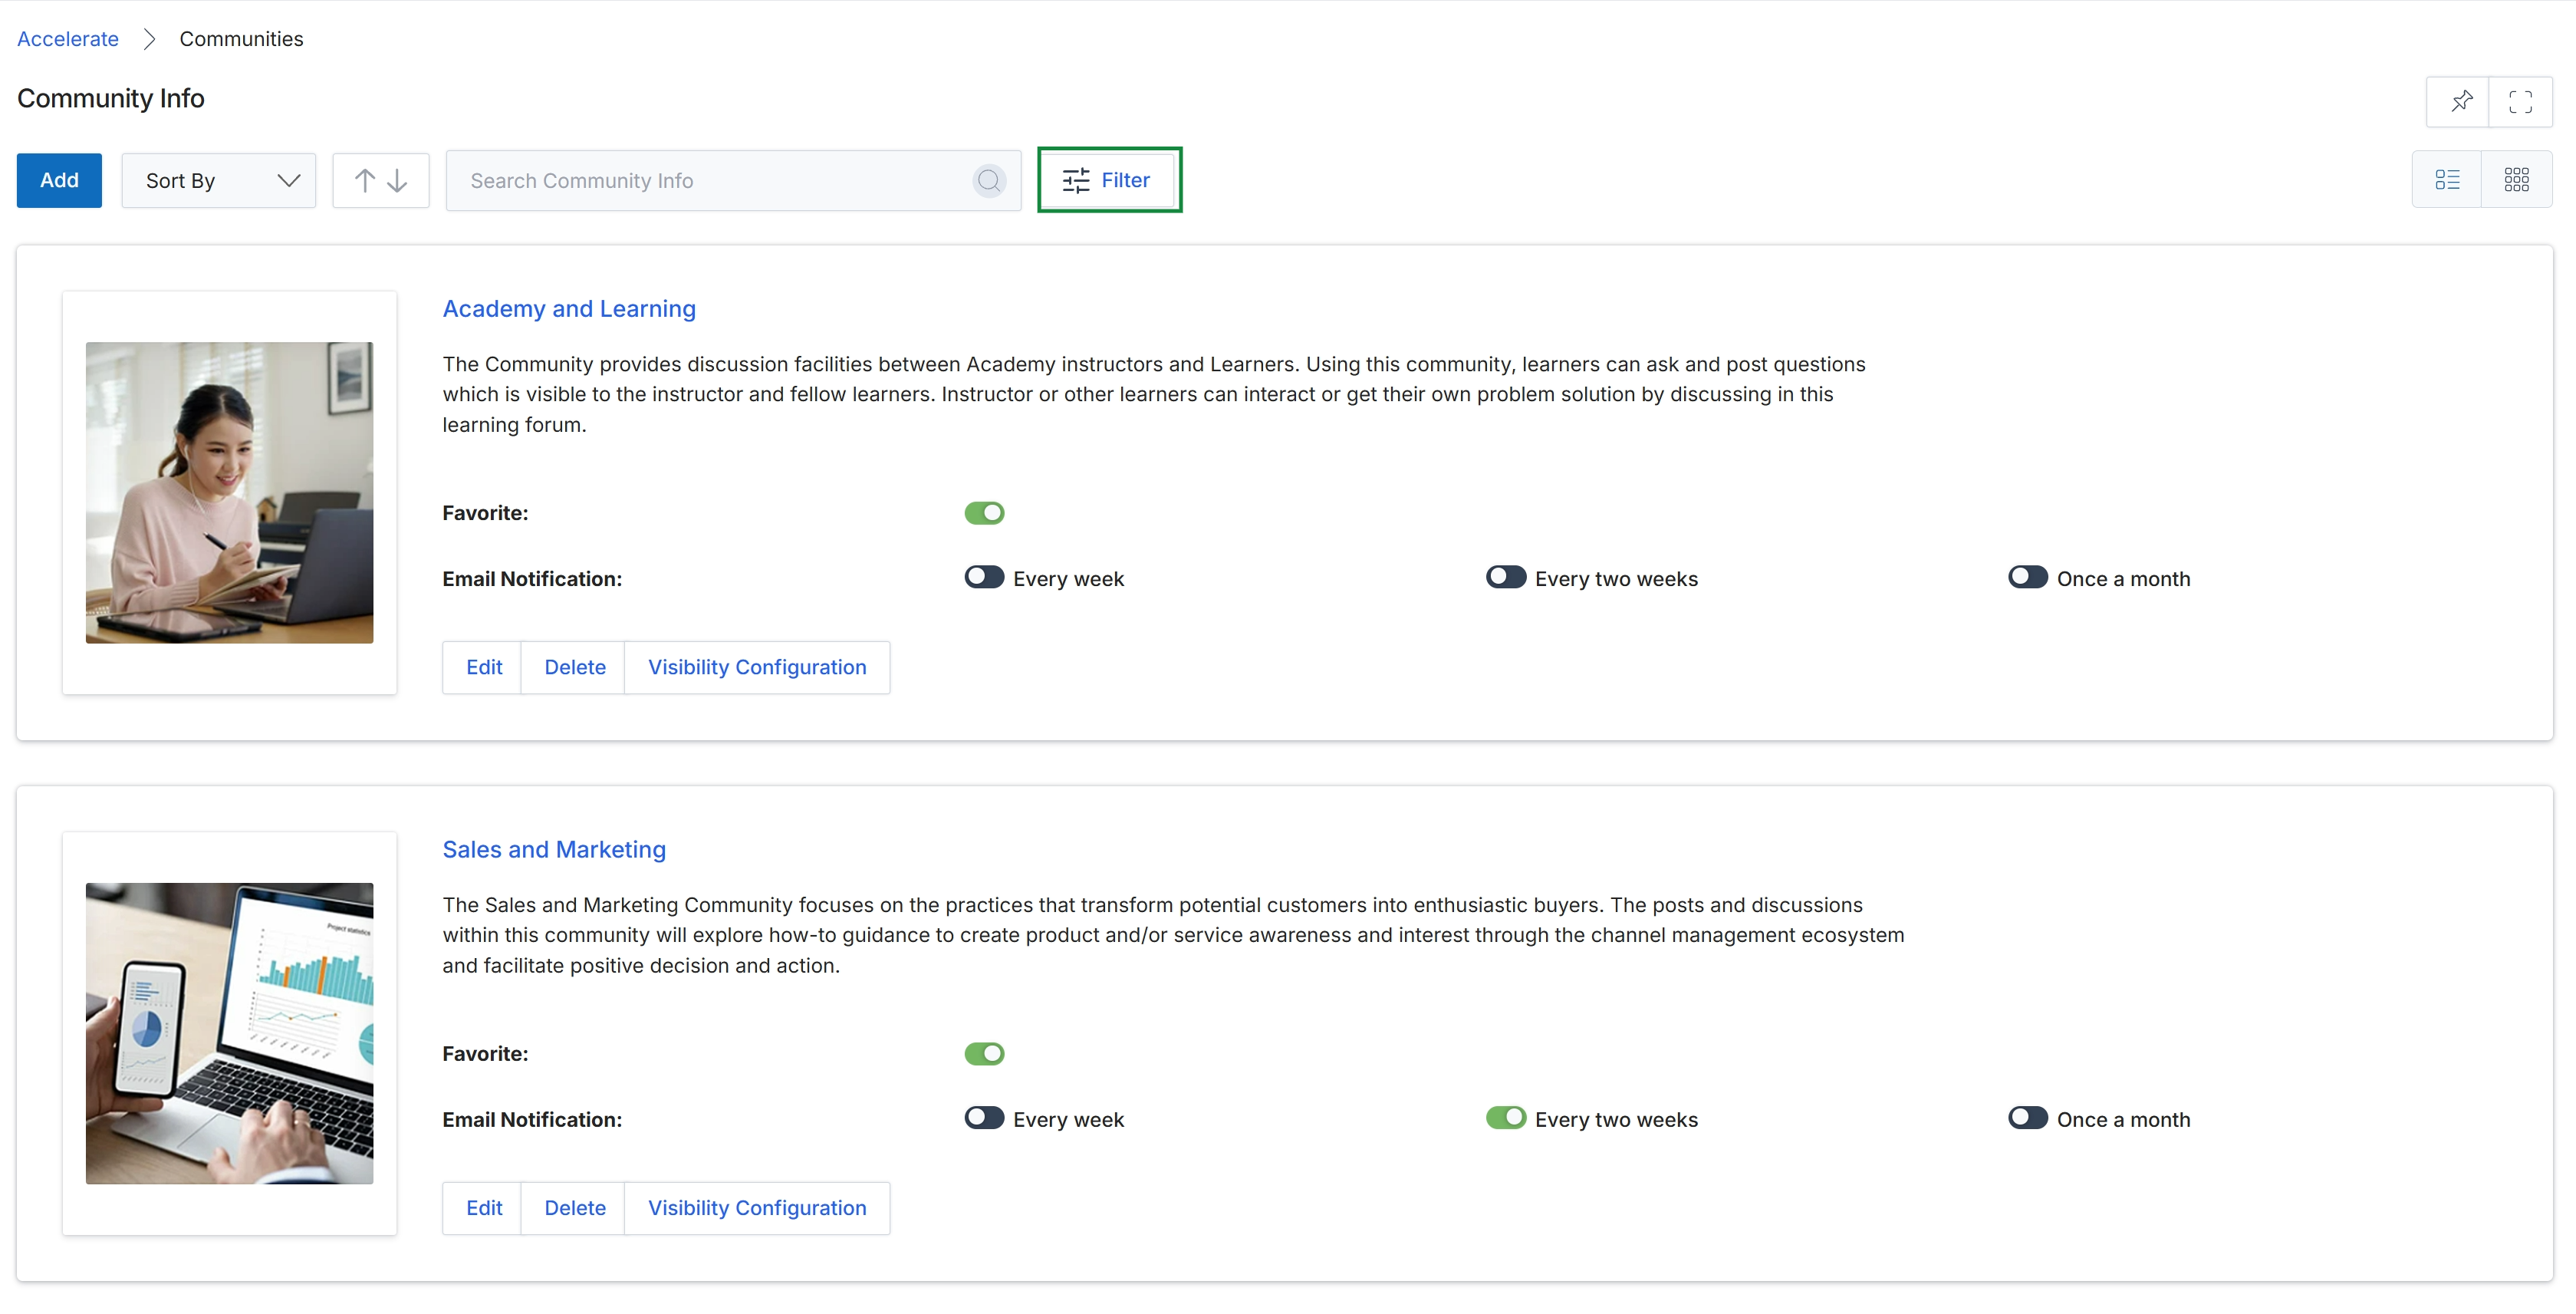
Click Filter.
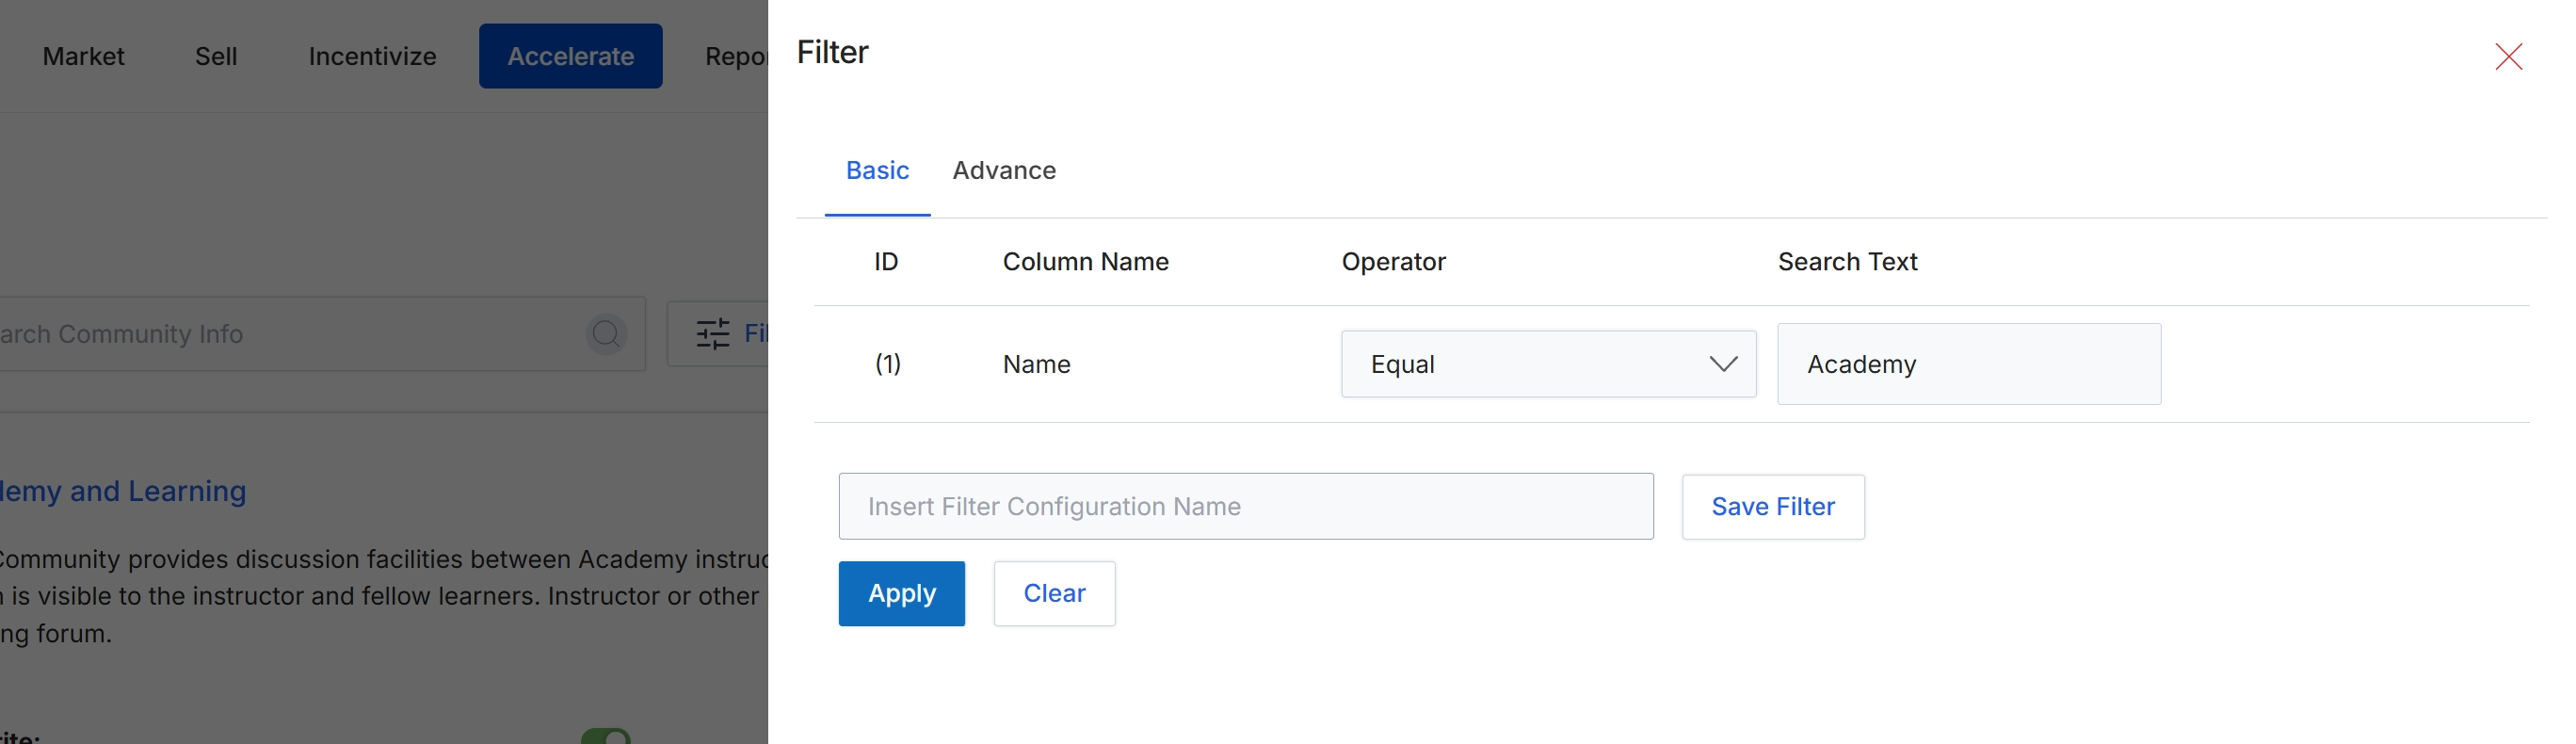
This filter panel provides a mechanism for users to refine the displayed list of communities by applying specific search criteria. It supports both basic and advanced filtering options, allowing administrators to quickly locate particular communities based on attributes like their name. This functionality is crucial for managing a potentially large number of communities, enabling efficient navigation and targeted administration within the Community & Discussions Management module. Filters can be applied temporarily or saved for future use, streamlining repetitive search tasks.
Click 'Apply' to filter the community list based on the currently defined criteria.
Buttons
| Button | Description |
|---|---|
| Basic | This tab allows users to define simple filter conditions. |
| Advance | This tab provides options for more complex filter configurations. |
| Save Filter | Saves the current filter configuration under the specified name. |
| Clear | Resets all filter conditions to their default state. |
| X | Closes the filter panel without applying any changes. |
Fields
| Field | Description |
|---|---|
| Insert Filter Configuration Name | Allows users to enter a name to save the current filter configuration for later reuse. |
Column Headings
| Column | Description |
|---|---|
| ID | A numerical identifier for each filter row. |
| Column Name | Specifies the community attribute to filter by, such as 'Name'. |
| Operator | Defines the comparison logic for the filter, such as 'Equal' or 'Contains'. |
| Search Text | The value to match against the selected column name using the specified operator. |
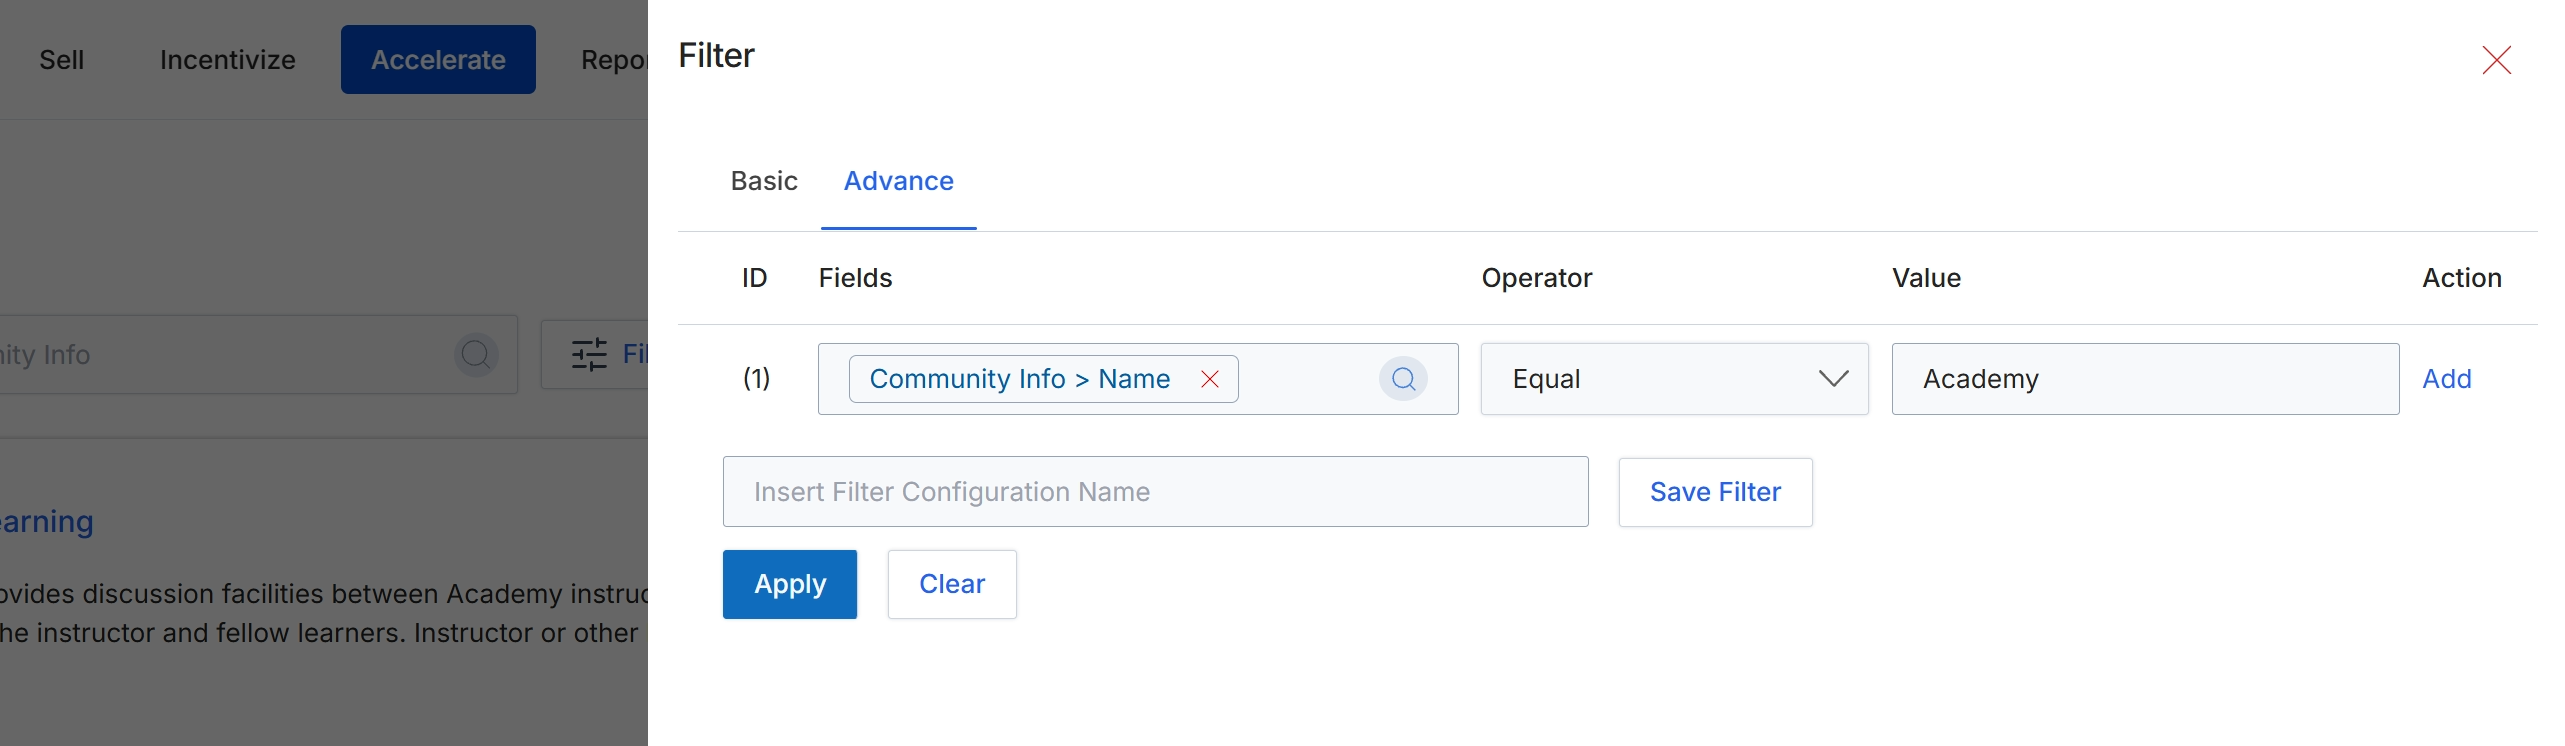
This filter dialog allows administrators to define and apply advanced filtering criteria to lists of records within the UPM platform, such as communities. By specifying conditions based on various fields, operators, and values, users can narrow down large datasets to find specific records that meet their requirements. This functionality is crucial for managing and analyzing data efficiently, enabling administrators to quickly locate, review, and act upon relevant information, such as finding communities with a specific name or characteristic. The ability to save filter configurations streamlines repetitive search tasks and promotes consistent data retrieval.
Apply the configured filter by clicking the "Apply" button.
Buttons
| Button | Description |
|---|---|
| Basic | Switches to the basic filter configuration mode, typically offering simpler filtering options. |
| Advance | Switches to the advanced filter configuration mode, allowing for more complex, rule-based filtering. |
| Add | Adds a new filter rule row to the configuration. |
| Save Filter | Saves the current filter configuration under the specified name for later retrieval. |
| Clear | Clears all applied filter criteria and resets the filter dialog. |
Fields
| Field | Description |
|---|---|
| Insert Filter Configuration Name | A text input field to enter a name for the current filter configuration, allowing it to be saved for future use. |
Column Headings
| Column | Description |
|---|---|
| ID | A column displaying the sequential identifier for each filter rule. |
| Fields | A column where the user selects the data field to be used for filtering. In this case, 'Community Info > Name' is selected, indicating filtering by the community's name. |
| Operator | A column where the user selects the comparison operator for the filter rule, such as 'Equal', 'Contains', 'Starts With', etc. Here, 'Equal' is selected. |
| Value | A column where the user enters or selects the specific value to compare against the chosen field. Here, 'Academy' is entered as the value. |
| Action | A column containing actions related to each filter rule, such as adding a new rule. |
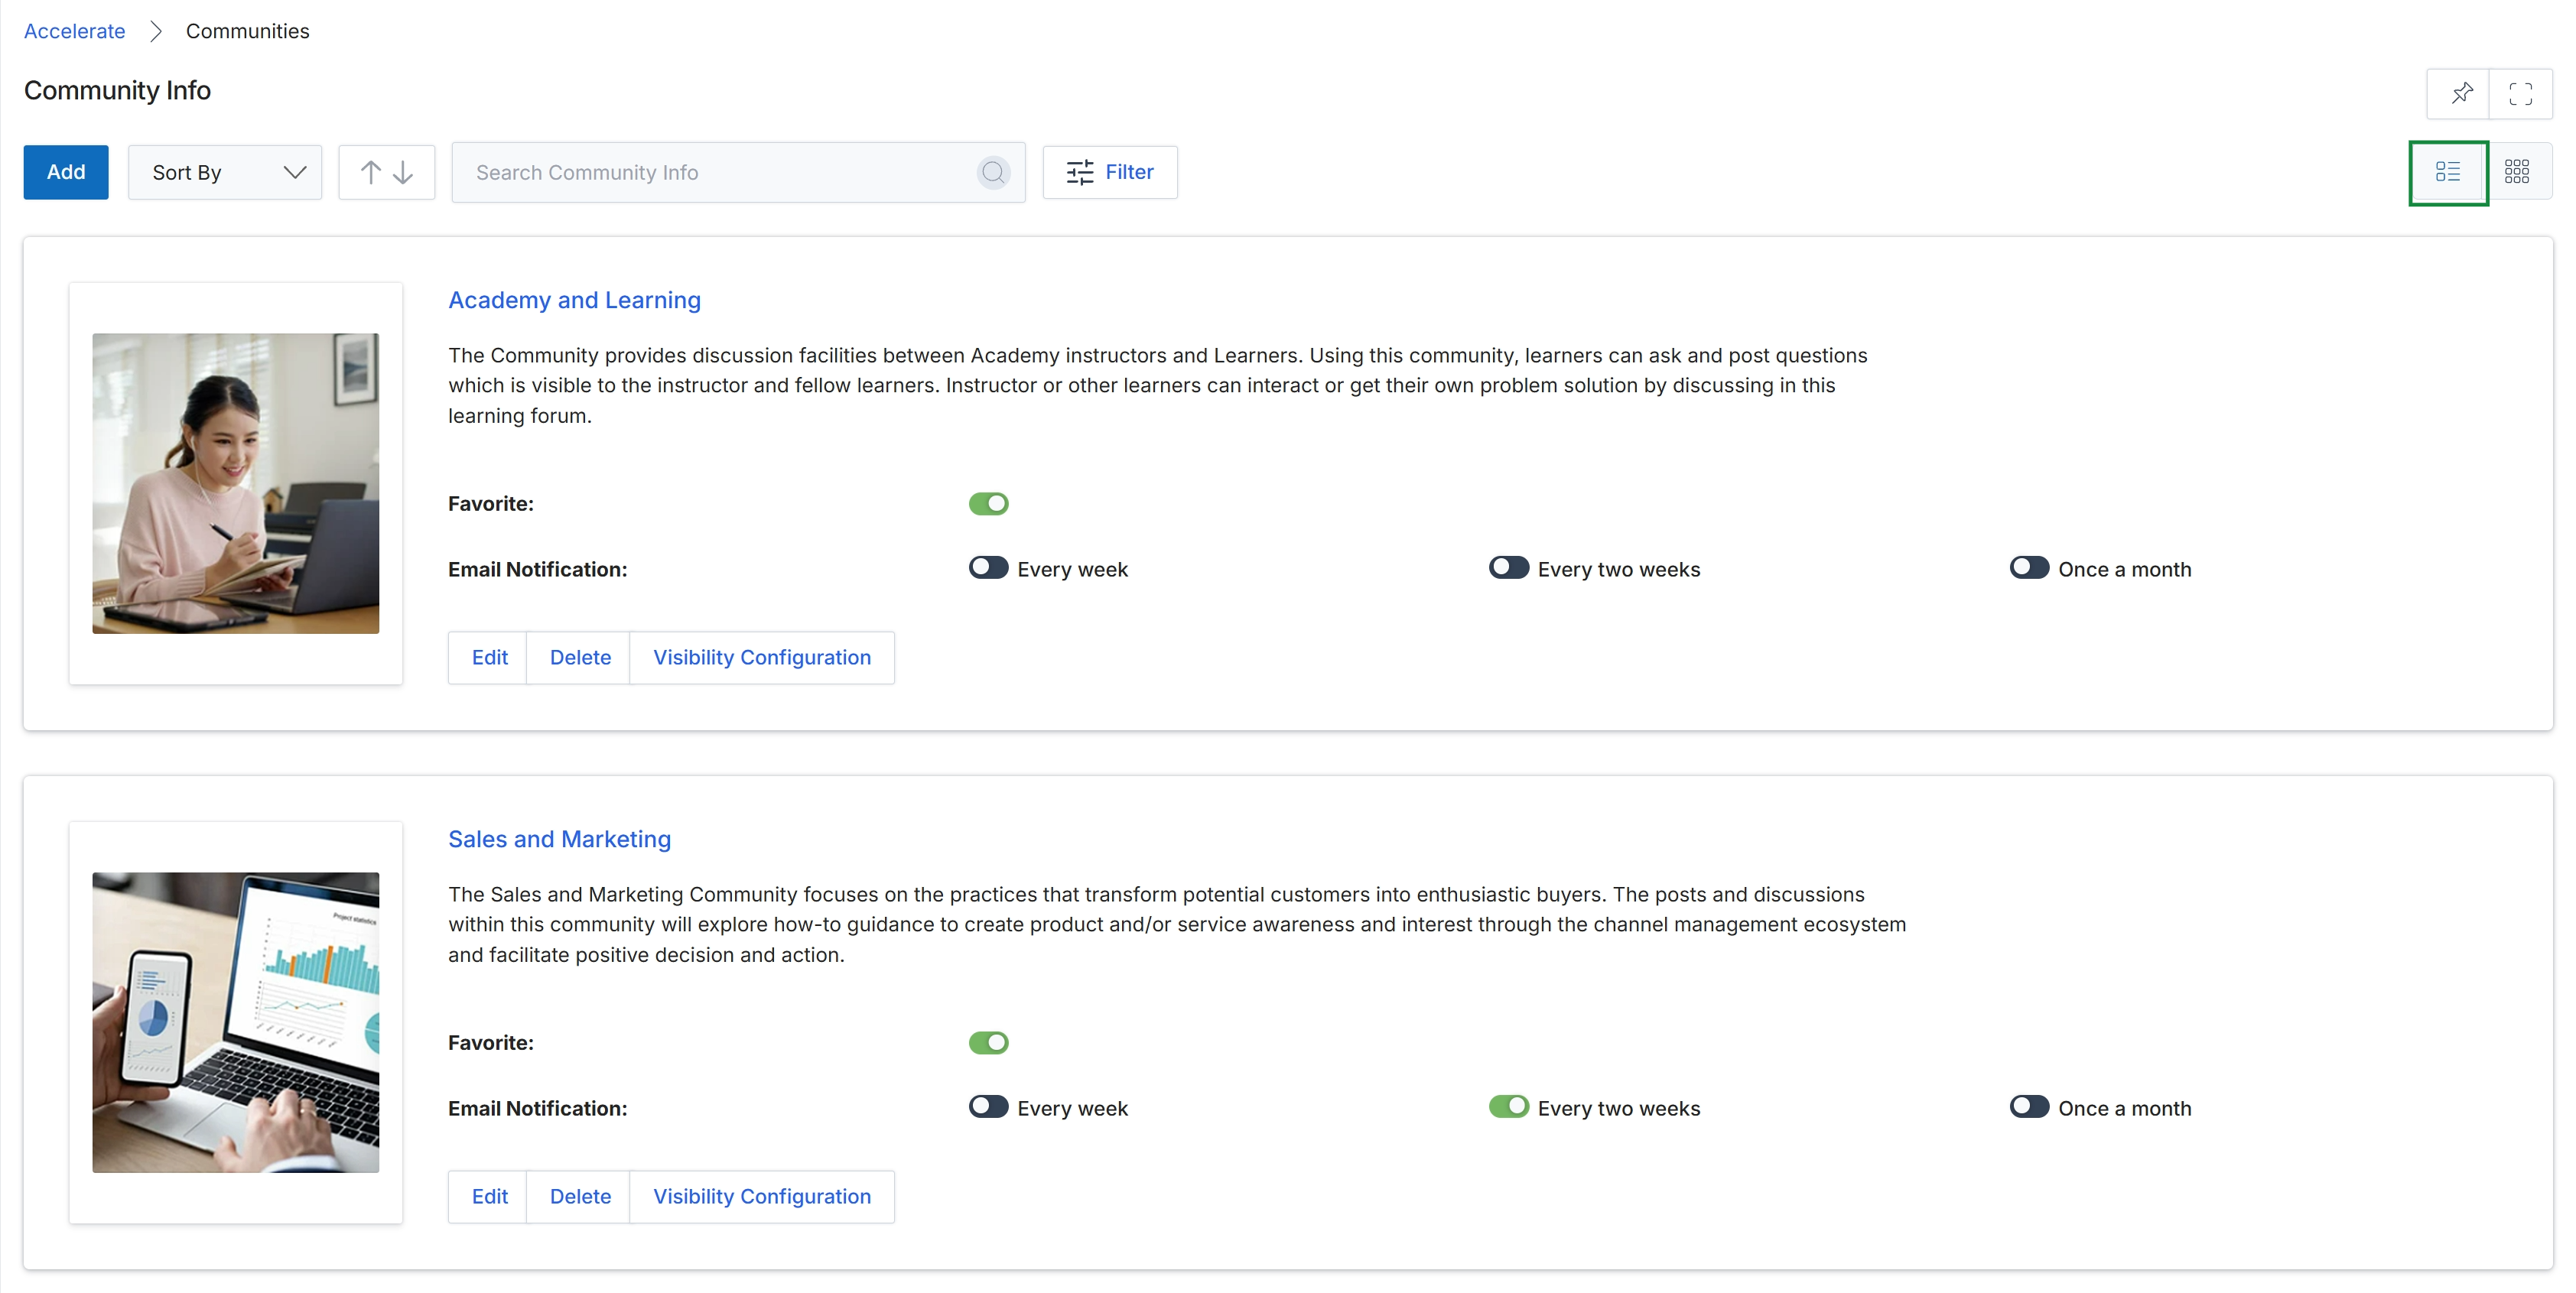
Click the List View icon.
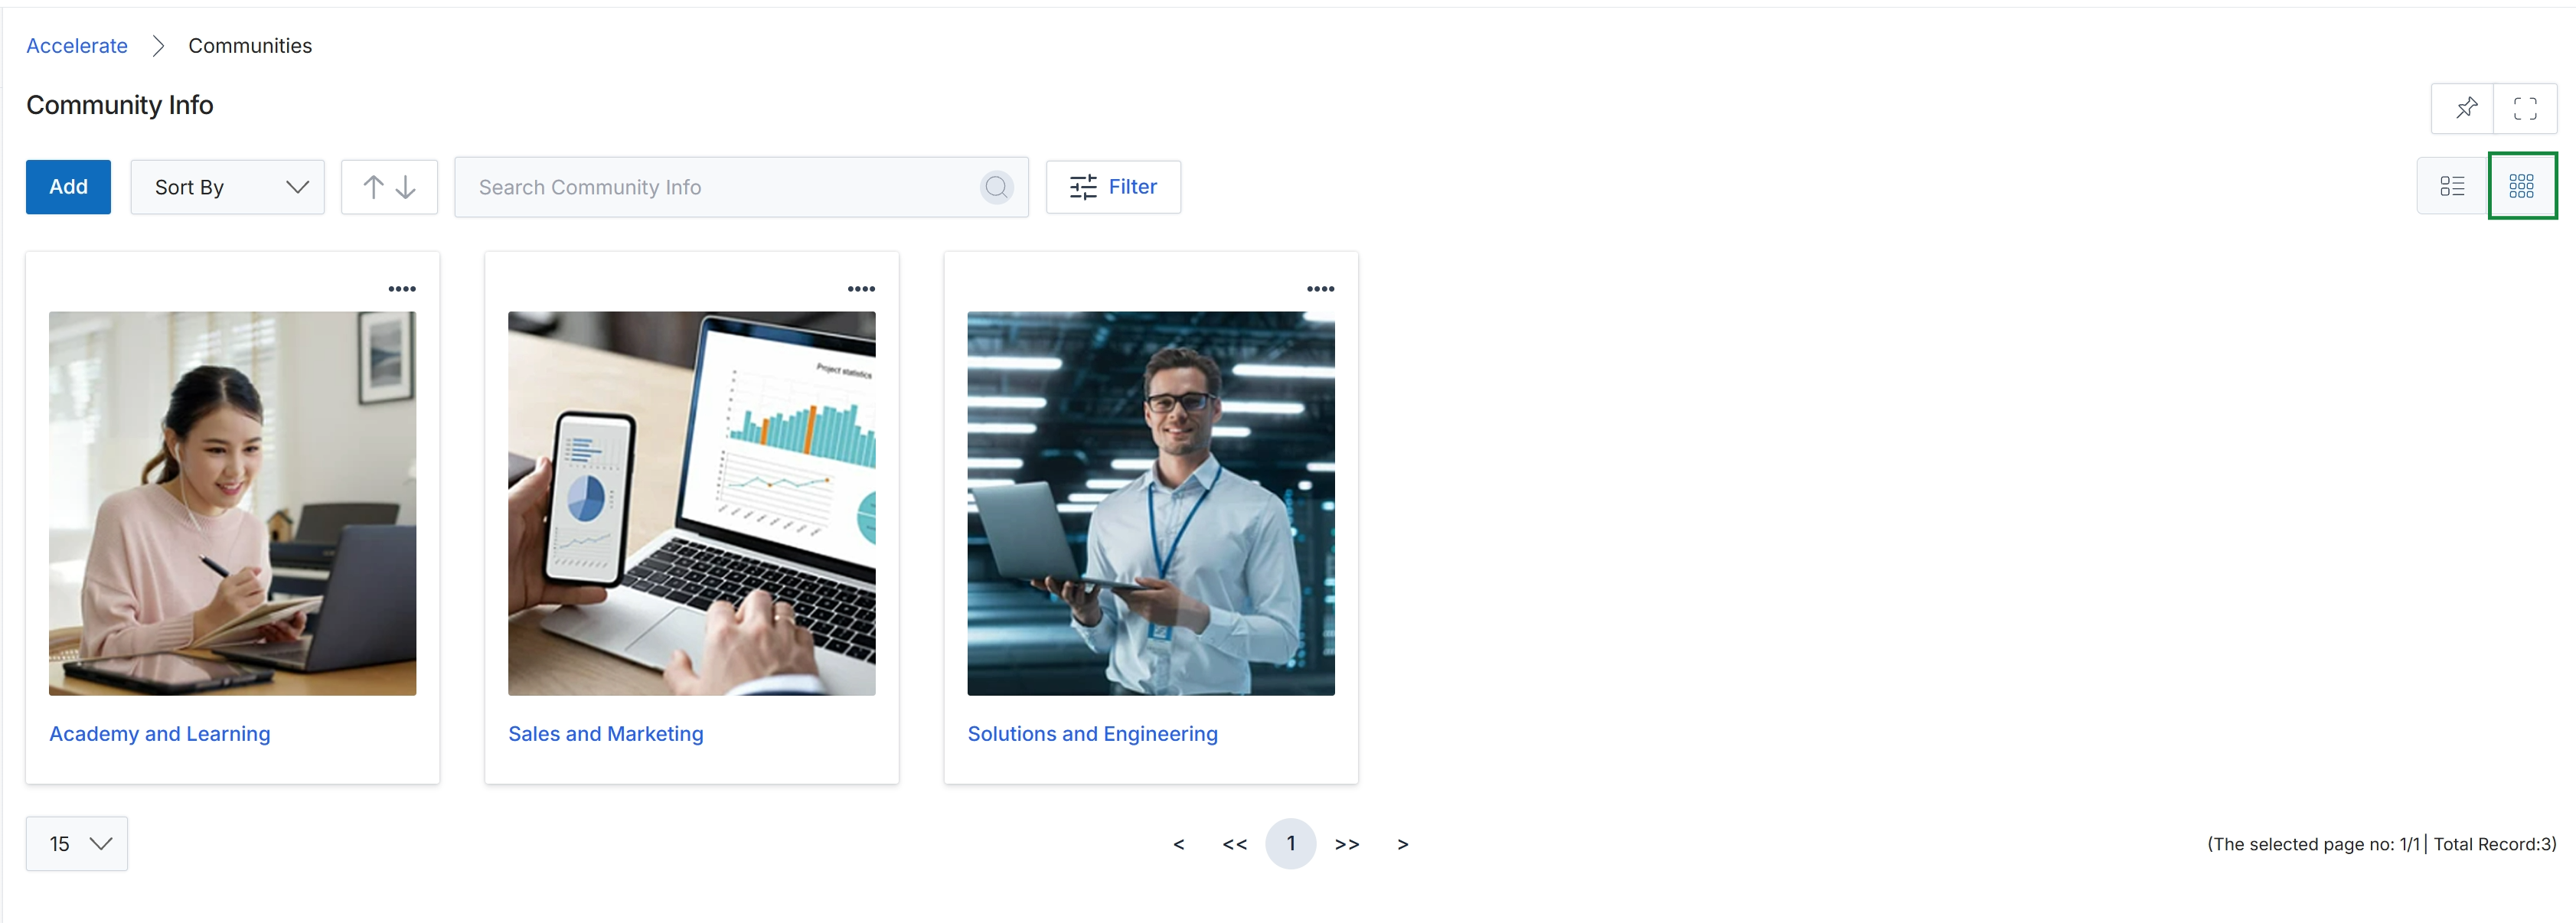
Click the Grid View icon.
Configuring Community Visibility
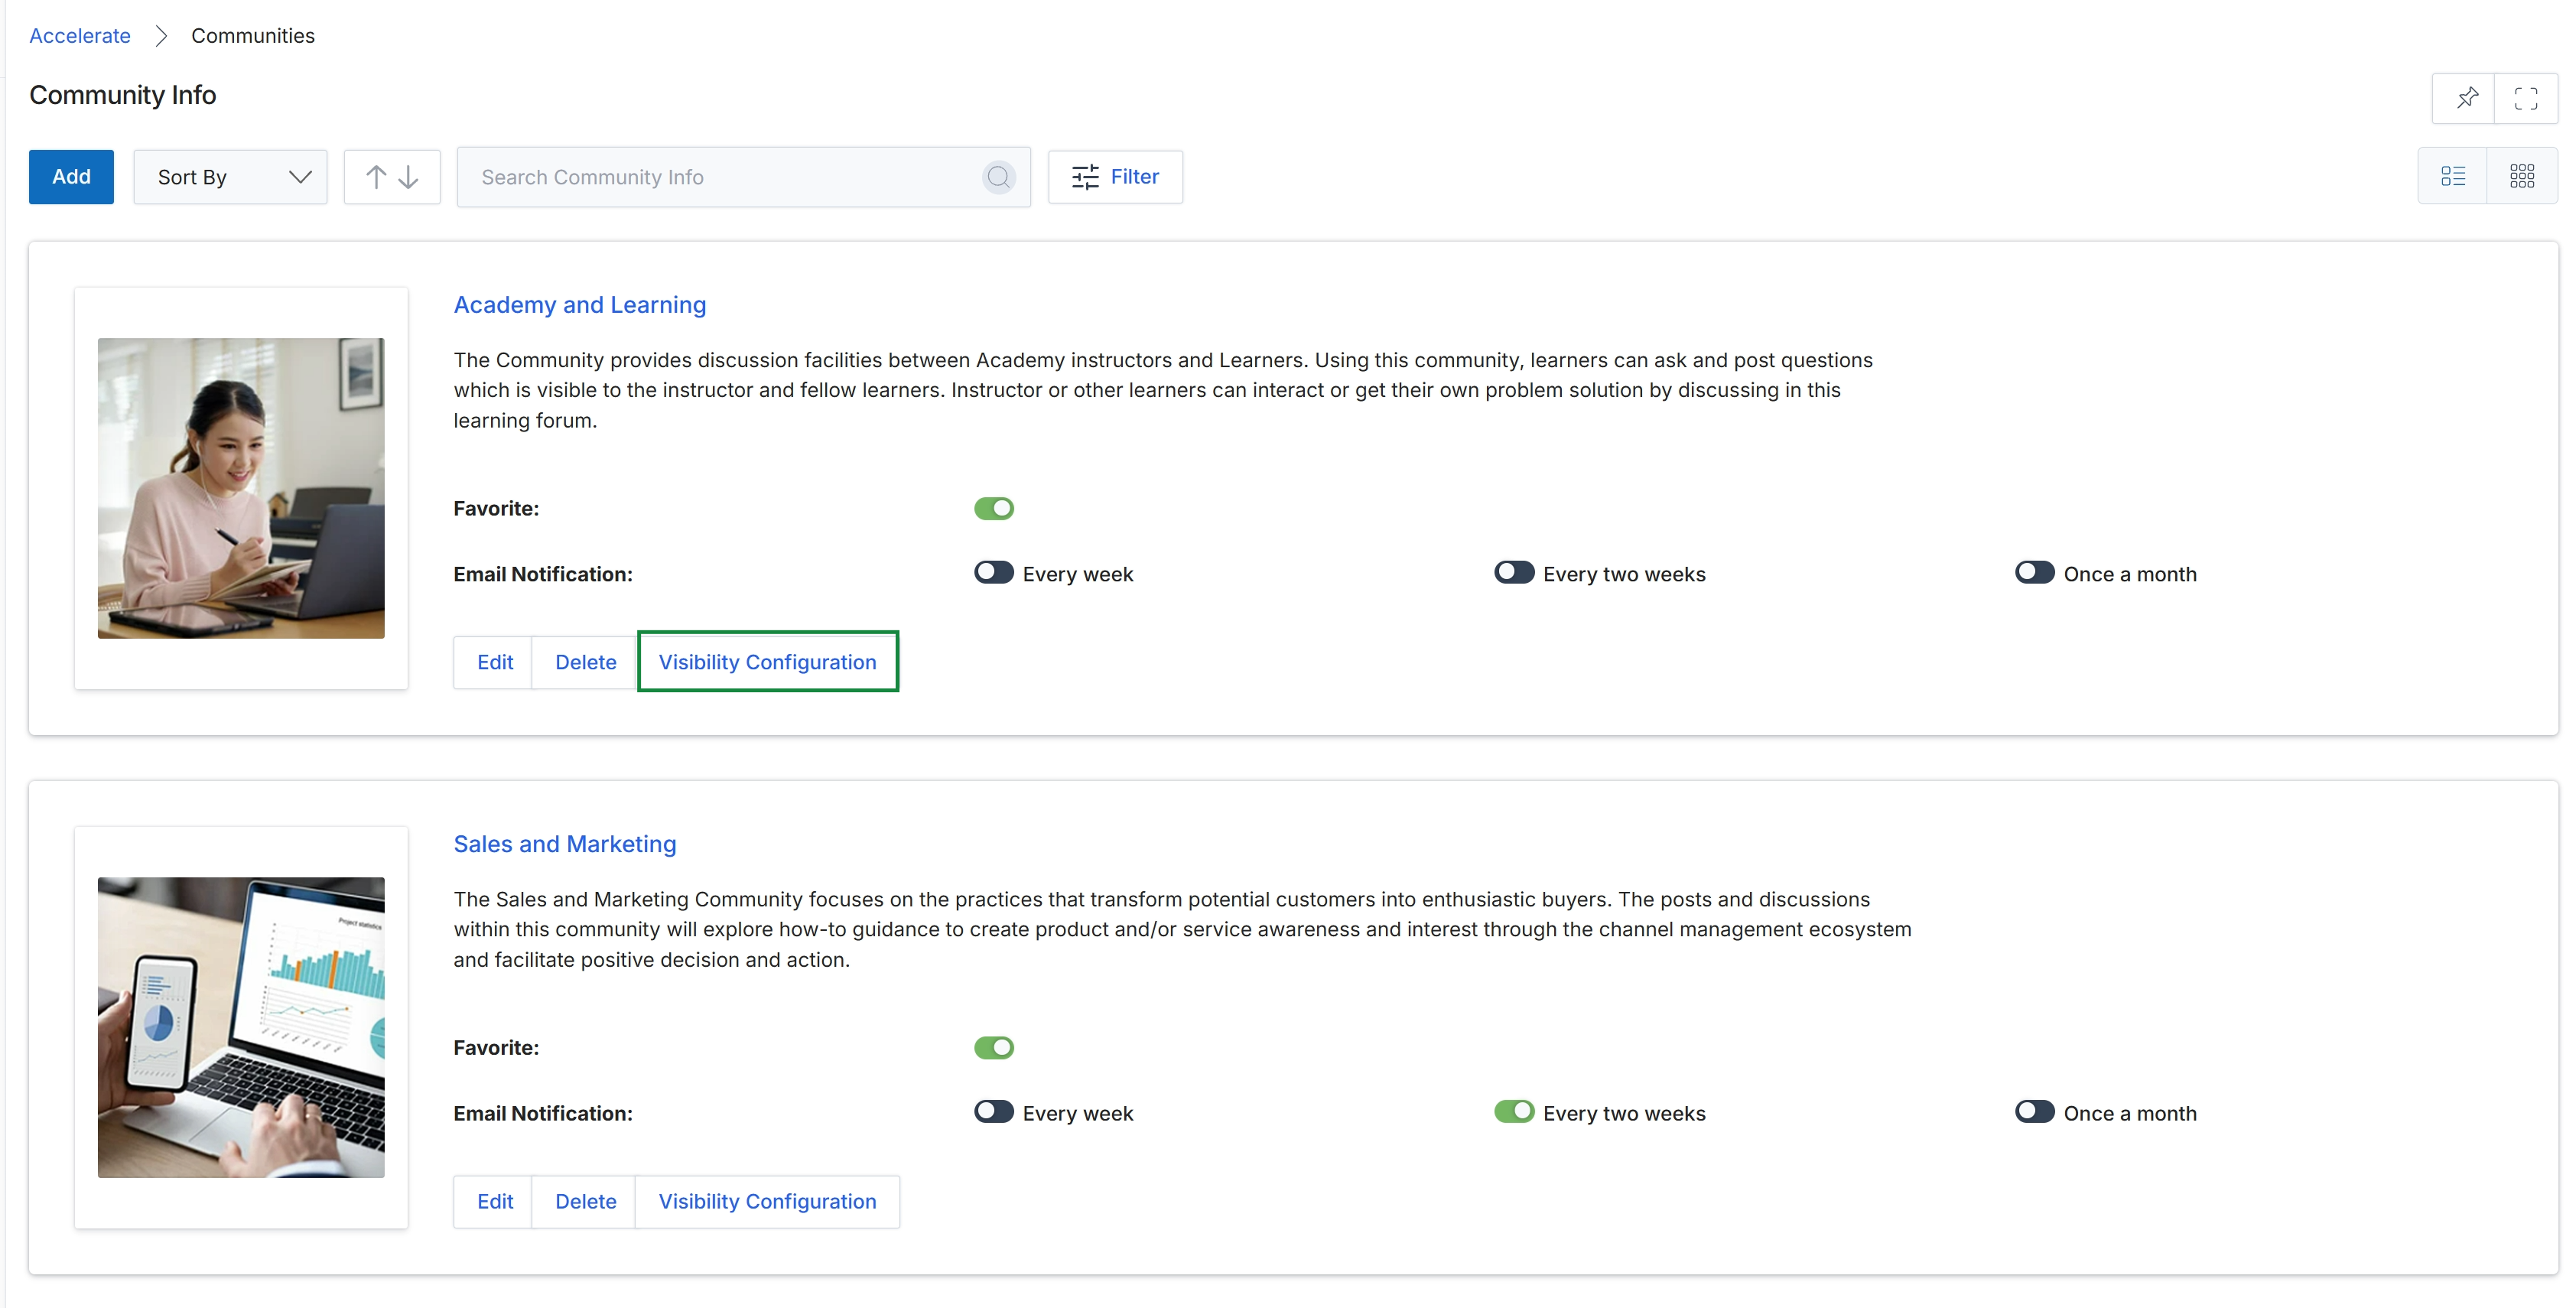
Click the List View icon.
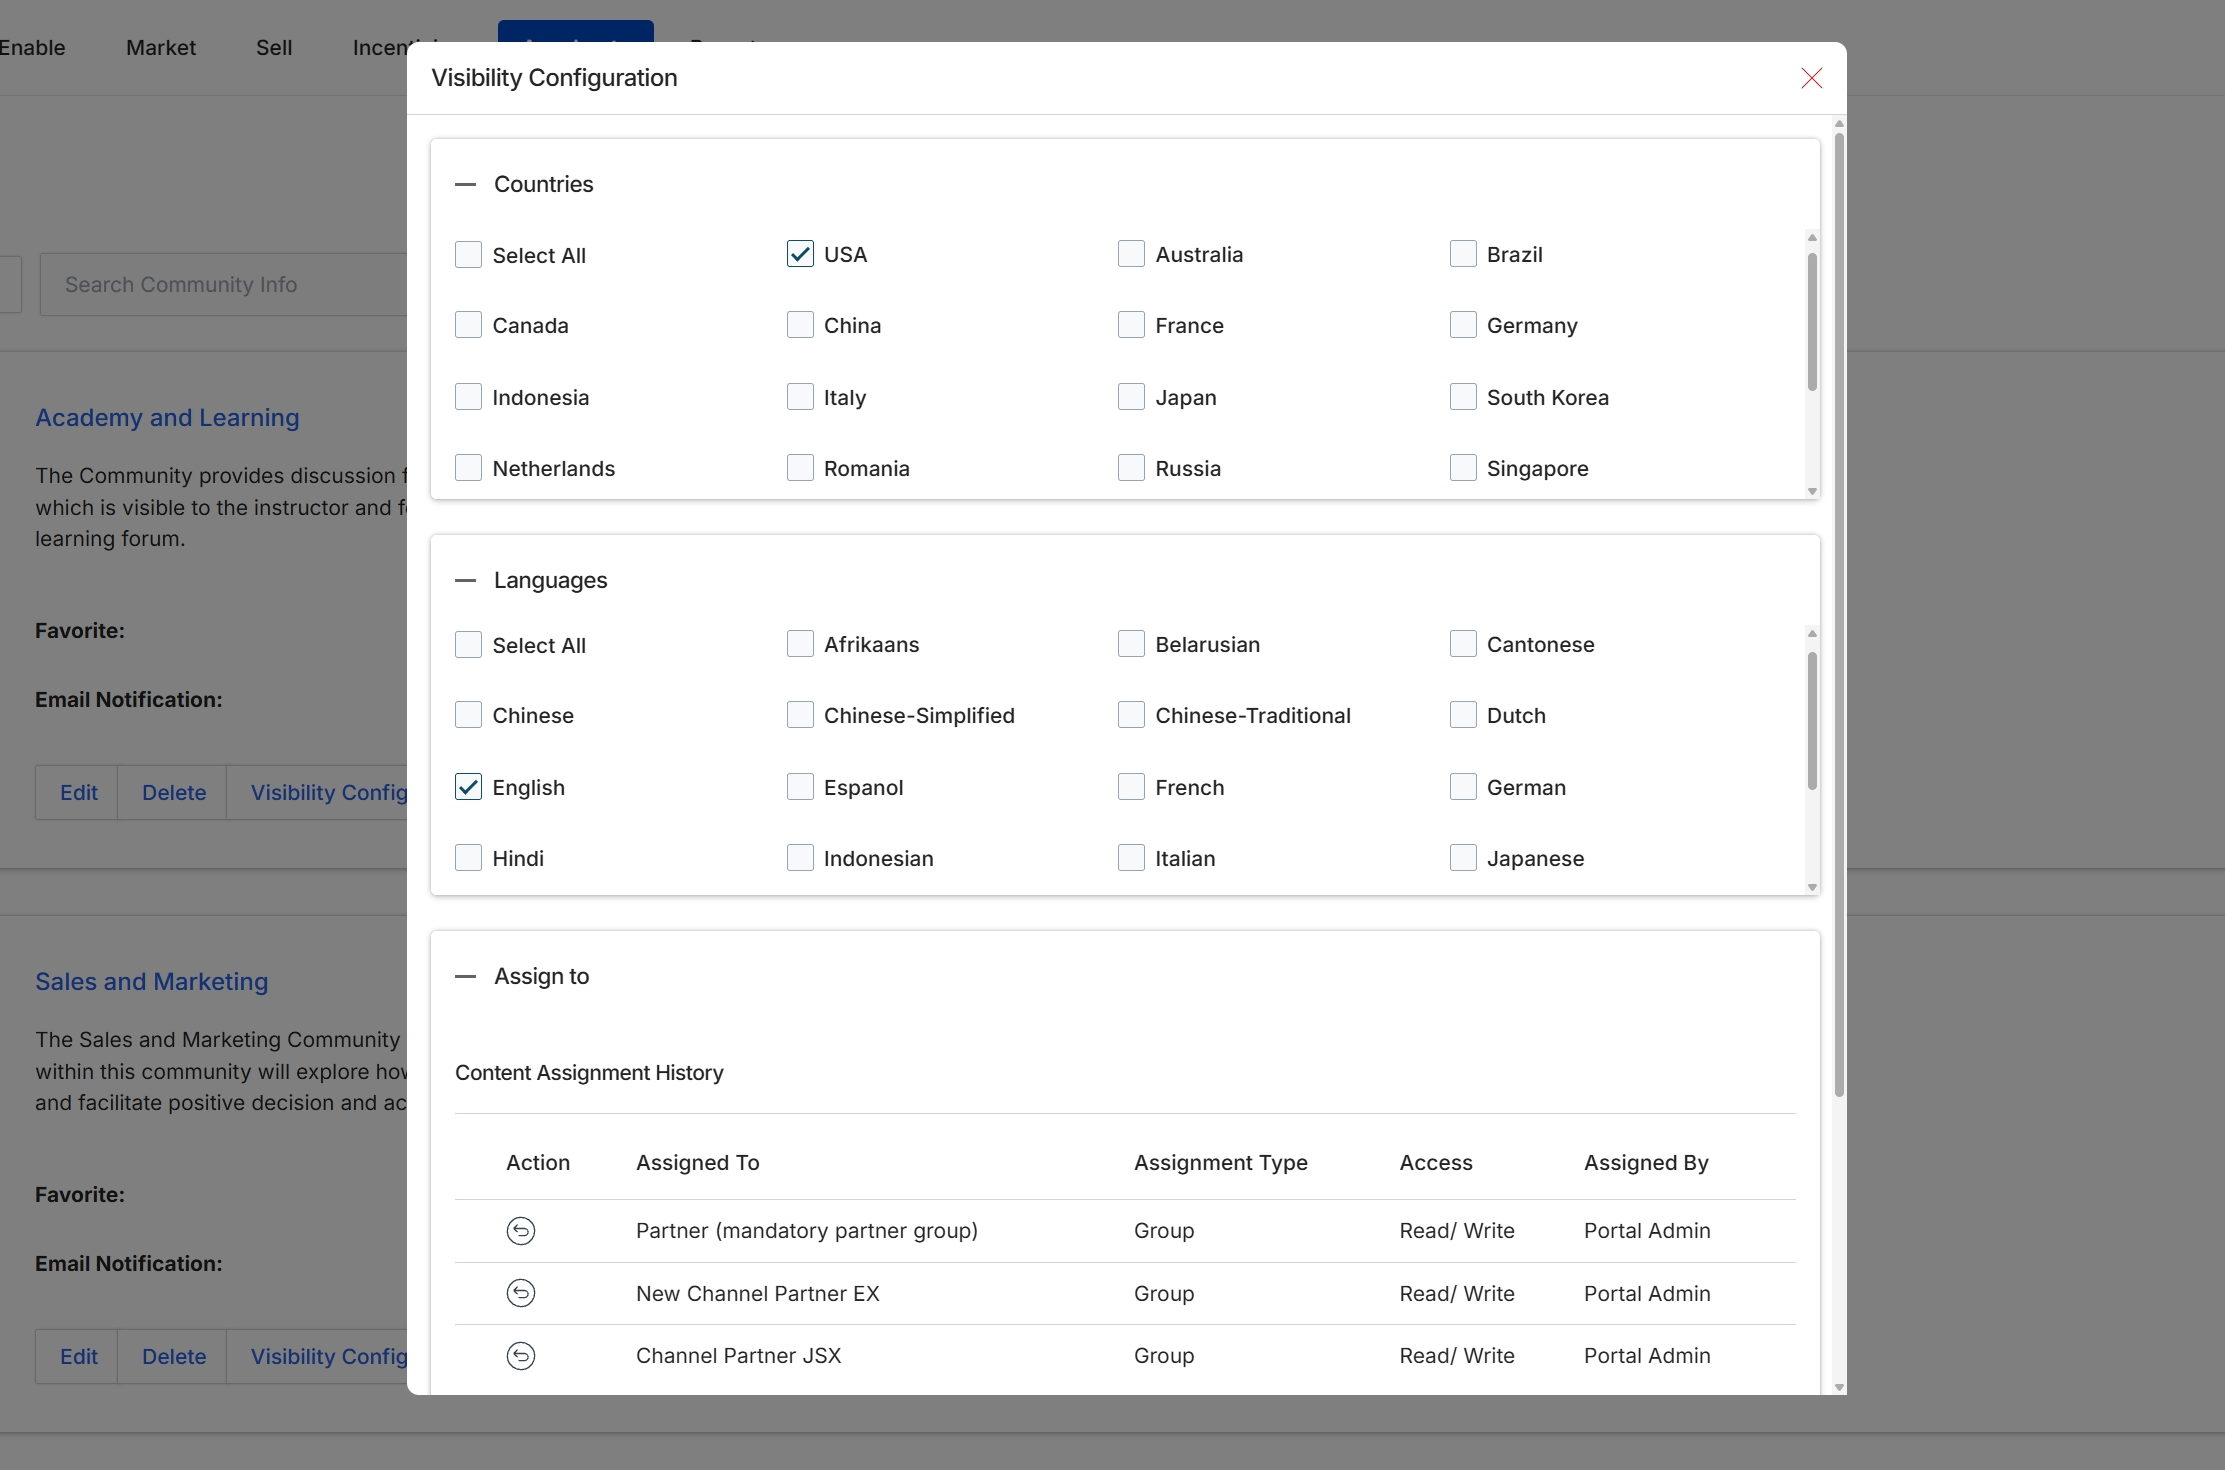
This dialog box displays the visibility configuration settings for a community, allowing administrators to define which partners can access it based on their geographic location and preferred language. It also presents a historical record of assignments, showing which partner groups or individual partners have been granted access to the community content, along with their access type and the administrator who made the assignment. This configuration ensures that community content is targeted appropriately to the relevant partner segments.
Assigning Community Access
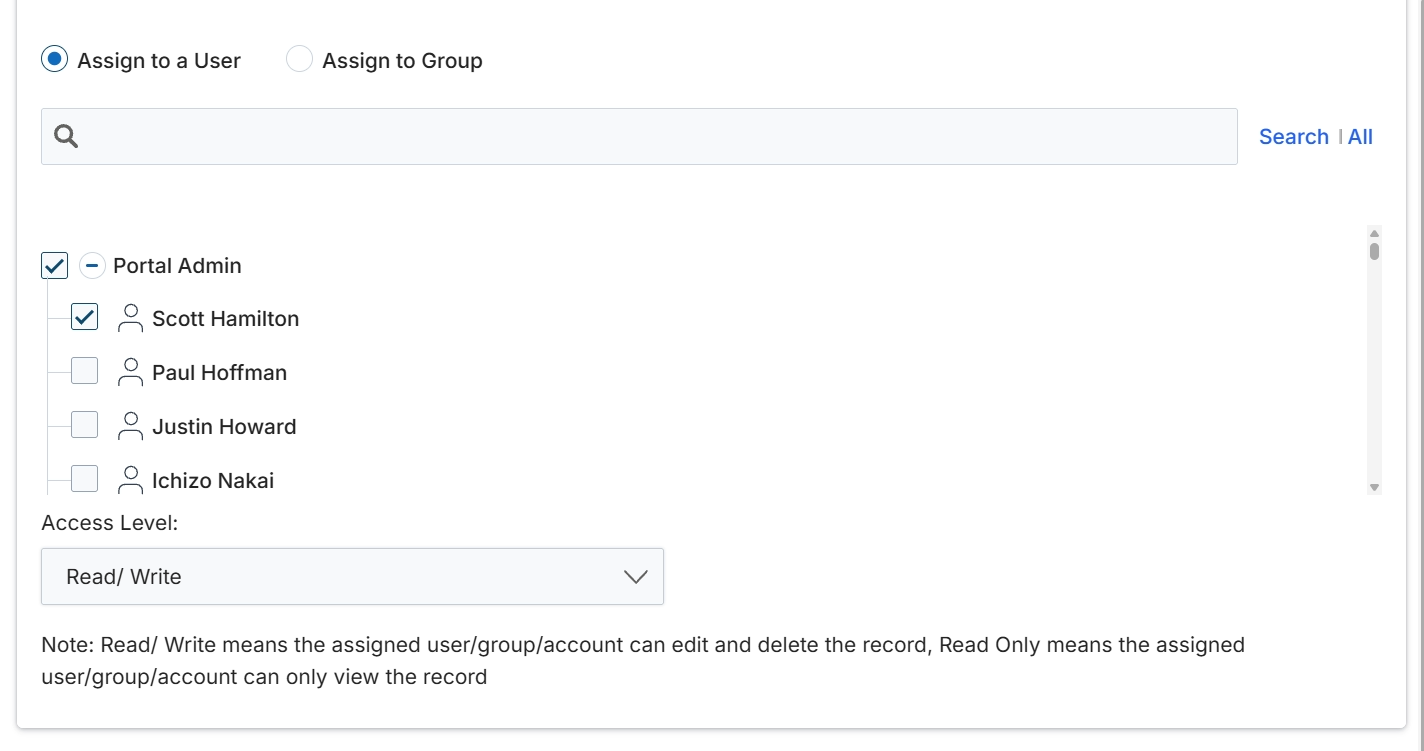
This screen provides a mechanism for UPM administrators to manage access permissions for specific records or content within the platform. It allows for granular control by enabling the assignment of either individual users or predefined user groups to a particular item. Administrators can select the desired users or groups and then define their access level, typically 'Read/Write' for full editing and deletion capabilities, or 'Read Only' for view-only access. This ensures that sensitive information or configurable items are only accessible and modifiable by authorized personnel, maintaining data integrity and security within the module.
Select the specific users or groups to whom you want to grant access, and then choose the appropriate access level.
Buttons
| Button | Description |
|---|---|
| Search | Click to initiate the search based on the entered text. |
| All | Click to display all available users or groups. |
Fields
| Field | Description |
|---|---|
| Assign to a User | Select this option to assign access permissions to individual users. |
| Assign to Group | Select this option to assign access permissions to a predefined user group. |
| Search | Enter text here to search for specific users or groups within the list. |
| Access Level | A dropdown menu to define the permission level for the selected users or groups, with options such as 'Read/Write' or 'Read Only'. |
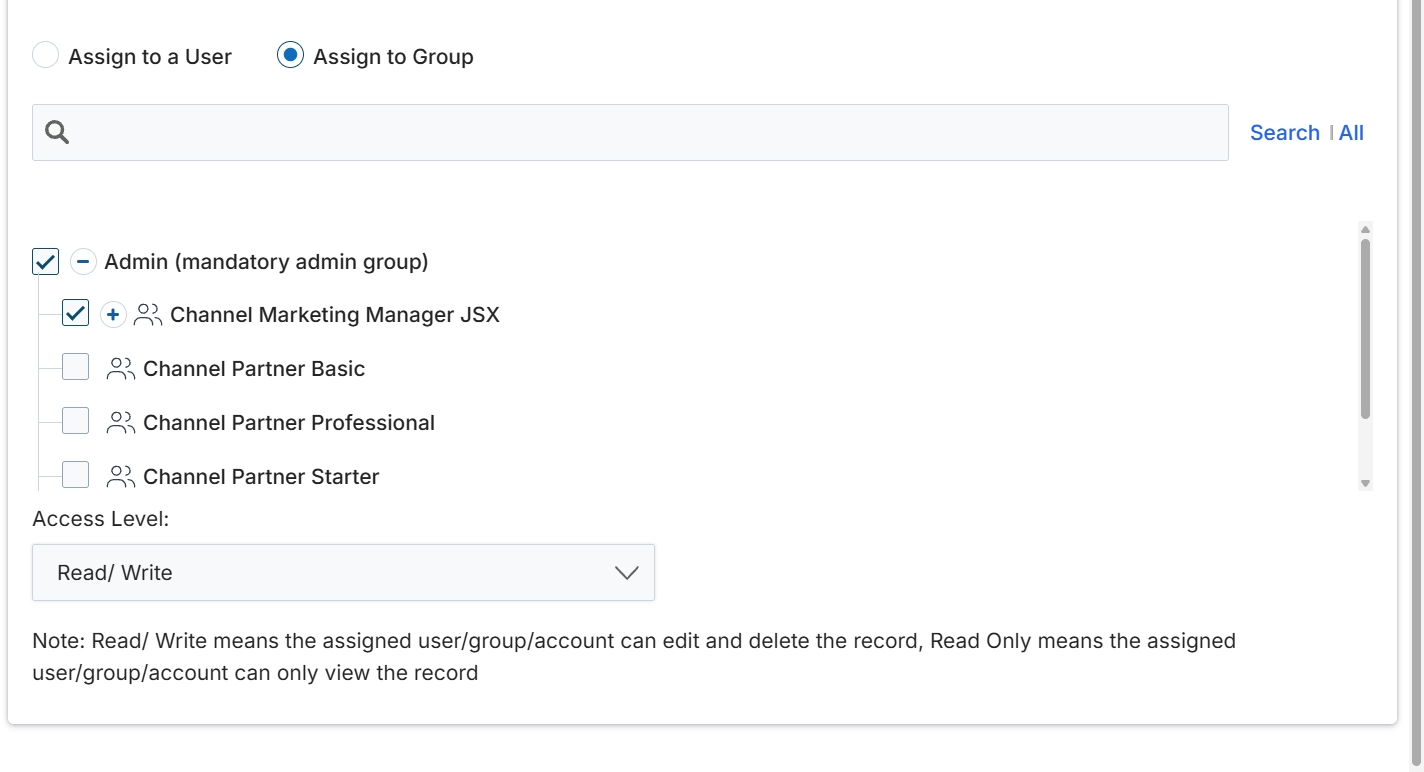
This screen is part of the Community & Discussions Management module, enabling administrators to define access permissions for a specific community. It allows for granular control over who can view and interact with community content by assigning access to individual users or predefined groups. Administrators can select multiple users or groups and then specify their access level, such as 'Read/Write' for full participation or 'Read Only' for viewing content without modification. This mechanism ensures that community access aligns with the intended audience and security policies, supporting collaborative environments for partners or internal teams.
Select the groups or users to assign access to the community.
Buttons
| Button | Description |
|---|---|
| Search | Link to initiate the search for users or groups based on the input field. |
| All | Link to display all available users or groups. |
Fields
| Field | Description |
|---|---|
| Assign to a User | Radio button to select whether access will be assigned to individual users. |
| Assign to Group | Radio button to select whether access will be assigned to predefined groups. |
| Search input with magnifying glass icon | Text input field to search for specific users or groups to assign. |
| Access Level | Dropdown menu to choose the access level for the selected users or groups, such as 'Read/Write' or 'Read Only'. |
Frequently asked questions
- What is the purpose of the Community feature?
This feature serves as a central repository for managing partner communities, allowing administrators to configure and control discussion forums for their partner ecosystem.
- Who uses this feature?
UPM administrators use this feature to set up and maintain communities. Partners use these communities to collaborate, share knowledge, and engage with vendors and each other.
- What can administrators configure within a community?
Administrators can define community visibility, manage email notification preferences, and assign access permissions to specific partners or groups.
- How can I find specific communities quickly?
You can use the filter panel, which offers both basic and advanced filtering options. This allows you to quickly locate communities based on attributes like their name.
- How is community visibility controlled?
Community visibility can be configured based on partners' geographic location and preferred language. This ensures content is targeted appropriately to relevant partner segments.
- What access levels can be assigned to partners in a community?
Administrators can assign either 'Read/Write' for full participation or 'Read Only' for viewing content without modification to individual users or predefined groups.