

Overview
Effective email marketing is a cornerstone of successful channel programs. UPM's Email Templates feature empowers vendors to provide partners with ready-to-use, high-quality email content that aligns with brand guidelines and campaign objectives. This ensures that partners can quickly launch professional marketing efforts without needing extensive design or copywriting skills, accelerating time-to-market for campaigns and improving overall program engagement. The ability to localize content and configure visibility ensures relevance and compliance across diverse partner ecosystems.
Managing Email Templates
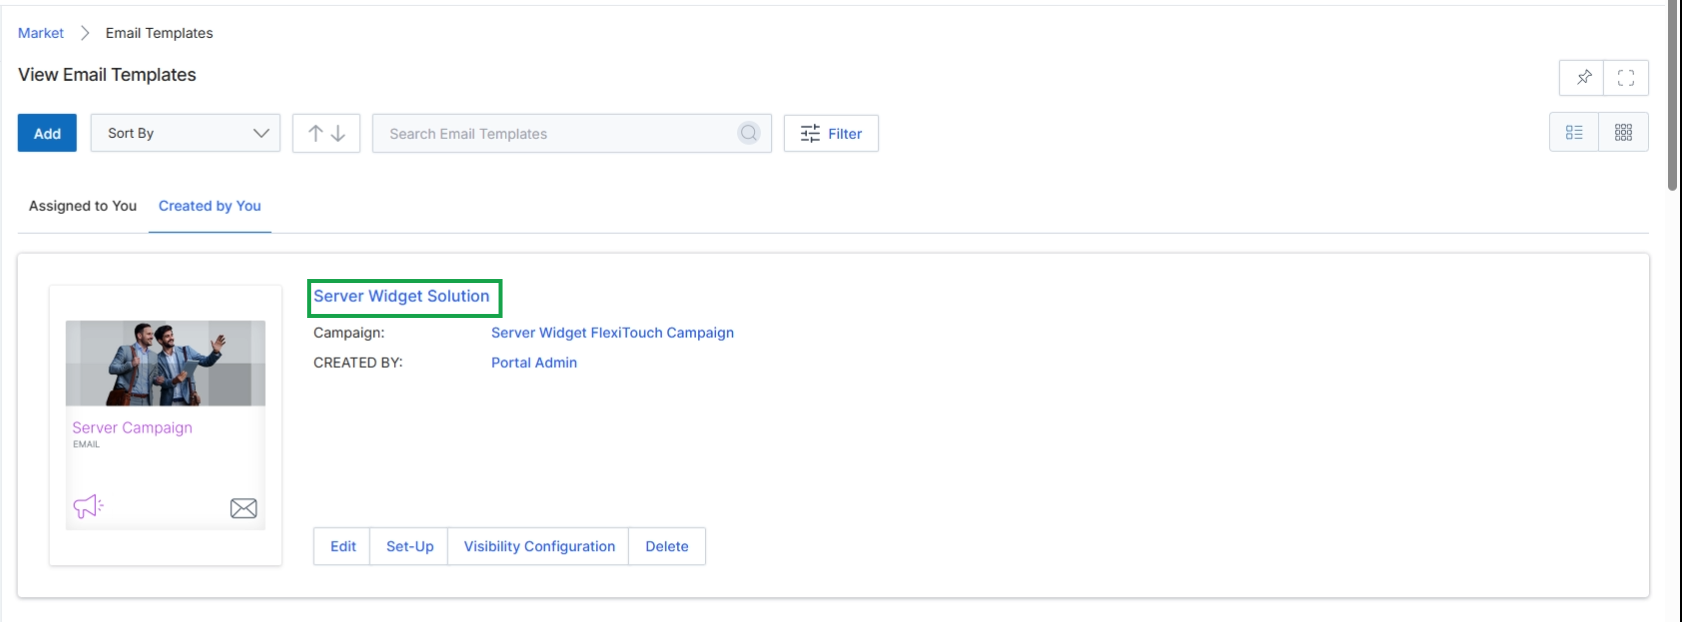
Click the Server Widget Solution template name.
Viewing Template Details
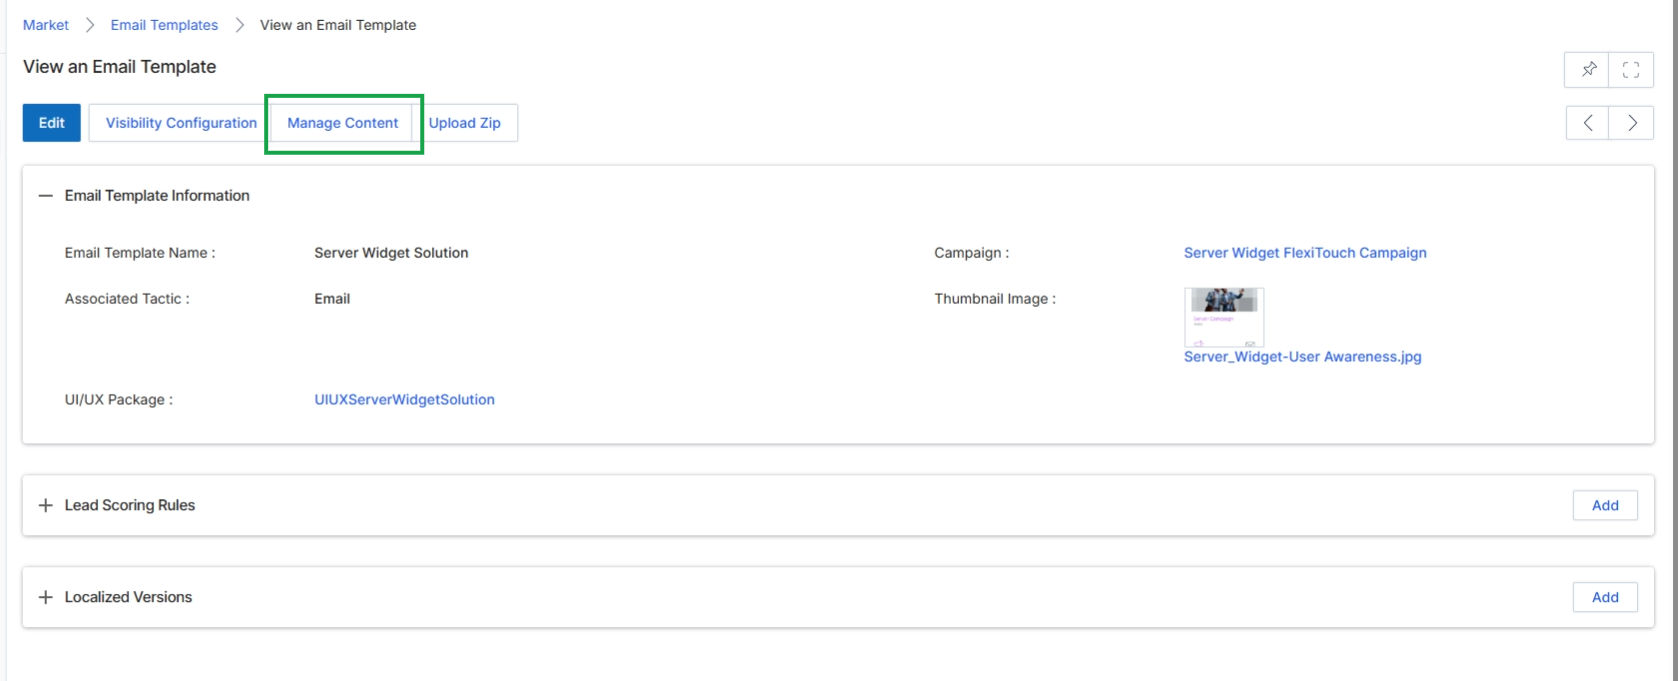
Click the Manage Content button.
Editing Template Content
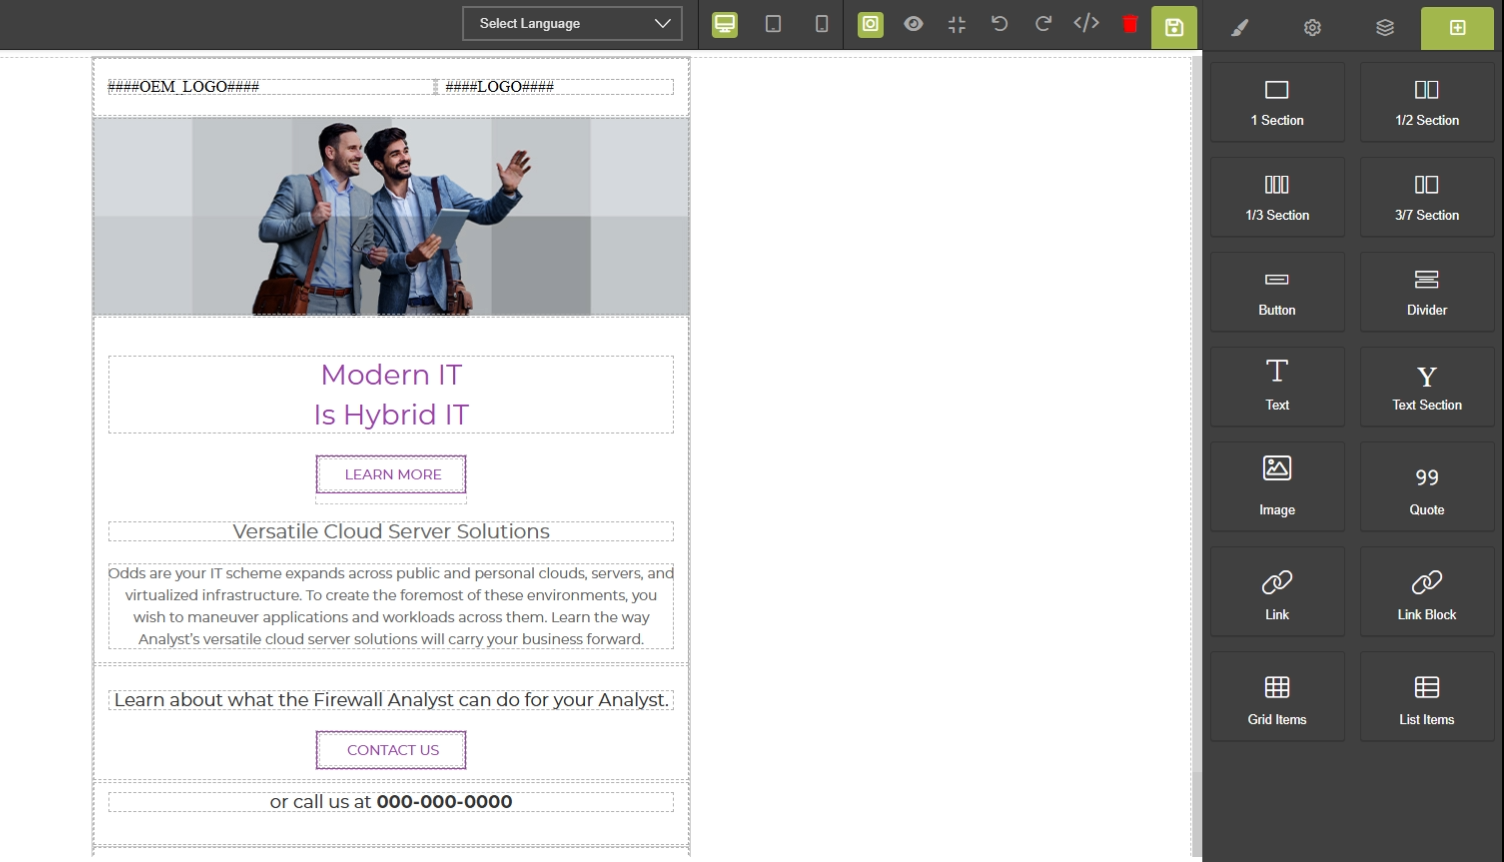
This screen displays the email template editor, which is a visual interface for designing and customizing email content within the Market module. It provides a drag-and-drop environment where users can assemble email layouts using various structural sections and content elements. This editor allows for the creation of rich, branded email communications that partners can use in their marketing campaigns, supporting the broader goal of enabling partners to effectively market vendor products and services.
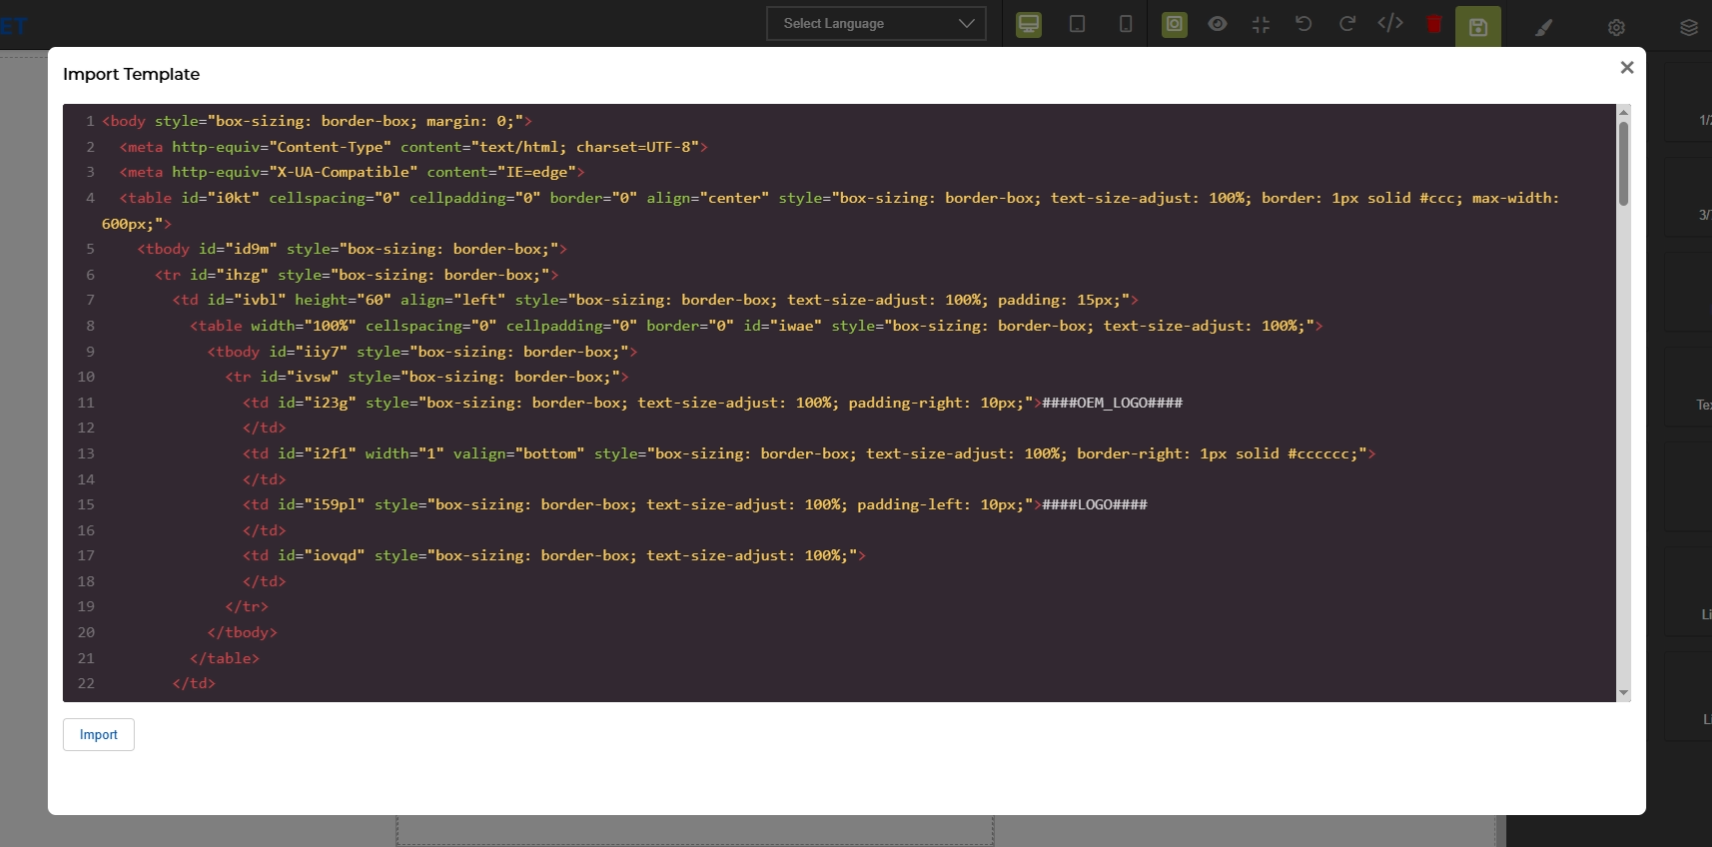
This screen displays the HTML source code of an email template within the UPM platform. It allows users to directly view and edit the underlying code that defines the structure and content of the email, providing granular control over its design. This code view is an alternative to the visual drag-and-drop editor, enabling advanced customization or integration of external HTML templates.
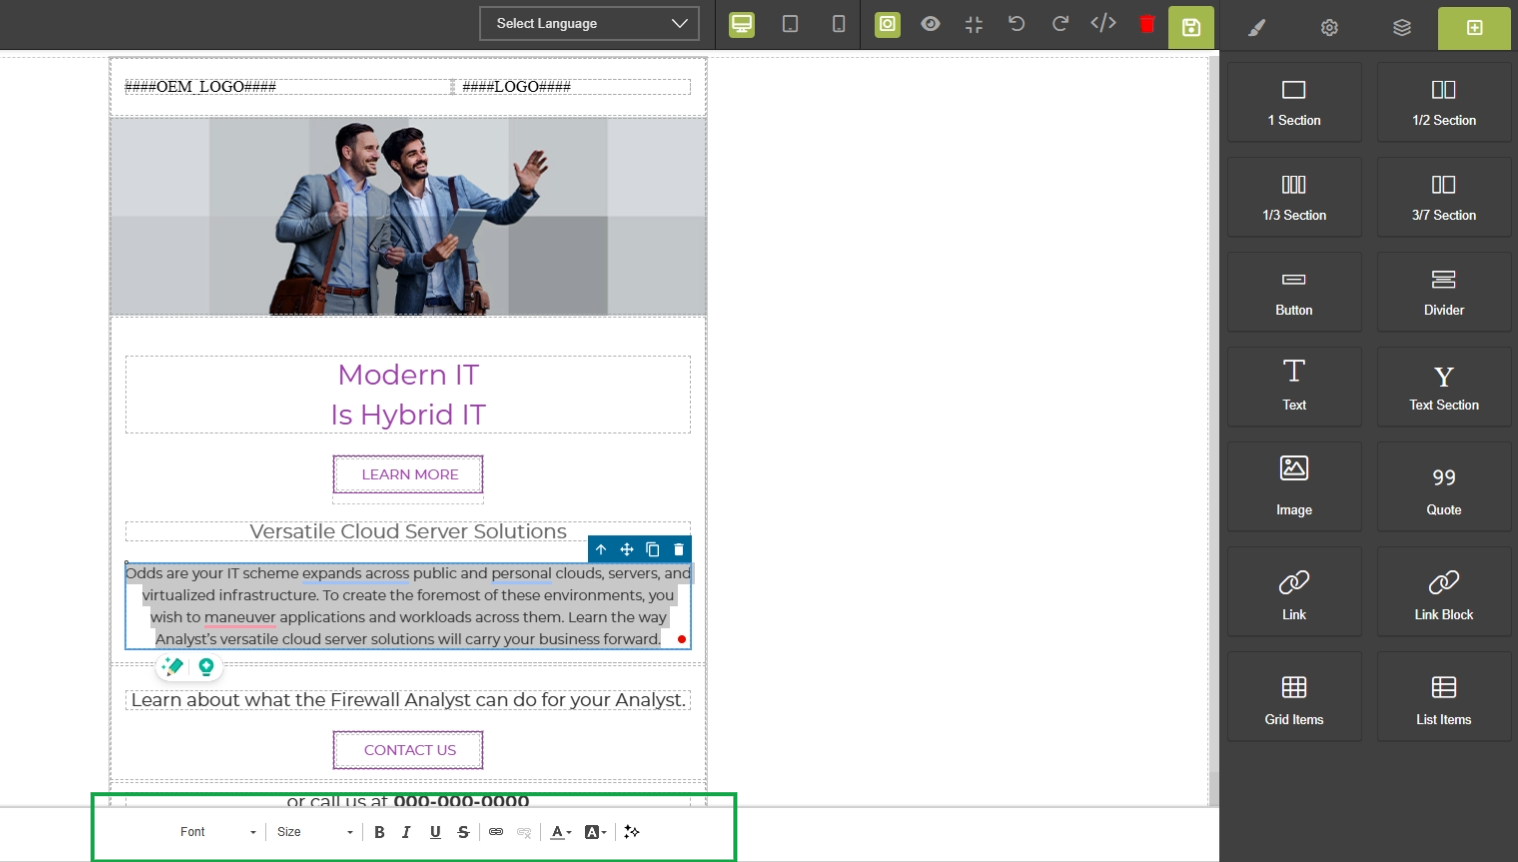
This screen displays the visual editor for email templates within the UPM Market module, specifically for managing email marketing content. Unlike the HTML code editor, this interface provides a What You See Is What You Get (WYSIWYG) environment, allowing users to directly manipulate the visual layout and content of an email template. This editor is crucial for non-technical users to design and customize email campaigns without needing to write or understand HTML code. It enables the creation of visually appealing and responsive email templates that can be used for various marketing activities, such as promoting events, sharing assets, or nurturing leads, which are then distributed to partners or directly to prospects.
Utilize the WYSIWYG editor to visually edit the email template content.
Buttons
| Button | Description |
|---|---|
| 1/2 Section | Adds a new section to the email template, divided into two equal columns. |
| 1/3 Section | Adds a new section to the email template, divided into three equal columns. |
| 3/7 Section | Adds a new section to the email template, divided into two columns with a 30/70 width ratio. |
| Button | Adds a clickable button element to the email template. |
| Divider | Adds a horizontal divider line to separate content sections within the email template. |
| Text | Adds a plain text block to the email template. |
| Text Section | Adds a text section with predefined styling to the email template. |
| Image | Adds an image element to the email template. |
| Quote | Adds a quote block to the email template. |
| Link | Adds a hyperlink to the email template. |
| Link Block | Adds a block containing multiple hyperlinks to the email template. |
| Grid Items | Adds a grid layout for displaying items in the email template. |
| List Items | Adds a list of items to the email template. |
| B | Button to apply bold formatting to the selected text. |
| I | Button to apply italic formatting to the selected text. |
| U | Button to apply underline formatting to the selected text. |
| S | Button to apply strikethrough formatting to the selected text. |
| A | Color picker for text color. |
| A | Color picker for text background color. |
Fields
| Field | Description |
|---|---|
| Font | Dropdown to select the font family for the selected text. |
| Size | Dropdown to select the font size for the selected text. |
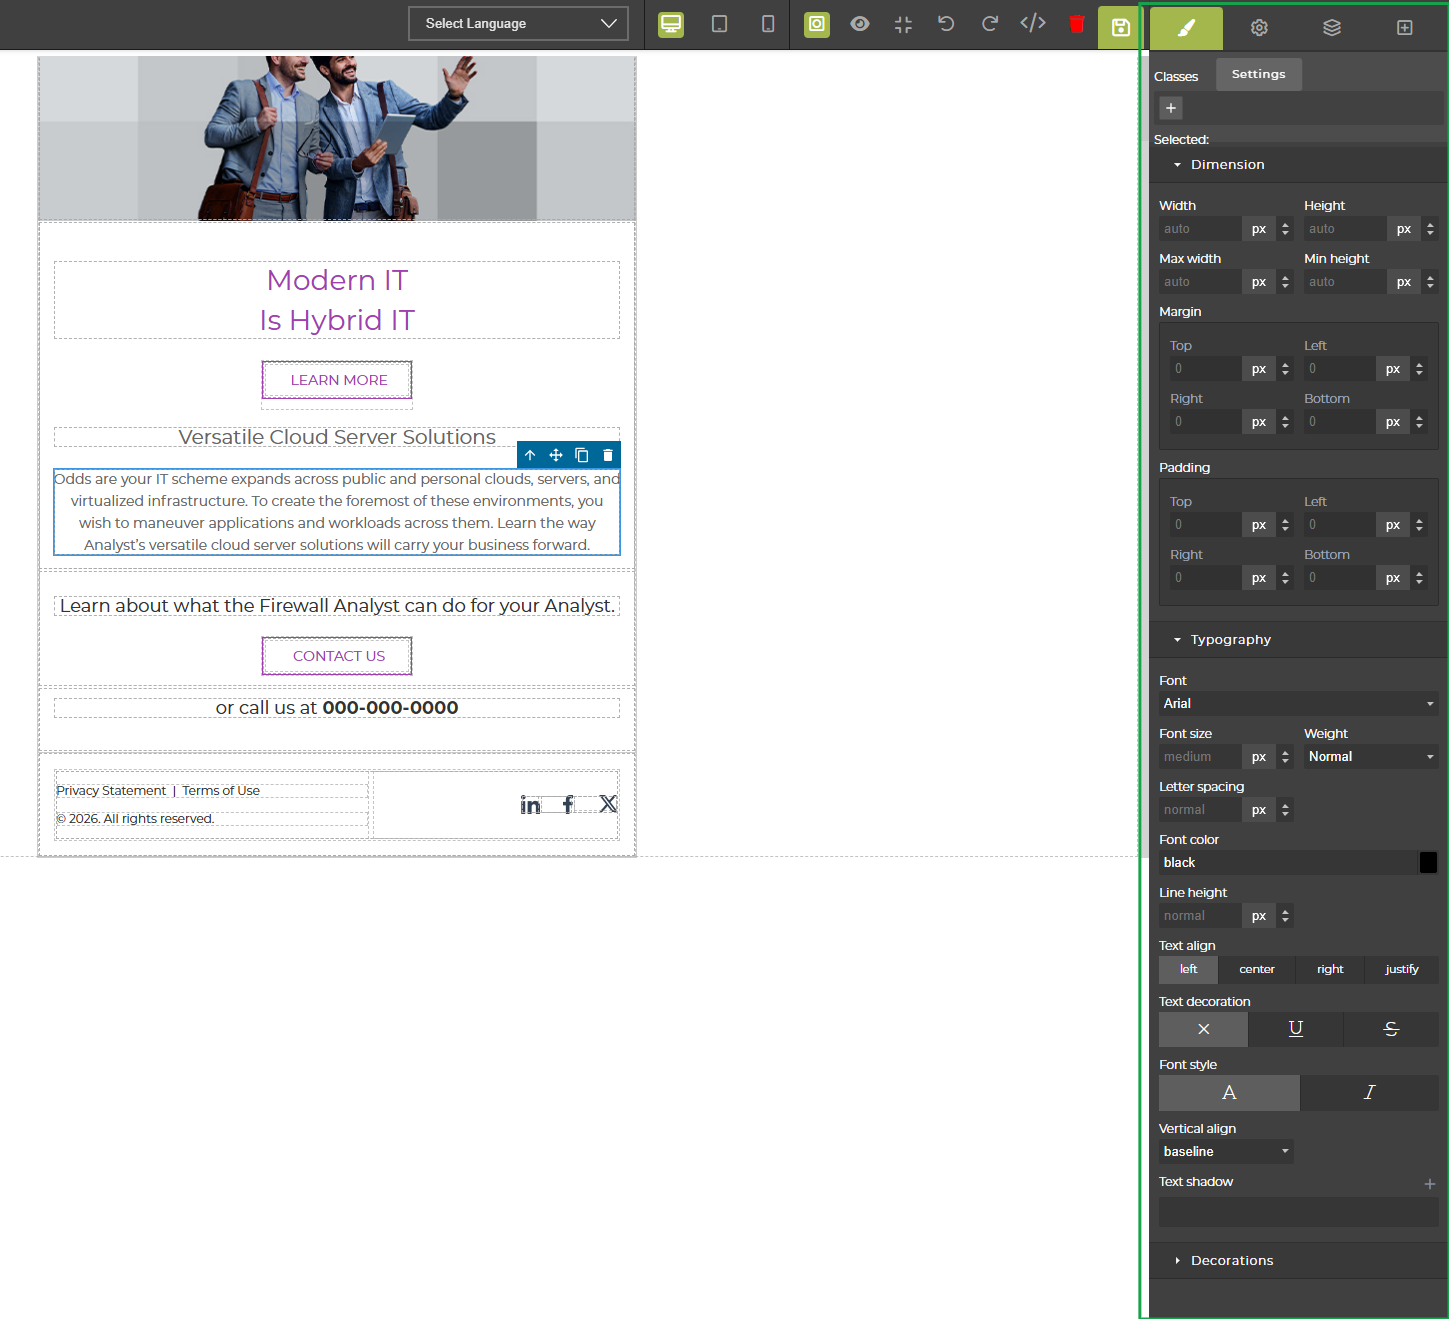
The UPM Email Template Builder provides a visual drag-and-drop interface for vendors to design and customize email marketing campaigns within the Market module. This tool facilitates the creation of rich, responsive email layouts by combining various content blocks and sections. The right-hand panel, referred to as the Style Manager, offers granular control over the visual properties of selected elements, allowing users to fine-tune dimensions, spacing, typography, and other stylistic attributes. This extensive customization capability ensures that email templates adhere to brand guidelines and effectively communicate marketing messages to partners and end-customers.
Click the Style Manager icon in the top right panel to open the style editing options for the selected email template element.
Fields
| Field | Description |
|---|---|
| Classes | This section allows the application and management of CSS classes to the selected element, enabling reusable styling. |
| Selected | Displays the currently selected element for which styles are being applied. |
| Dimension | This section provides controls for adjusting the width, height, maximum width, and minimum height of the selected element. |
| Margin | This section allows adjustment of the external spacing (margin) around the selected element, controlling its distance from other elements. |
| Padding | This section allows adjustment of the internal spacing (padding) within the selected element, controlling the distance between its content and its border. |
| Typography | This section provides controls for adjusting text-related styles such as font family, font size, weight, letter spacing, and color. |
Dimension
| Field | Description |
|---|---|
| Width | Sets the width of the selected element. Can be set to auto or a specific pixel value. |
| Height | Sets the height of the selected element. Can be set to auto or a specific pixel value. |
| Max width | Sets the maximum width the selected element can occupy. Can be set to auto or a specific pixel value. |
| Min height | Sets the minimum height the selected element must occupy. Can be set to auto or a specific pixel value. |
Margin
| Field | Description |
|---|---|
| Top | Sets the top margin of the selected element in pixels. |
| Left | Sets the left margin of the selected element in pixels. |
| Right | Sets the right margin of the selected element in pixels. |
| Bottom | Sets the bottom margin of the selected element in pixels. |
Padding
| Field | Description |
|---|---|
| Top | Sets the top padding of the selected element in pixels. |
| Left | Sets the left padding of the selected element in pixels. |
| Right | Sets the right padding of the selected element in pixels. |
| Bottom | Sets the bottom padding of the selected element in pixels. |
Typography
| Field | Description |
|---|---|
| Font | Selects the font family for the text within the selected element. |
| Font size | Sets the size of the font for the text within the selected element. |
| Weight | Sets the weight (boldness) of the font for the text within the selected element. |
| Letter spacing | Adjusts the spacing between characters for the text within the selected element. |
| Font color | Sets the color of the font for the text within the selected element. |
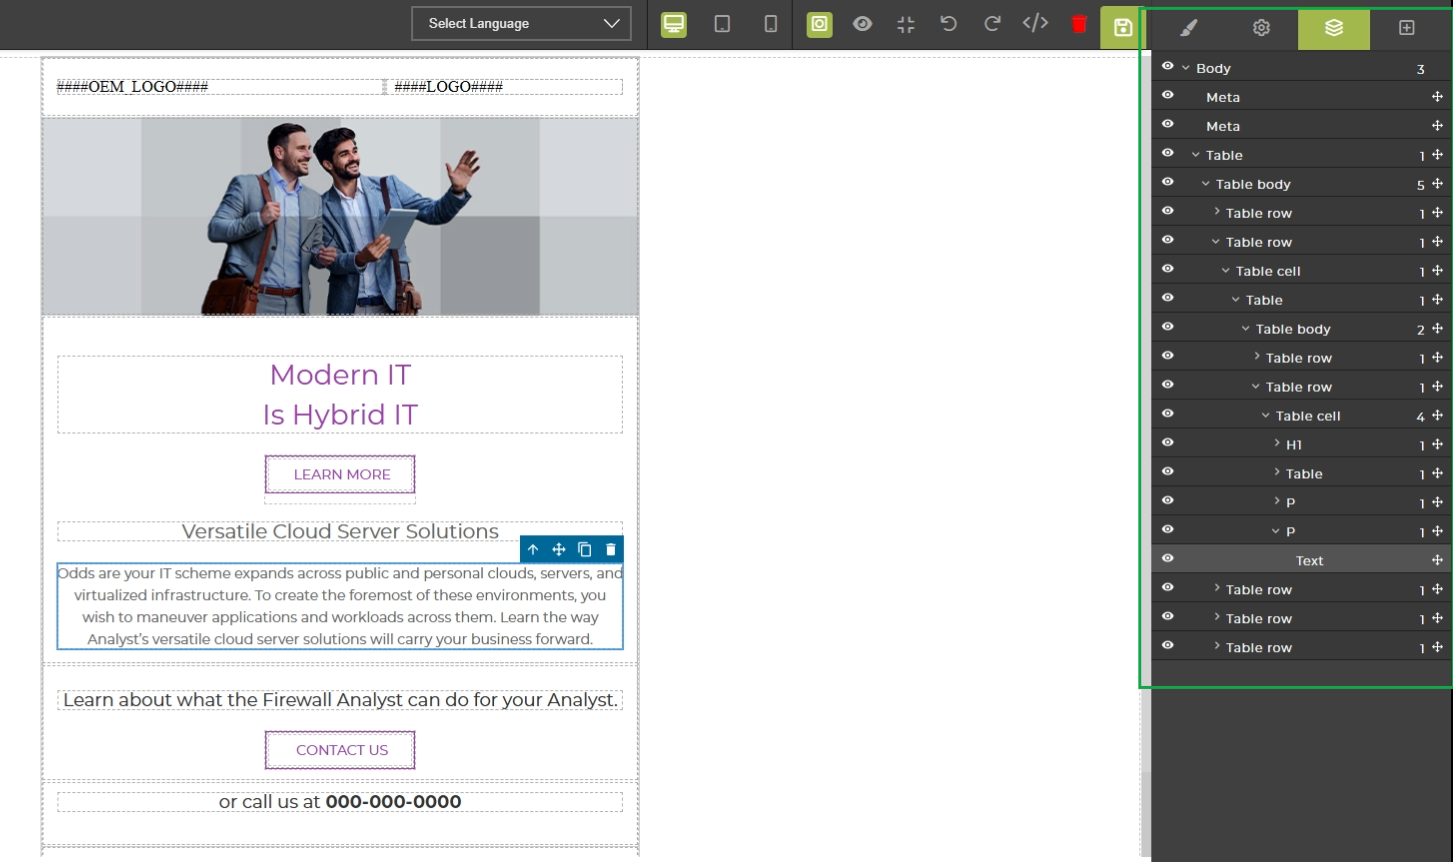
The Layer Manager panel provides a hierarchical view of all elements and components within the email template being designed. This feature is crucial for managing complex layouts, allowing users to easily select, reorder, and manipulate individual elements that might be difficult to access directly on the canvas, especially when elements are nested or overlapping. It displays the structural composition of the email, reflecting the underlying HTML structure, and enables precise control over each layer's visibility and properties. This panel helps ensure the email's design is robust and responsive across various email clients and devices.
The Layer Manager panel is now open, displaying the hierarchical structure of the email template's components.