

Overview
The Accelerate module includes tools for strategic partner relationship management, such as joint business planning, QBRs, and feedback collection. The Survey Feedback feature is a critical component of this, enabling administrators to gather insights directly from partners. By collecting feedback on program satisfaction, product experience, or specific events, administrators can identify areas for improvement and ensure the partner program effectively meets partner needs and business objectives. This direct feedback loop is essential for fostering strong partner relationships and continuously optimizing the partner ecosystem.
Accessing Survey Feedbacks
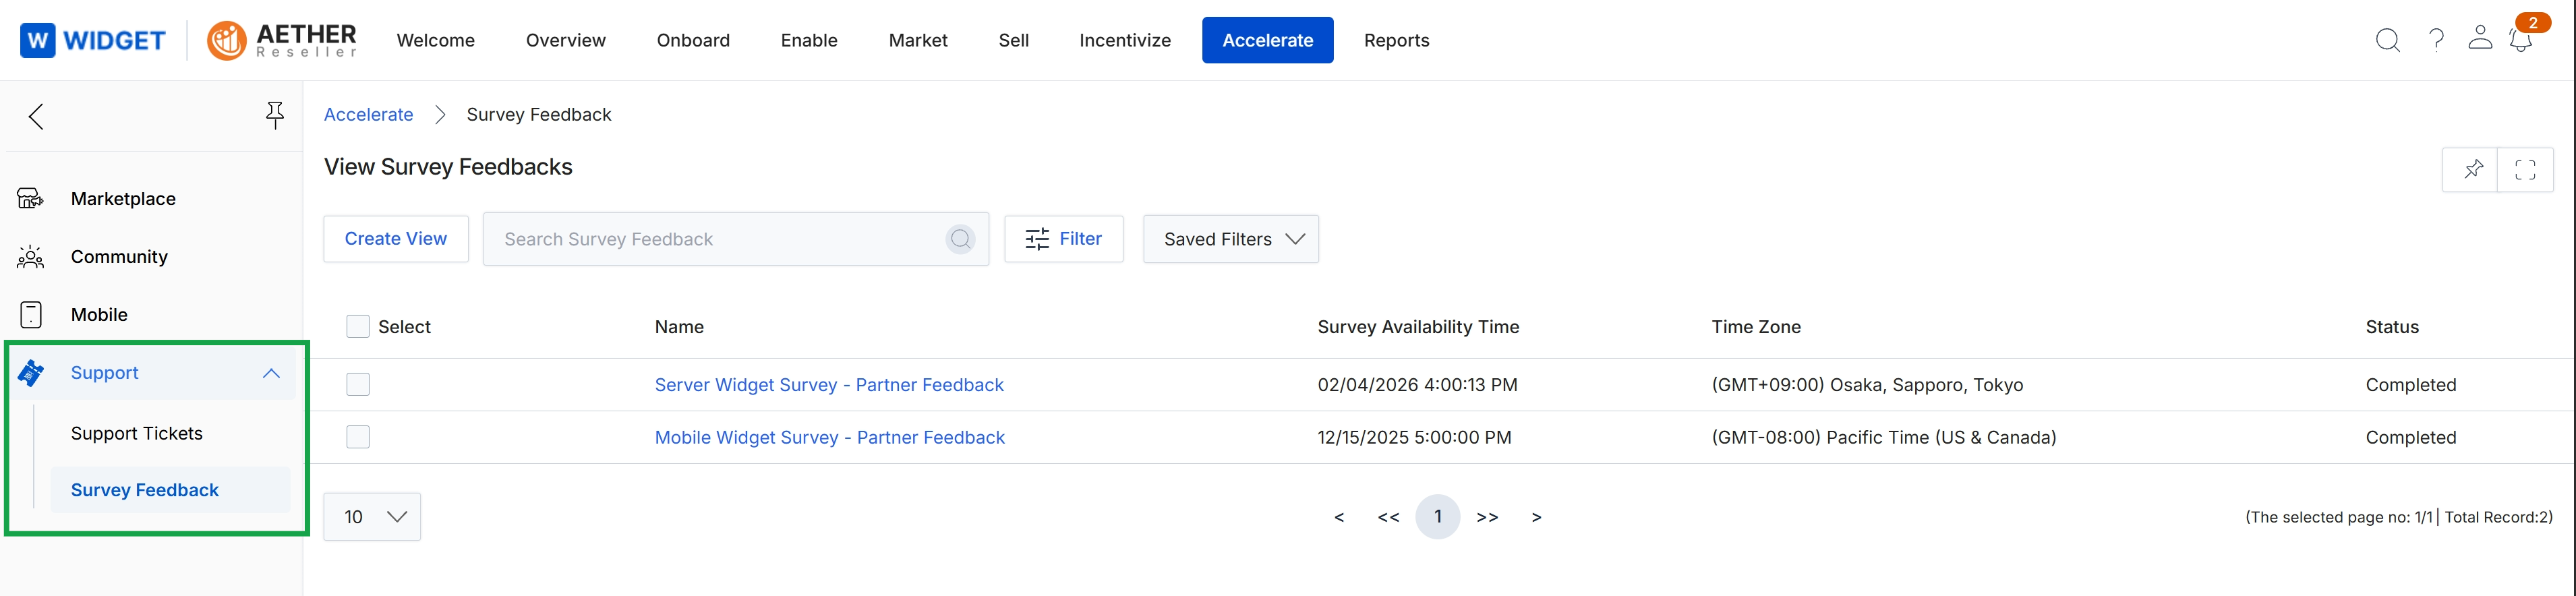
Click Support → Survey Feedback.
Managing List Views and Columns
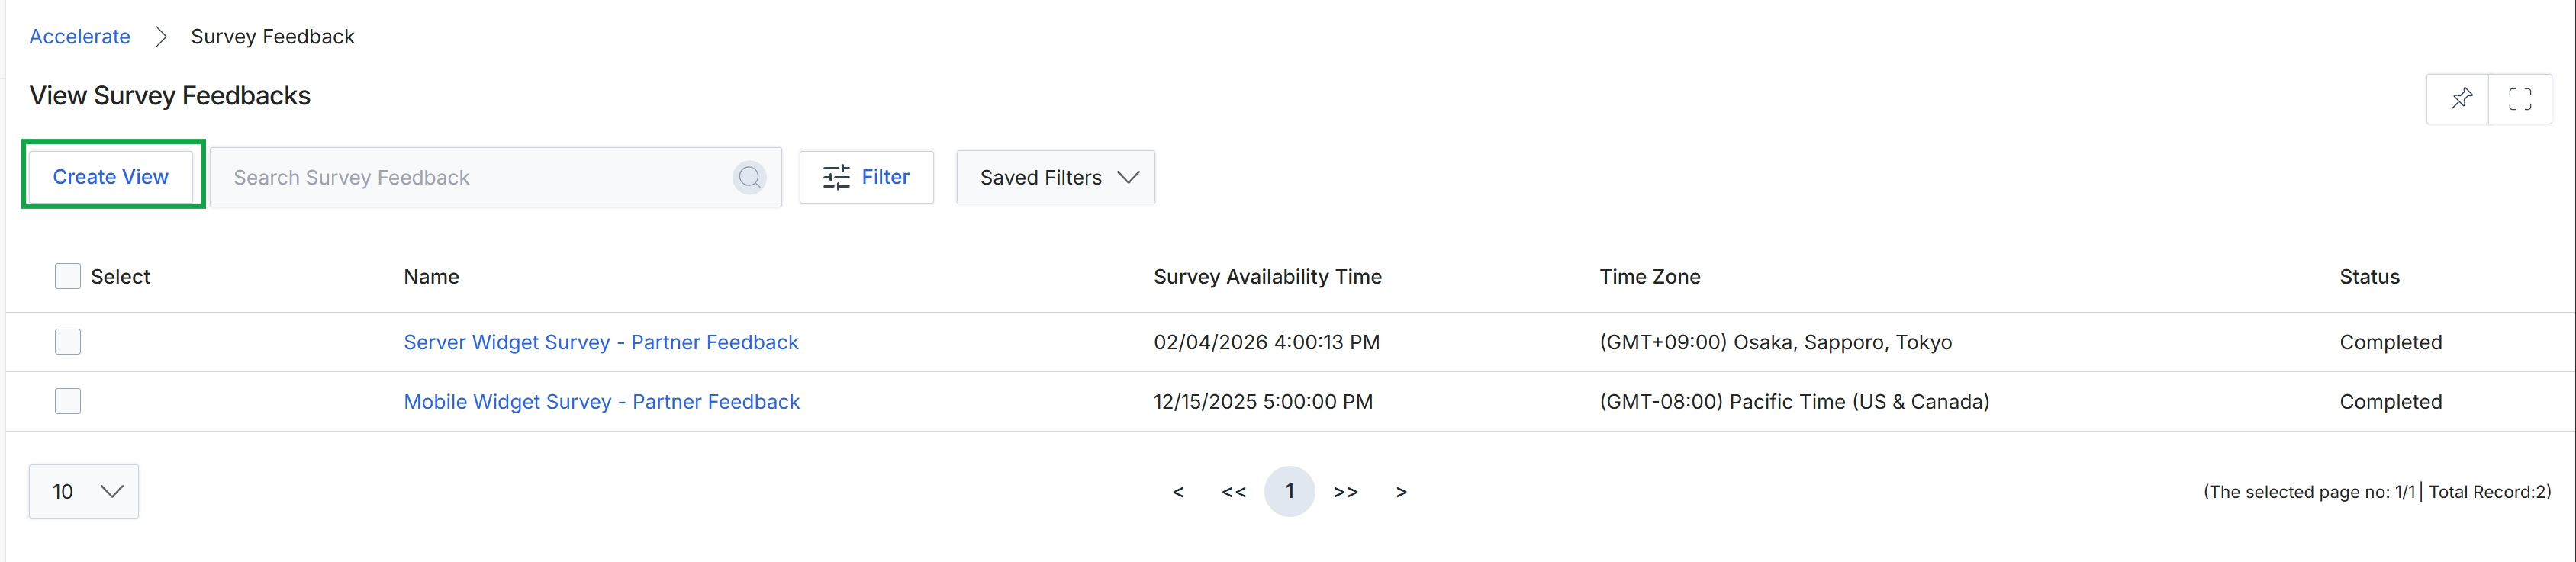
Click Create View.
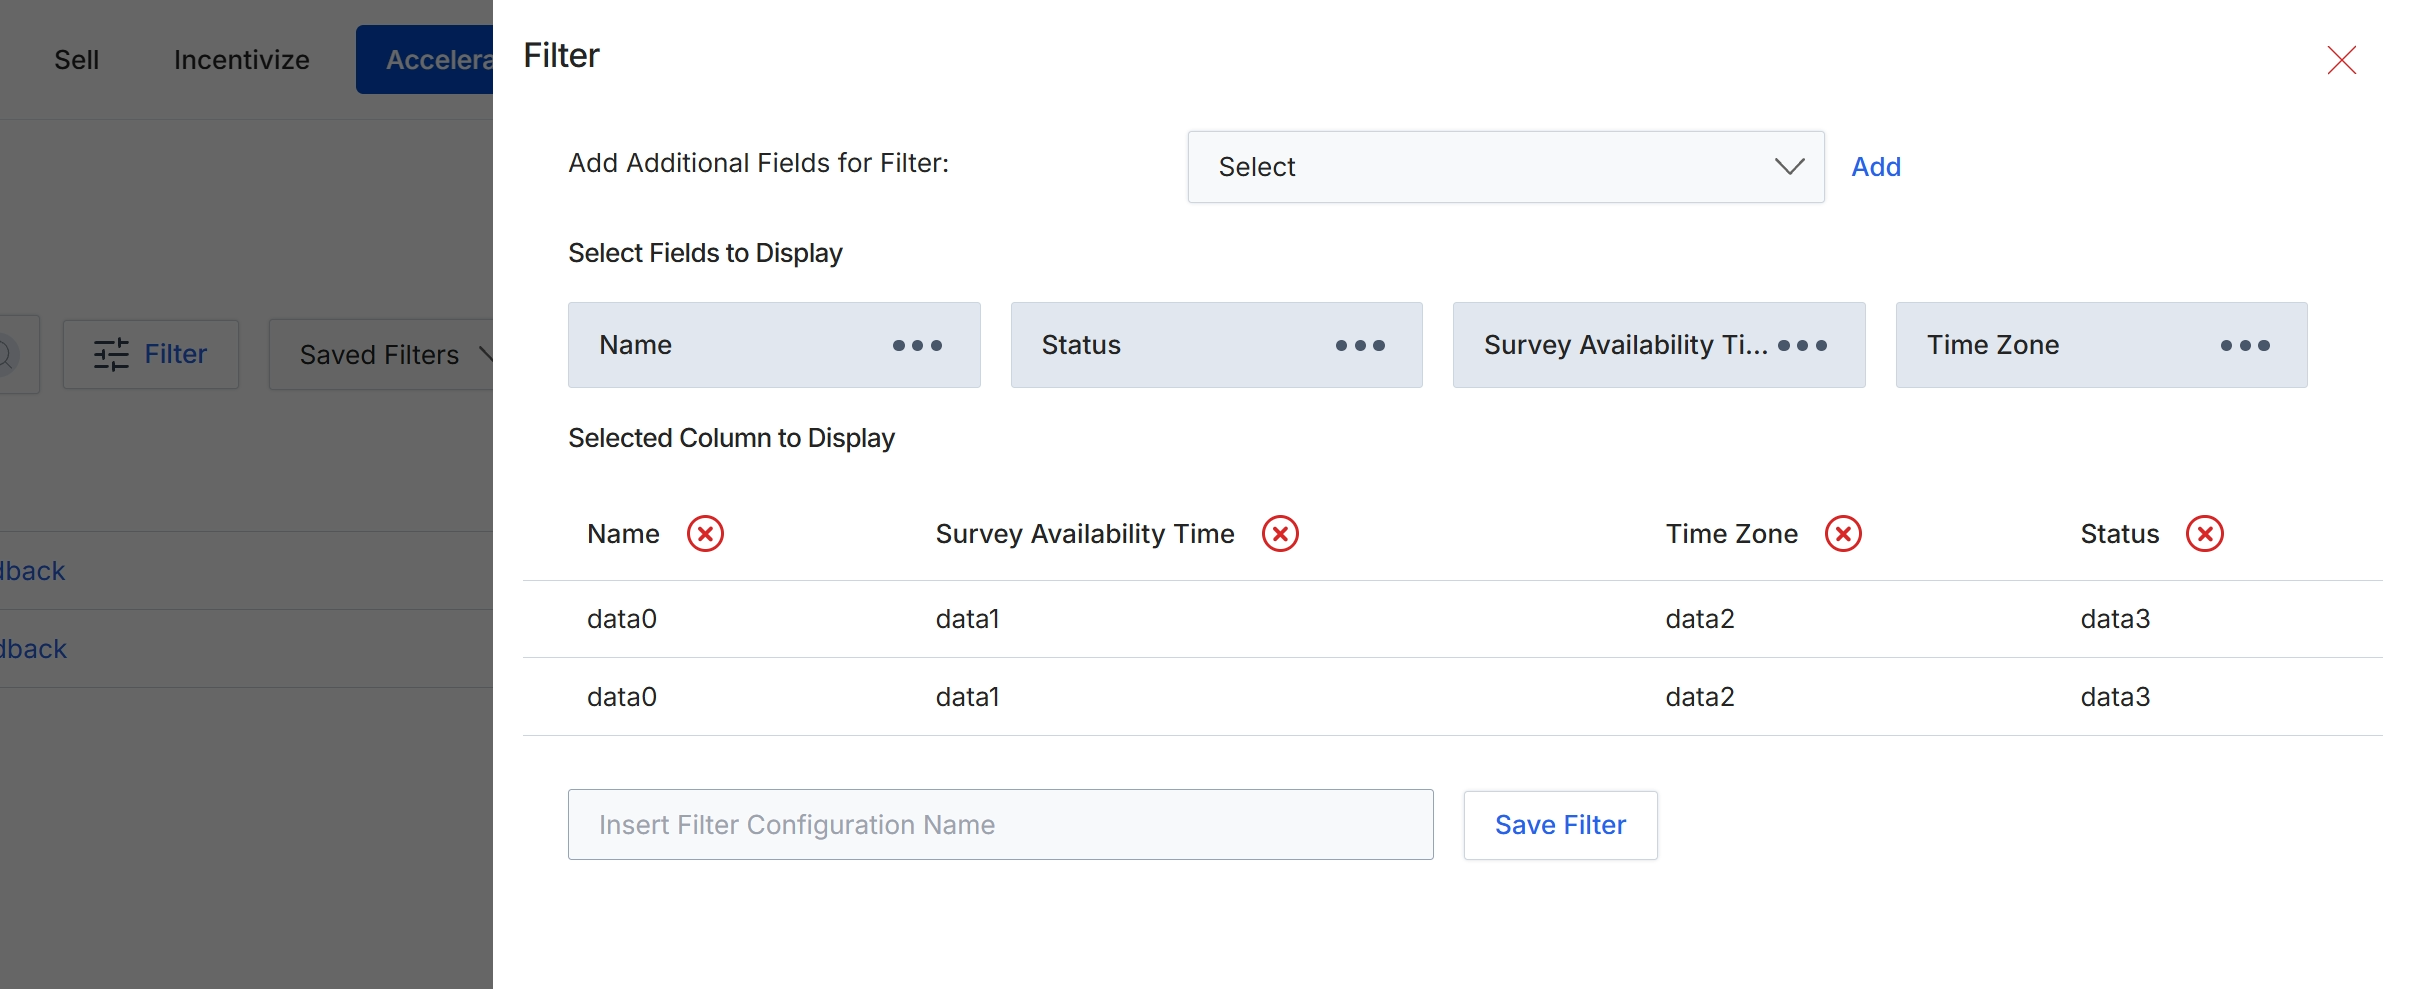
This filter configuration dialog allows users to customize the display and filtering of data within a list view, such as survey feedback. It enables administrators to select specific fields to use as filter criteria and to choose which data columns are visible in the resulting table. This functionality is crucial for managing and analyzing large datasets, providing a tailored view that highlights relevant information and supports efficient data review and reporting within the Accelerate module.
Configure the desired filters and display columns for the survey feedback data, then save the filter configuration for future use.
Buttons
| Button | Description |
|---|---|
| Add | A button to add the selected field to the filter criteria. |
| Save Filter | A button to save the current filter and display column configuration under the specified name. |
Fields
| Field | Description |
|---|---|
| Add Additional Fields for Filter | A dropdown menu to select additional fields that can be used to filter the data. |
| Select | The dropdown control for selecting additional fields to add as filter criteria. |
| Insert Filter Configuration Name | An input field to enter a name for the current filter configuration, allowing it to be saved and reused. |
Filtering Survey Feedback Data
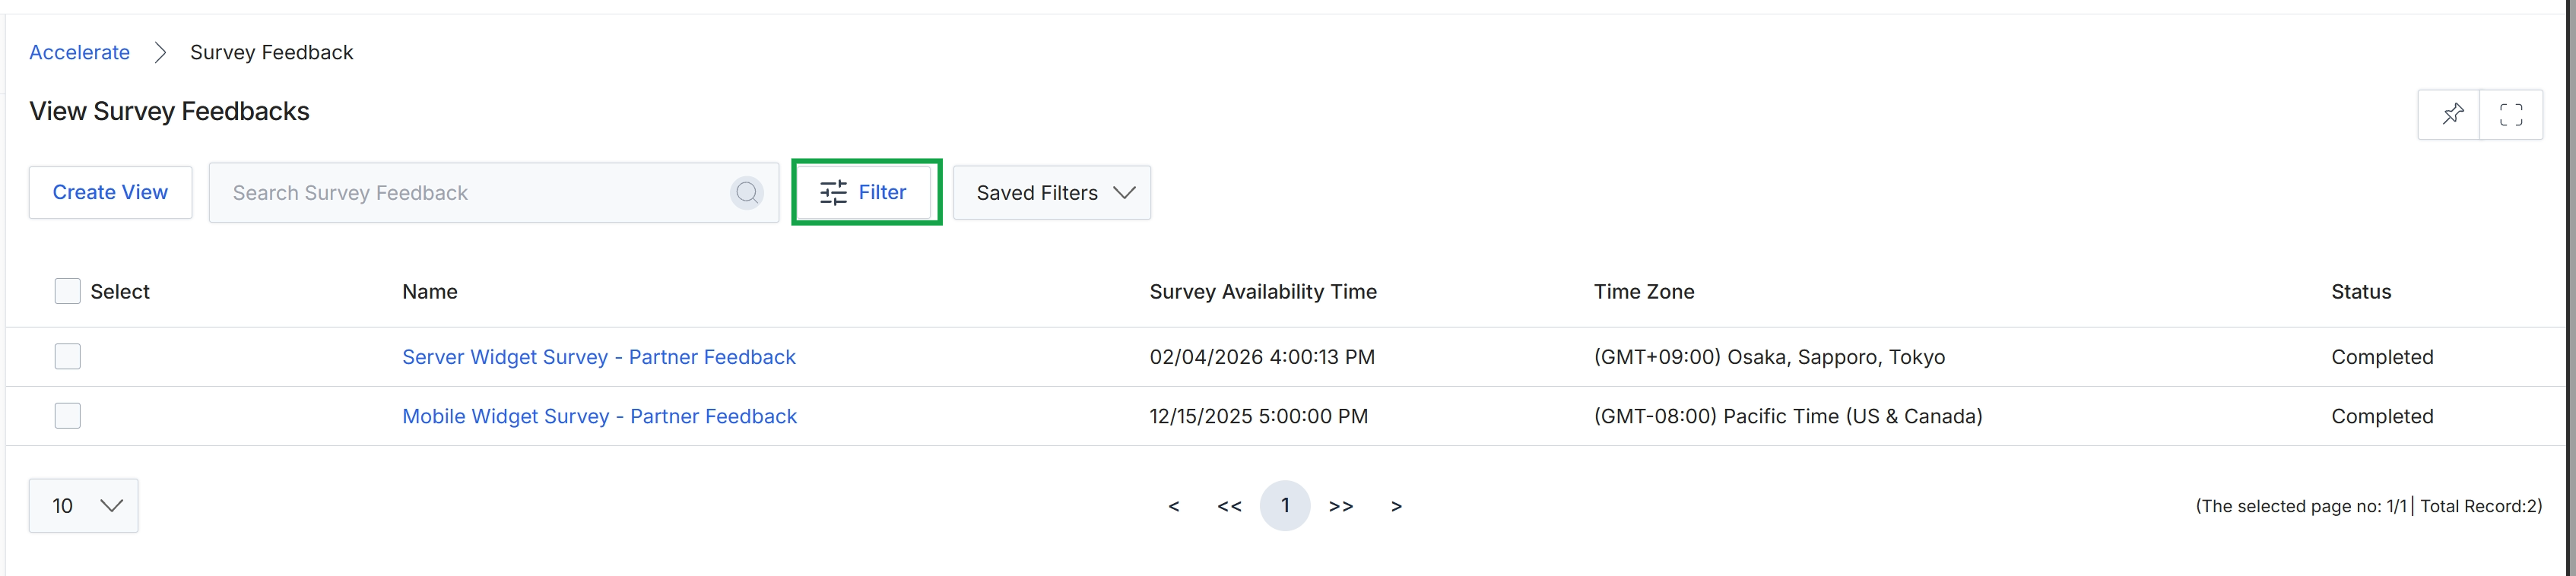
Click the Filter button.
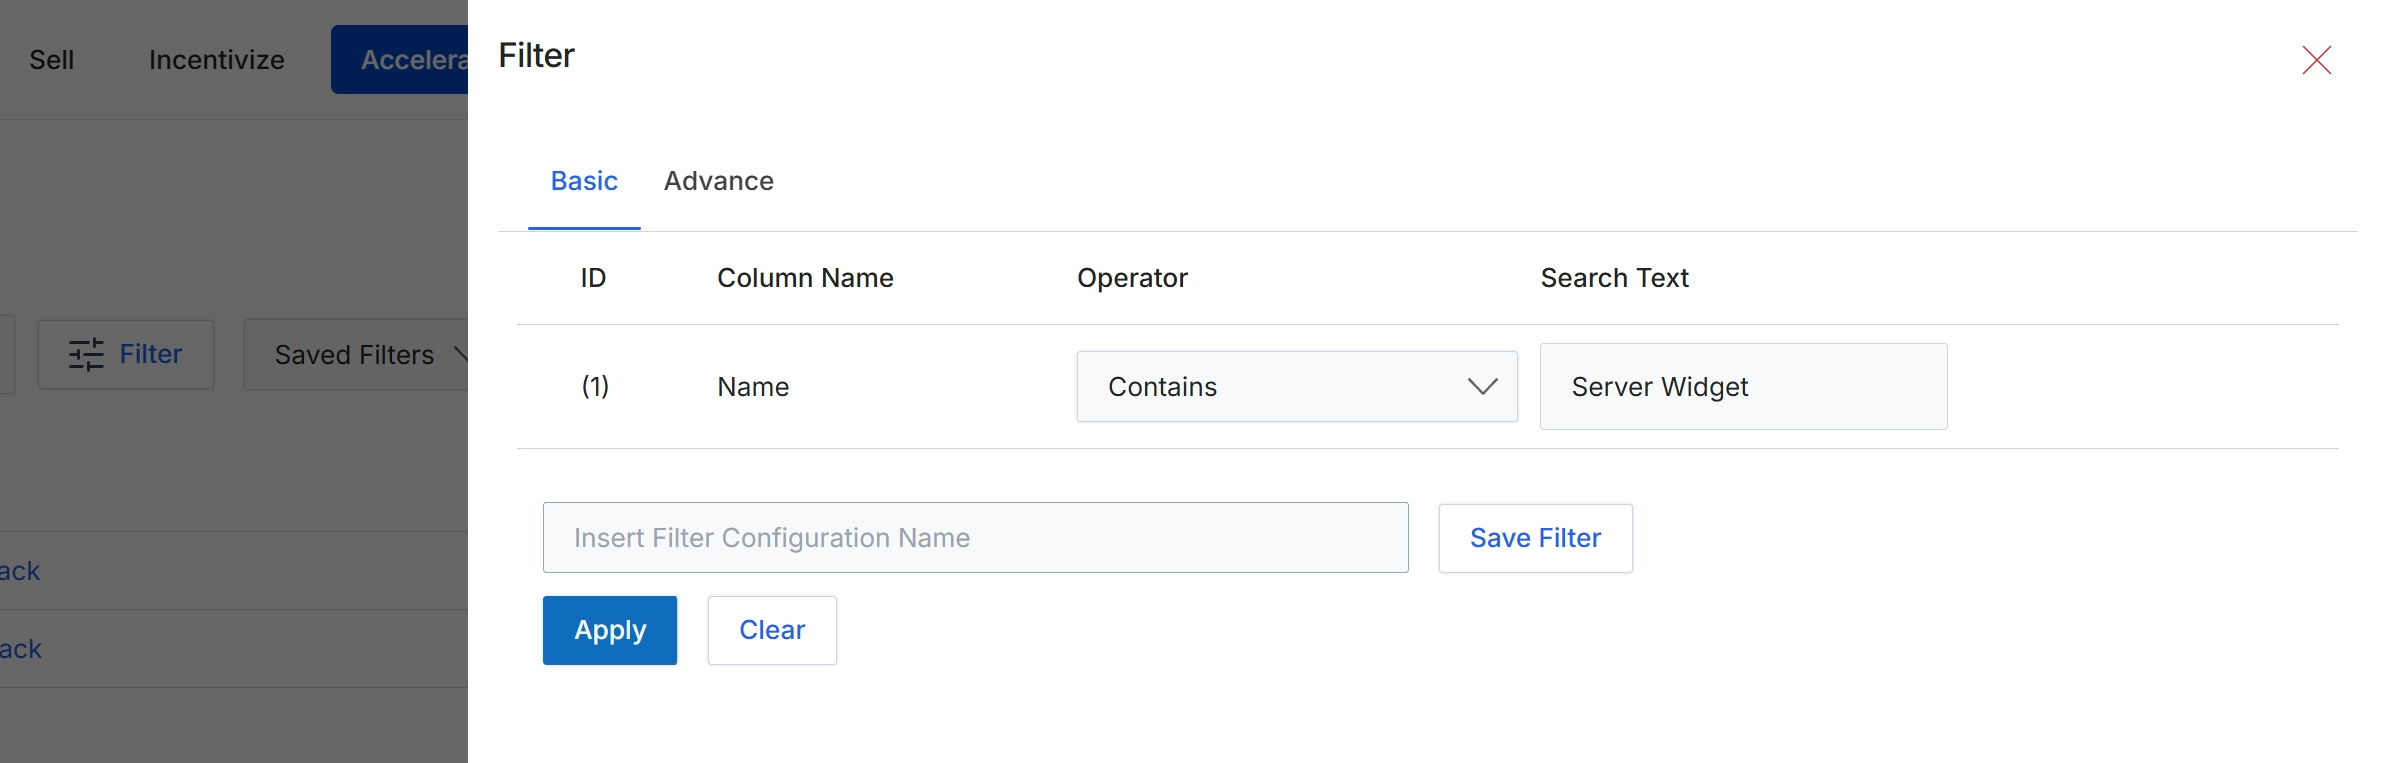
This modal dialog provides filtering capabilities for list views within the UPM, allowing users to refine the displayed data based on specific criteria. Users can define one or more filter conditions by selecting a column, an operator, and a search value. This enables targeted data analysis and helps users quickly locate specific records within larger datasets. The system supports both basic and advanced filtering options, and users can save frequently used filter configurations for future application, streamlining their workflow and ensuring consistent data retrieval.
Configure the filter criteria by specifying the column, operator, and search text, then click Apply to filter the list view.
Buttons
| Button | Description |
|---|---|
| Basic | Selects the basic filter configuration interface, allowing simple rule creation. |
| Advance | Selects the advanced filter configuration interface, which may offer more complex rule combinations (not visible in this basic view). |
| Save Filter | Saves the current filter configuration with the specified name. |
| Apply | Applies the configured filter criteria to the list view, updating the displayed records. |
| Clear | Clears all active filter conditions, resetting the list view to its default state. |
Fields
| Field | Description |
|---|---|
| Insert Filter Configuration Name | Enter a name for the current filter configuration to save it for later use. |
Column Headings
| Column | Description |
|---|---|
| ID | A numerical identifier for each filter rule. |
| Column Name | The name of the column in the list view to which the filter condition will be applied. |
| Operator | The logical operator (e.g., 'Contains', 'Equals', 'Starts With') that defines how the search text will be compared against the column's values. |
| Search Text | The value or keyword to search for within the selected column, based on the chosen operator. |
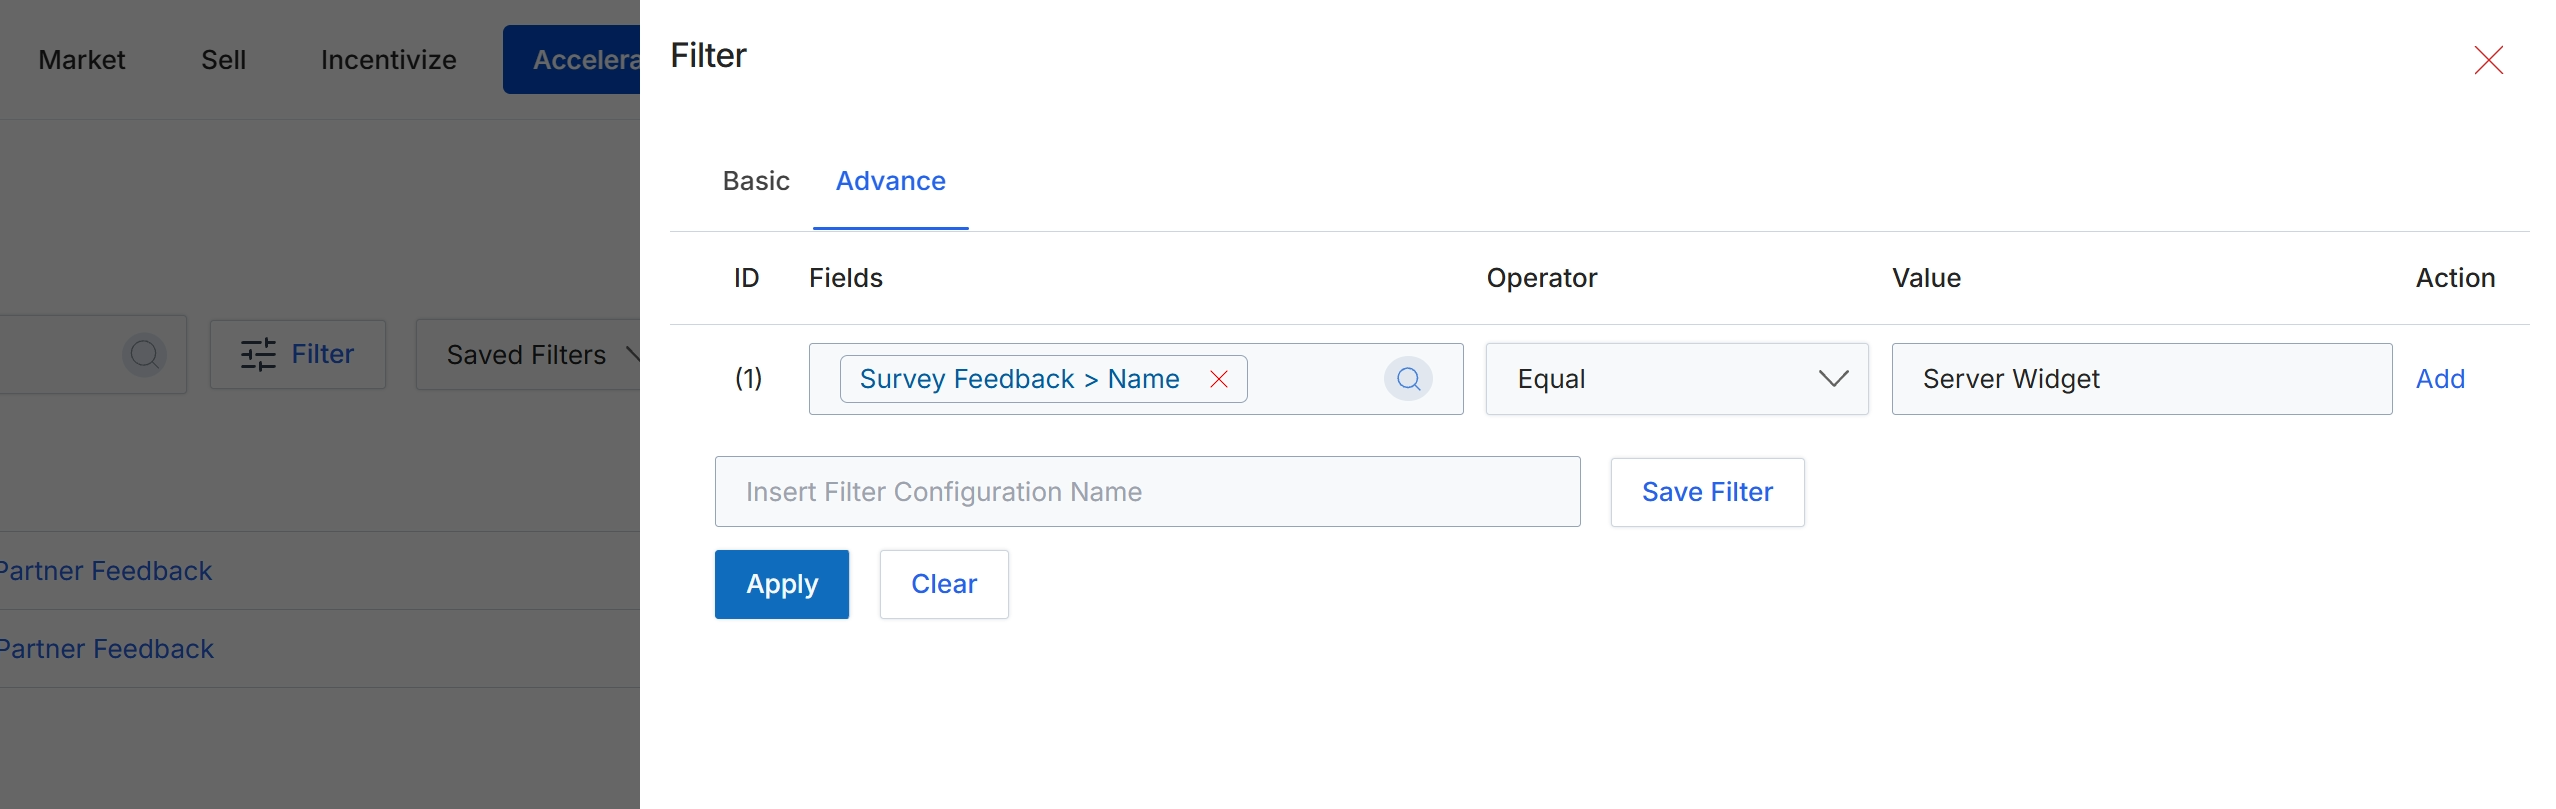
This filter configuration dialog allows users to define specific criteria for narrowing down the displayed data, such as survey feedback records. It provides both basic and advanced filtering options to precisely target relevant information. By specifying fields, operators, and values, users can create custom views of the data, which can then be applied temporarily or saved for future use. This functionality is crucial for efficiently managing and analyzing large datasets, enabling users to focus on specific surveys or feedback types.
Configure the advanced filter by specifying the field, operator, and value, then click 'Apply' to filter the results.
Buttons
| Button | Description |
|---|---|
| Basic | A tab to switch to basic filter options. |
| Advance | A tab to switch to advanced filter options, allowing for more complex rule configurations. |
| Save Filter | A button to save the current filter configuration with the specified name. |
| Apply | A button to apply the configured filter rules to the data. |
| Clear | A button to clear all applied filter rules. |
| Close | A button to close the filter dialog without applying or saving changes. |
Fields
| Field | Description |
|---|---|
| Insert Filter Configuration Name | A text input field to enter a name for the current filter configuration, allowing it to be saved for later use. |
Column Headings
| Column | Description |
|---|---|
| ID | A column displaying the identifier for each filter rule. |
| Fields | A column where the data field to be filtered is selected. The current selection is 'Survey Feedback > Name'. |
| Operator | A column where the comparison operator for the filter rule is selected. The current selection is 'Equal'. |
| Value | A column where the specific value to compare against the selected field is entered. The current value is 'Server Widget'. |
| Action | A column containing actions related to each filter rule, such as 'Add' to add a new rule. |