

Overview
Effective email marketing is a cornerstone of partner enablement and engagement within the Market module. The Outgoing Emails feature offers administrators a comprehensive overview of all email campaigns launched through the platform, providing crucial visibility for tracking performance, ensuring brand consistency, and supporting partners in their marketing efforts. This includes emails sent directly by the vendor and those executed by partners using approved templates and content.
Viewing Outgoing Emails
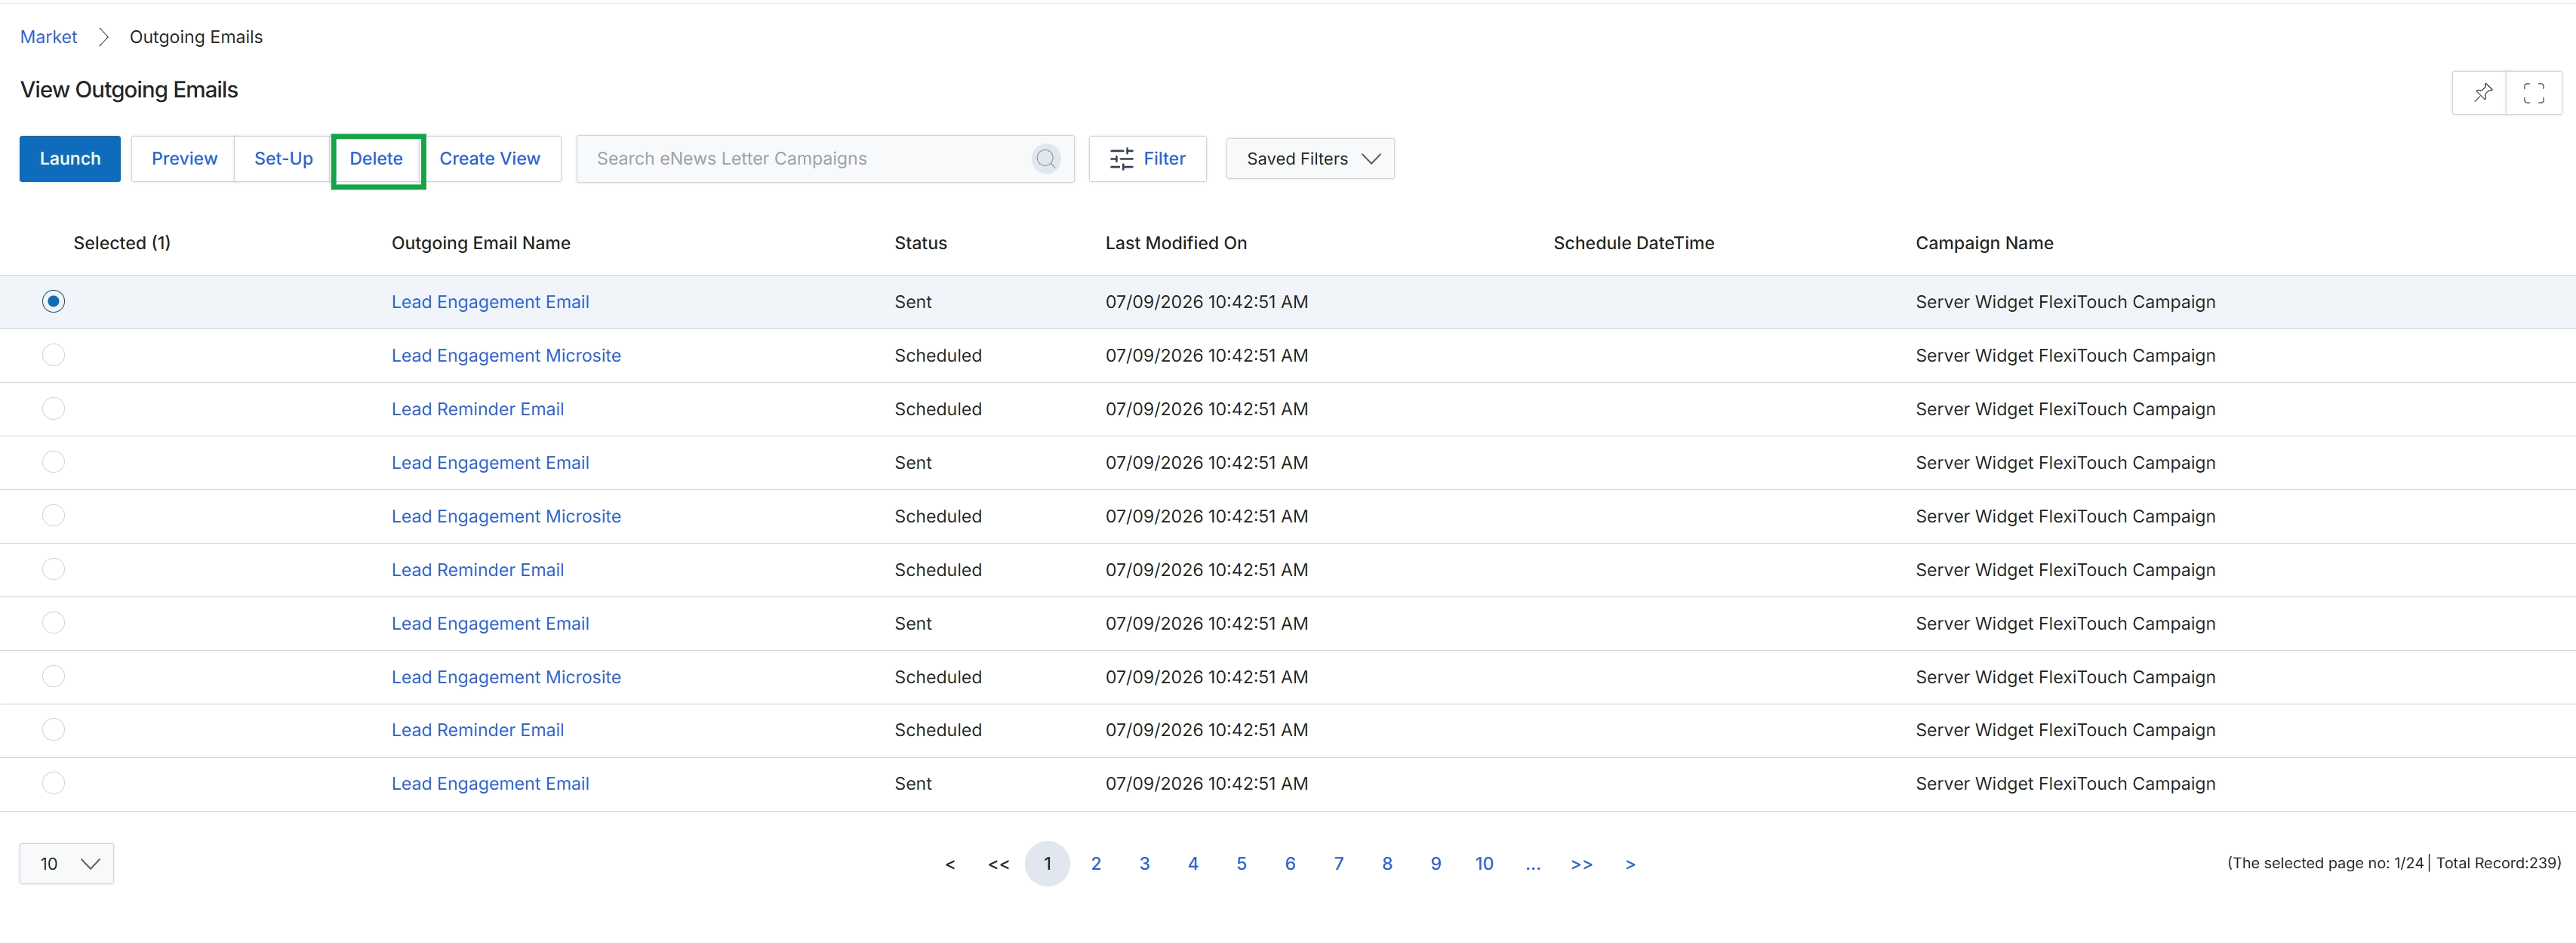
Click the Delete button.
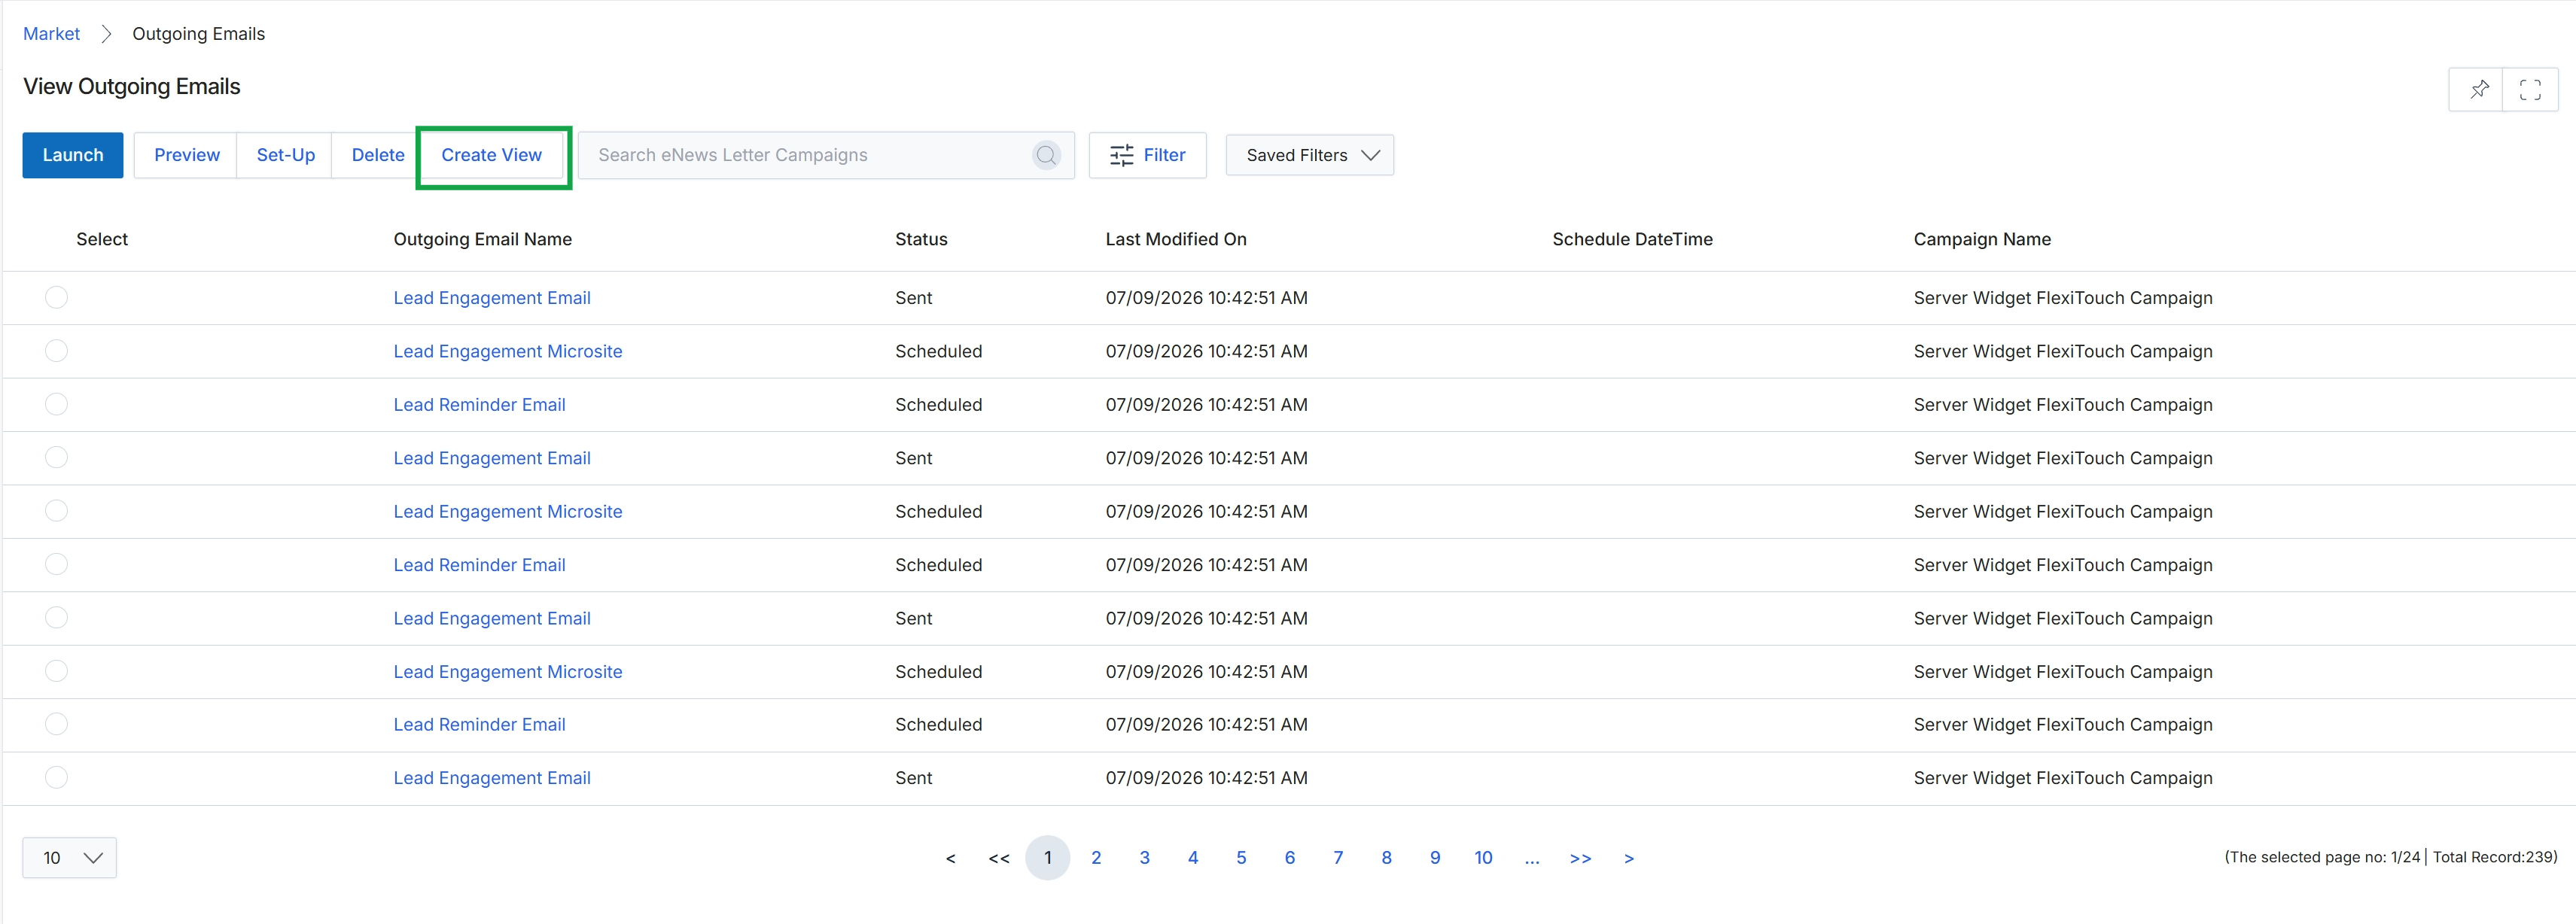
Click the Create View button.
Customizing the Email List View
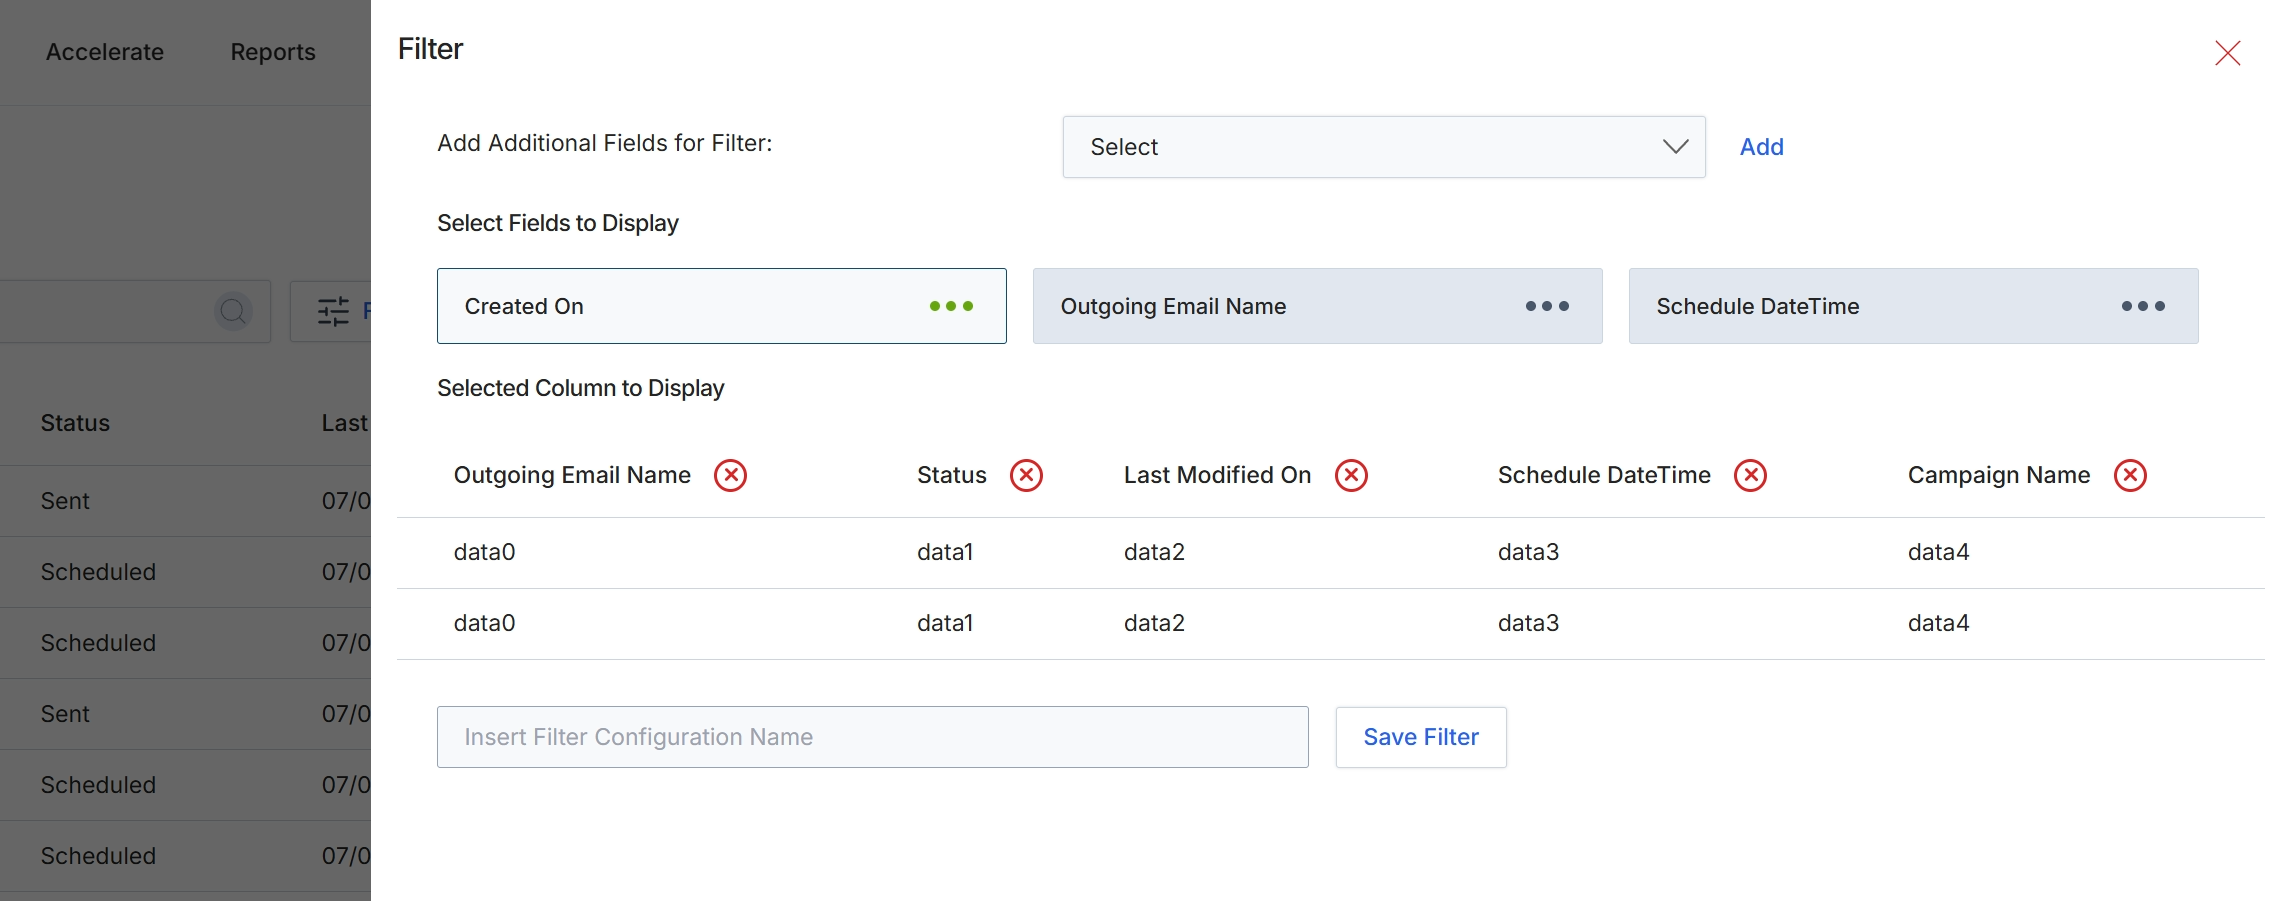
This filter configuration dialog allows administrators and partners to customize how the 'Outgoing Emails' list is displayed and filtered. It provides options to add specific fields for filtering the email data, select which columns are visible in the main list view, and save these personalized filter configurations for future use. This functionality is crucial for efficiently managing and analyzing email campaign performance and status by tailoring the presented data to specific needs, enabling users to focus on relevant metrics and information.
Configure the desired filter criteria and select the columns to display for the Outgoing Emails list, then save the configuration.
Buttons
| Button | Description |
|---|---|
| Add | A button to add the selected field from the 'Add Additional Fields for Filter' dropdown to the filter criteria. |
| Save Filter | A button to save the current filter and column display configuration under the specified name. |
Fields
| Field | Description |
|---|---|
| Add Additional Fields for Filter | A dropdown menu to select additional fields that can be used to filter the list of outgoing emails. |
| Select | The dropdown control for selecting additional fields to add to the filter criteria. |
| Insert Filter Configuration Name | An input field to enter a name for the current filter and column display configuration, allowing it to be saved for future use. |
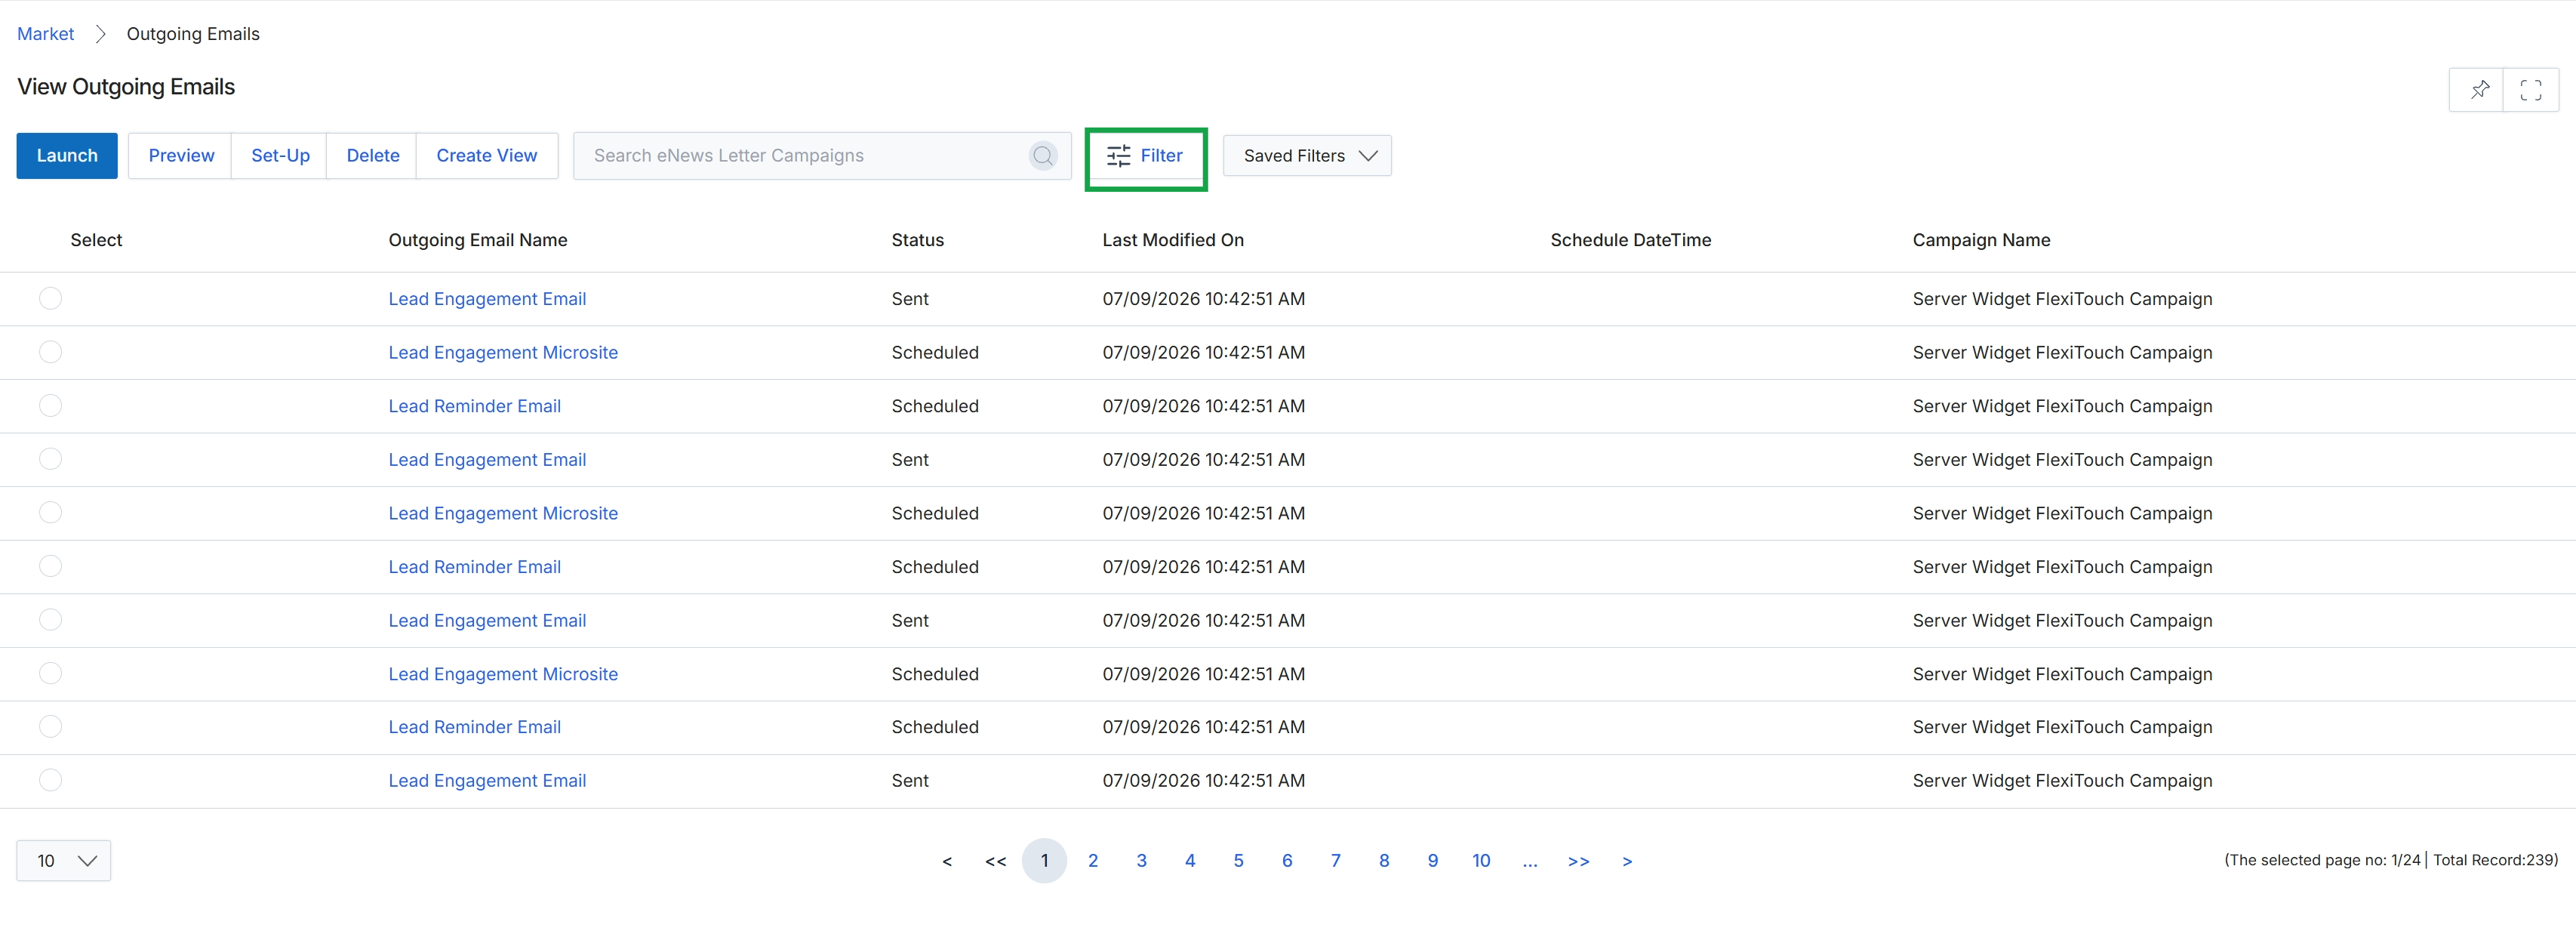
Click the Filter button.
Filtering Outgoing Emails
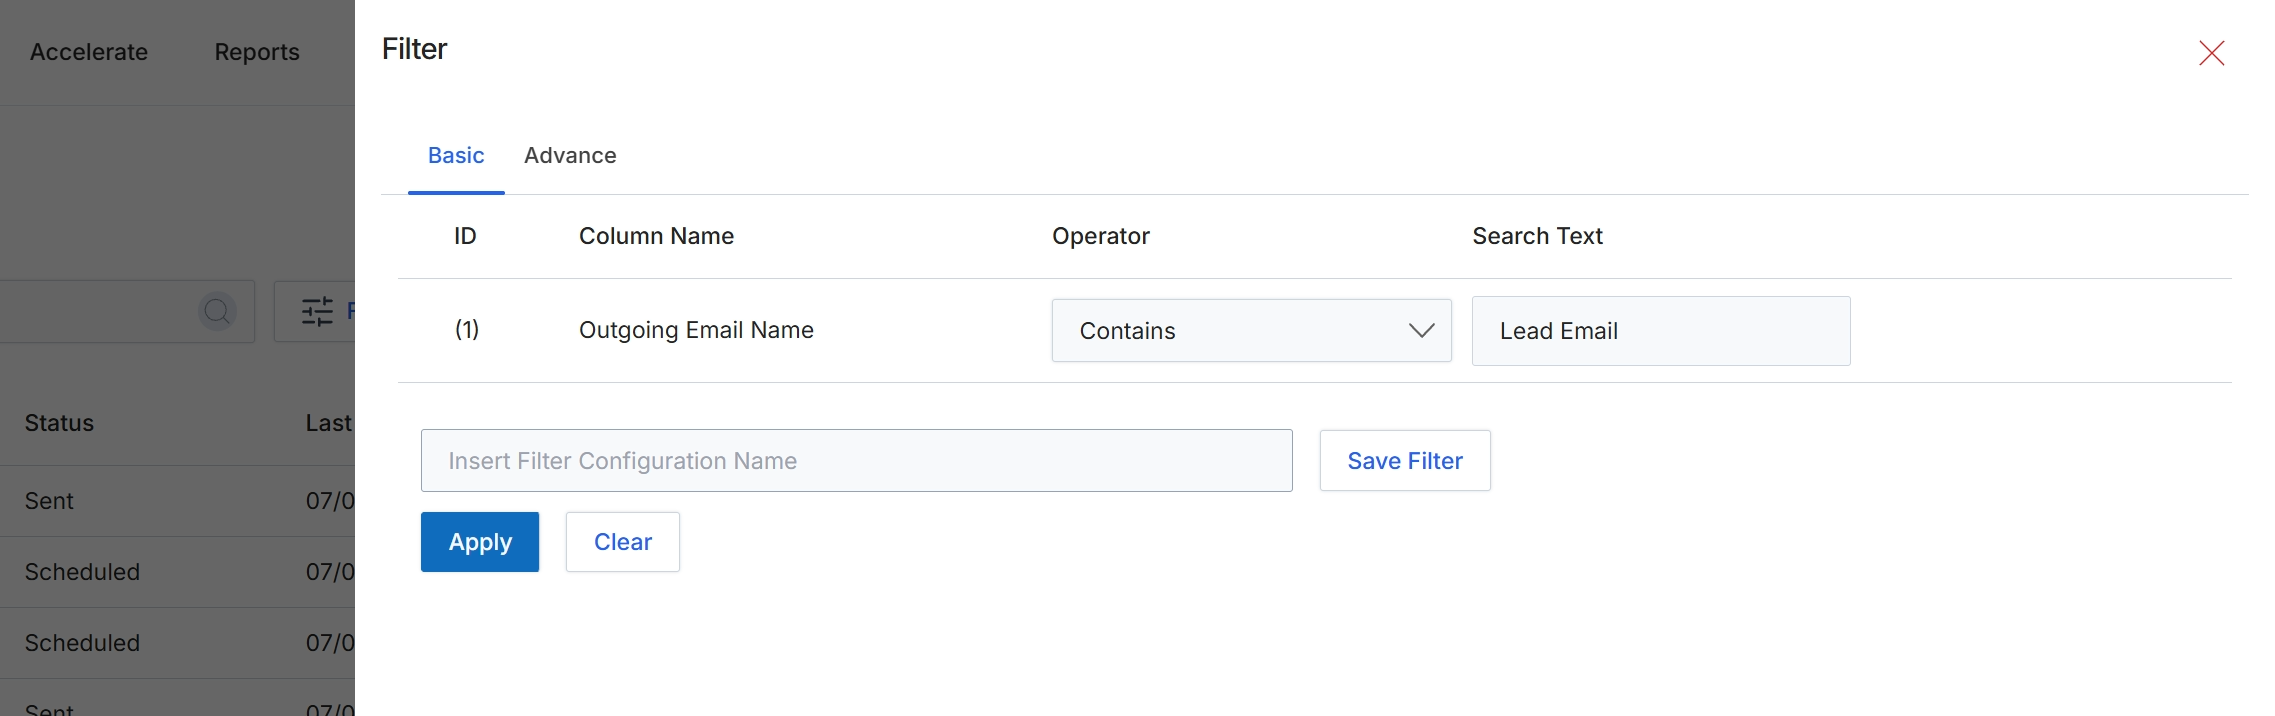
This modal window provides filtering capabilities within the UPM, allowing users to define specific criteria to narrow down displayed records in lists, such as outgoing emails. It supports both basic and advanced filtering options to help users efficiently locate specific data entries based on various attributes. Users can specify which column to filter by, the logical operator to apply, and the search text or value to match. This functionality is crucial for managing and analyzing large datasets, enabling quick access to relevant information without navigating through extensive lists.
Configure the filter criteria by selecting a column, an operator, and entering the search text, then click 'Apply' to filter the list.
Buttons
| Button | Description |
|---|---|
| Basic | Selects the basic filtering interface, allowing simple rule creation. |
| Advance | Selects the advanced filtering interface, which may offer more complex rule combinations. |
| Save Filter | A button to save the current filter configuration under the specified name. |
| Apply | A button to apply the configured filter criteria to the list and display the filtered results. |
| Clear | A button to clear all currently configured filter criteria. |
| X | A button to close the filter modal without applying any changes. |
Fields
| Field | Description |
|---|---|
| Outgoing Email Name | The selected column name for filtering, indicating that the filter will apply to the 'Outgoing Email Name' field. |
| Contains | The selected operator, indicating that the filter will match records where the 'Outgoing Email Name' contains the specified search text. |
| Lead Email | The text value entered to search for within the 'Outgoing Email Name' column. |
| Insert Filter Configuration Name | A text input field to provide a name for the current filter configuration, allowing it to be saved for future use. |
Column Headings
| Column | Description |
|---|---|
| ID | A column header indicating the identifier for each filter row. |
| Column Name | A column header for selecting the data field to apply the filter to. |
| Operator | A column header for selecting the logical operator (e.g., 'Contains', 'Equals', 'Starts With') to use for the filter condition. |
| Search Text | A column header for entering the value or text to search for within the selected column. |
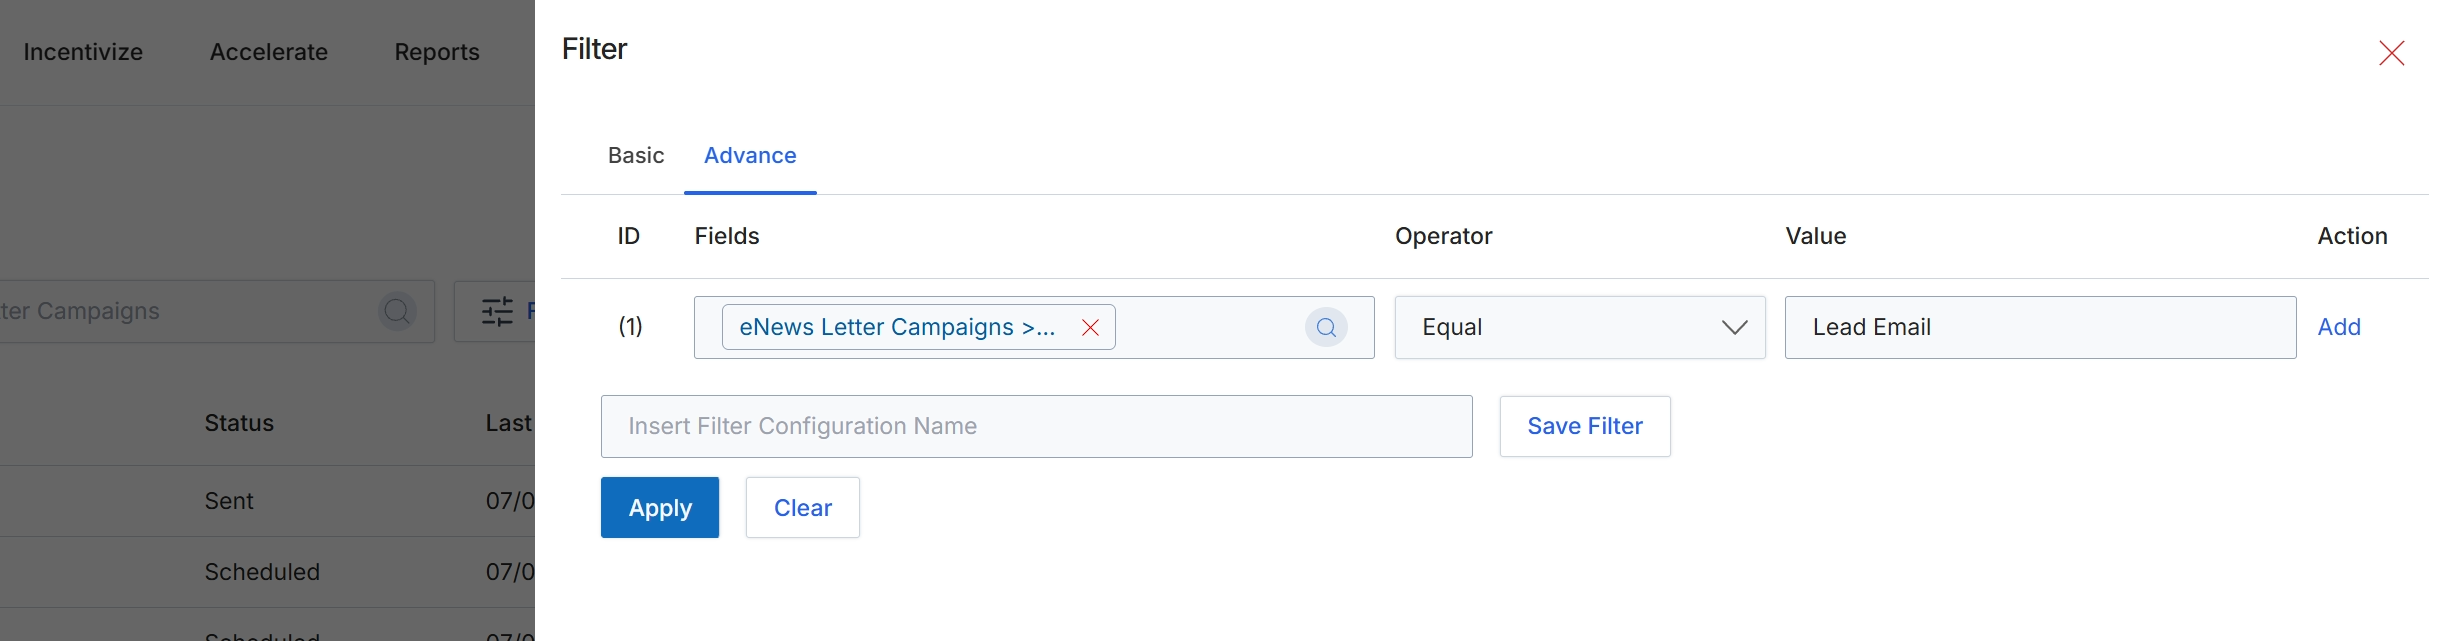
This filter panel provides advanced options for refining the display of data in a list view, specifically for email campaigns within the Market module. Administrators use this functionality to define complex filtering criteria by selecting fields, operators, and values to narrow down the displayed list of outgoing emails. This is crucial for managing large volumes of campaign data, allowing users to quickly locate specific campaigns based on various attributes like campaign name, recipient email, or status. The panel also supports saving frequently used filter configurations for future reuse, streamlining the data analysis and management process.
Configure the advanced filter conditions by selecting fields, operators, and values, then click 'Apply' to filter the list or 'Save Filter' to store the configuration.
Buttons
| Button | Description |
|---|---|
| Basic | Switches the filter configuration options to a simpler, basic view. |
| Advance | Switches the filter configuration options to an advanced view, allowing for more complex criteria with multiple conditions. |
| Add | Adds a new row to define an additional filter condition. |
| Save Filter | Saves the current filter configuration with the specified name for future reuse. |
| Apply | Applies the configured filter conditions to the list view, updating the displayed data. |
| Clear | Clears all active filter conditions and resets the filter panel to its default state. |
Fields
| Field | Description |
|---|---|
| eNews Letter Campaigns >... | The currently selected field for the filter condition, indicating a selection within 'eNews Letter Campaigns'. |
| Equal | The selected operator for the filter condition, specifying an equality comparison. |
| Lead Email | The value entered or selected for the filter condition, representing the email address of a lead. |
| Insert Filter Configuration Name | Input field to enter a name for the current filter configuration to save it for future use. |
Column Headings
| Column | Description |
|---|---|
| ID | A numerical identifier for each filter condition row. |
| Fields | The attribute or data point of the email campaign being filtered, where users can select specific data fields. |
| Operator | The logical comparison operator to be applied to the selected field and value (e.g., Equal, Contains, Greater Than). |
| Value | The specific data value to compare against the selected field using the chosen operator. |
| Action | Provides actions related to the filter condition, such as adding another filter condition. |
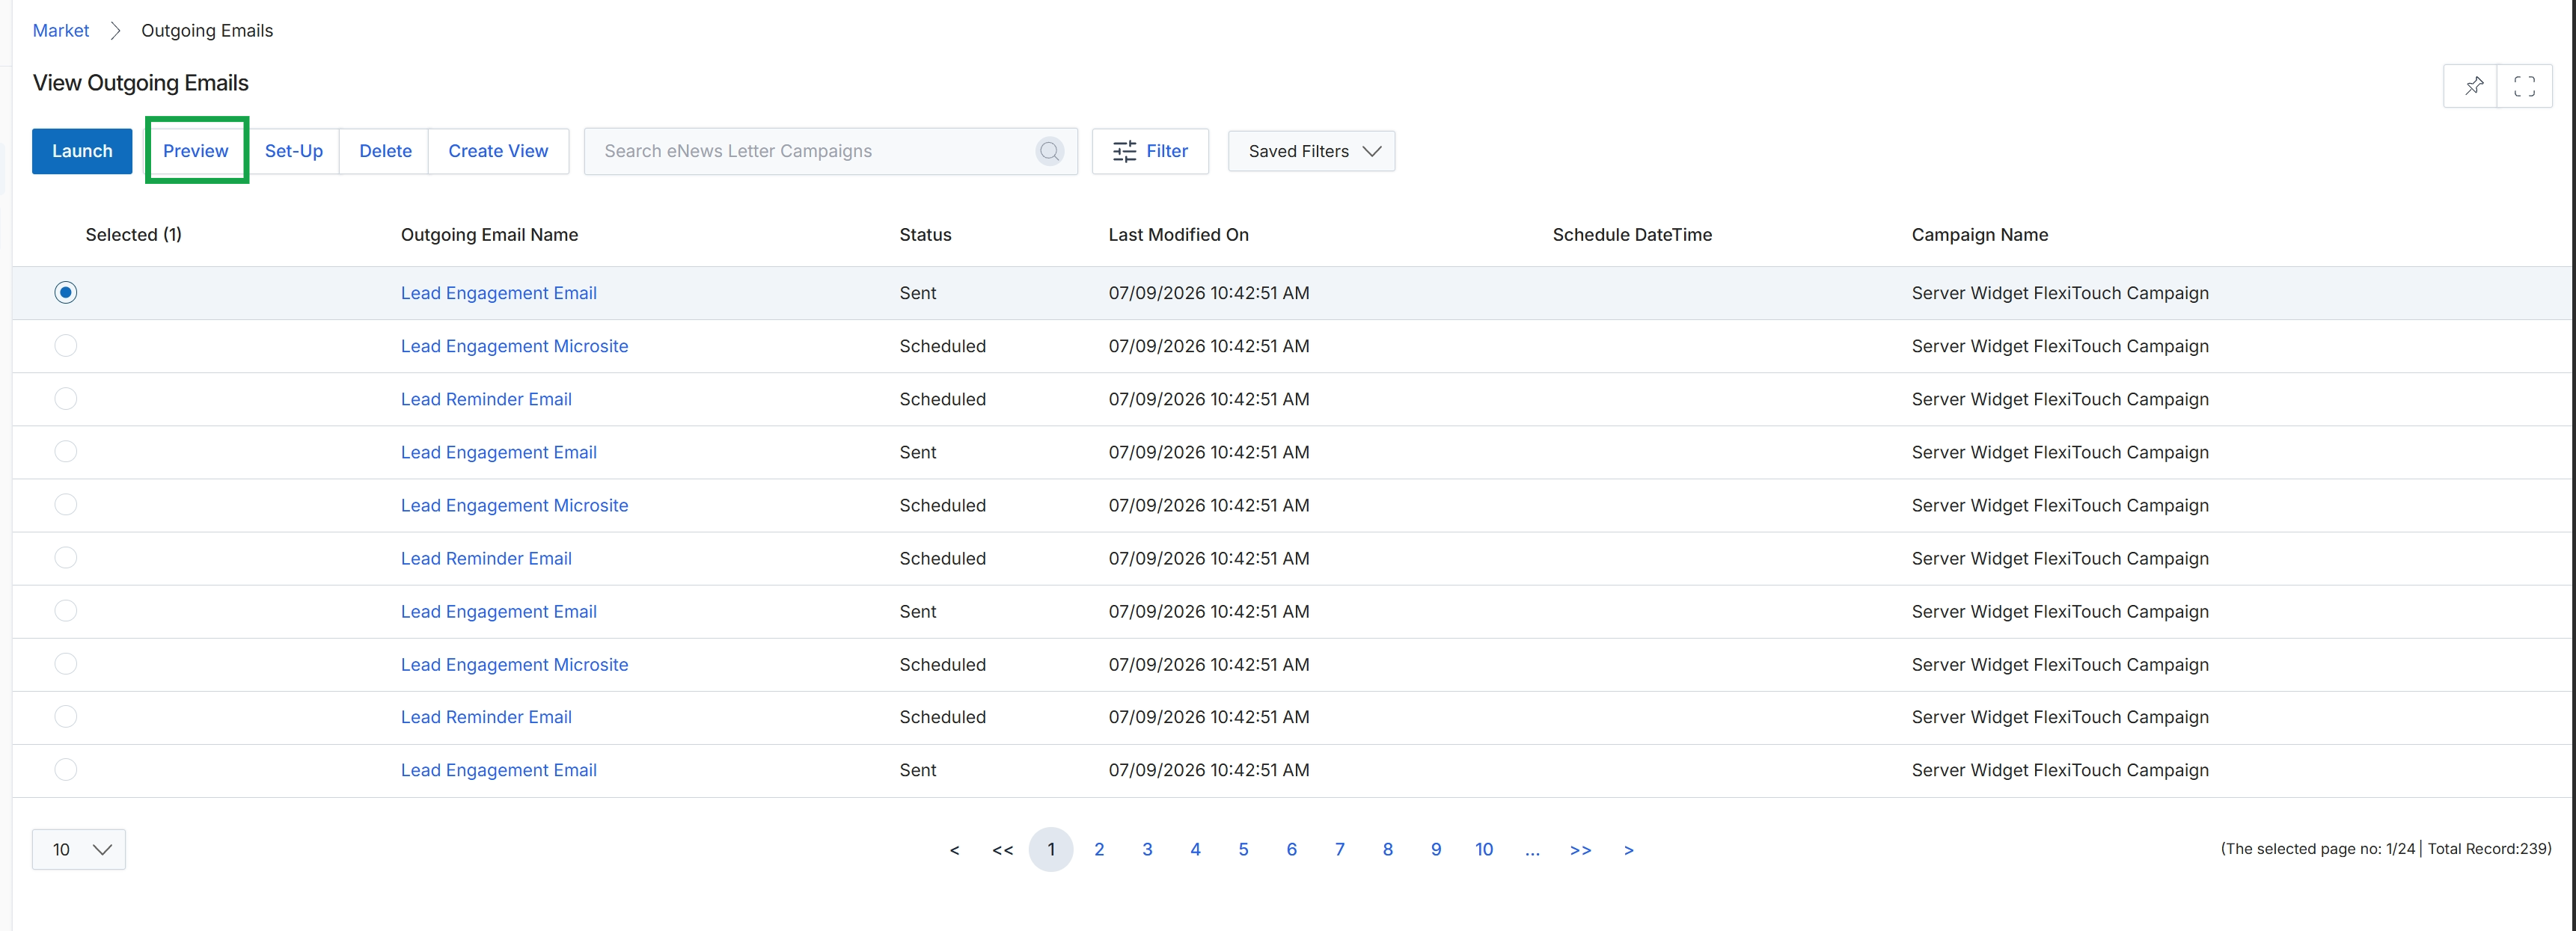
Click the Preview button.
Previewing and Setting Up Emails
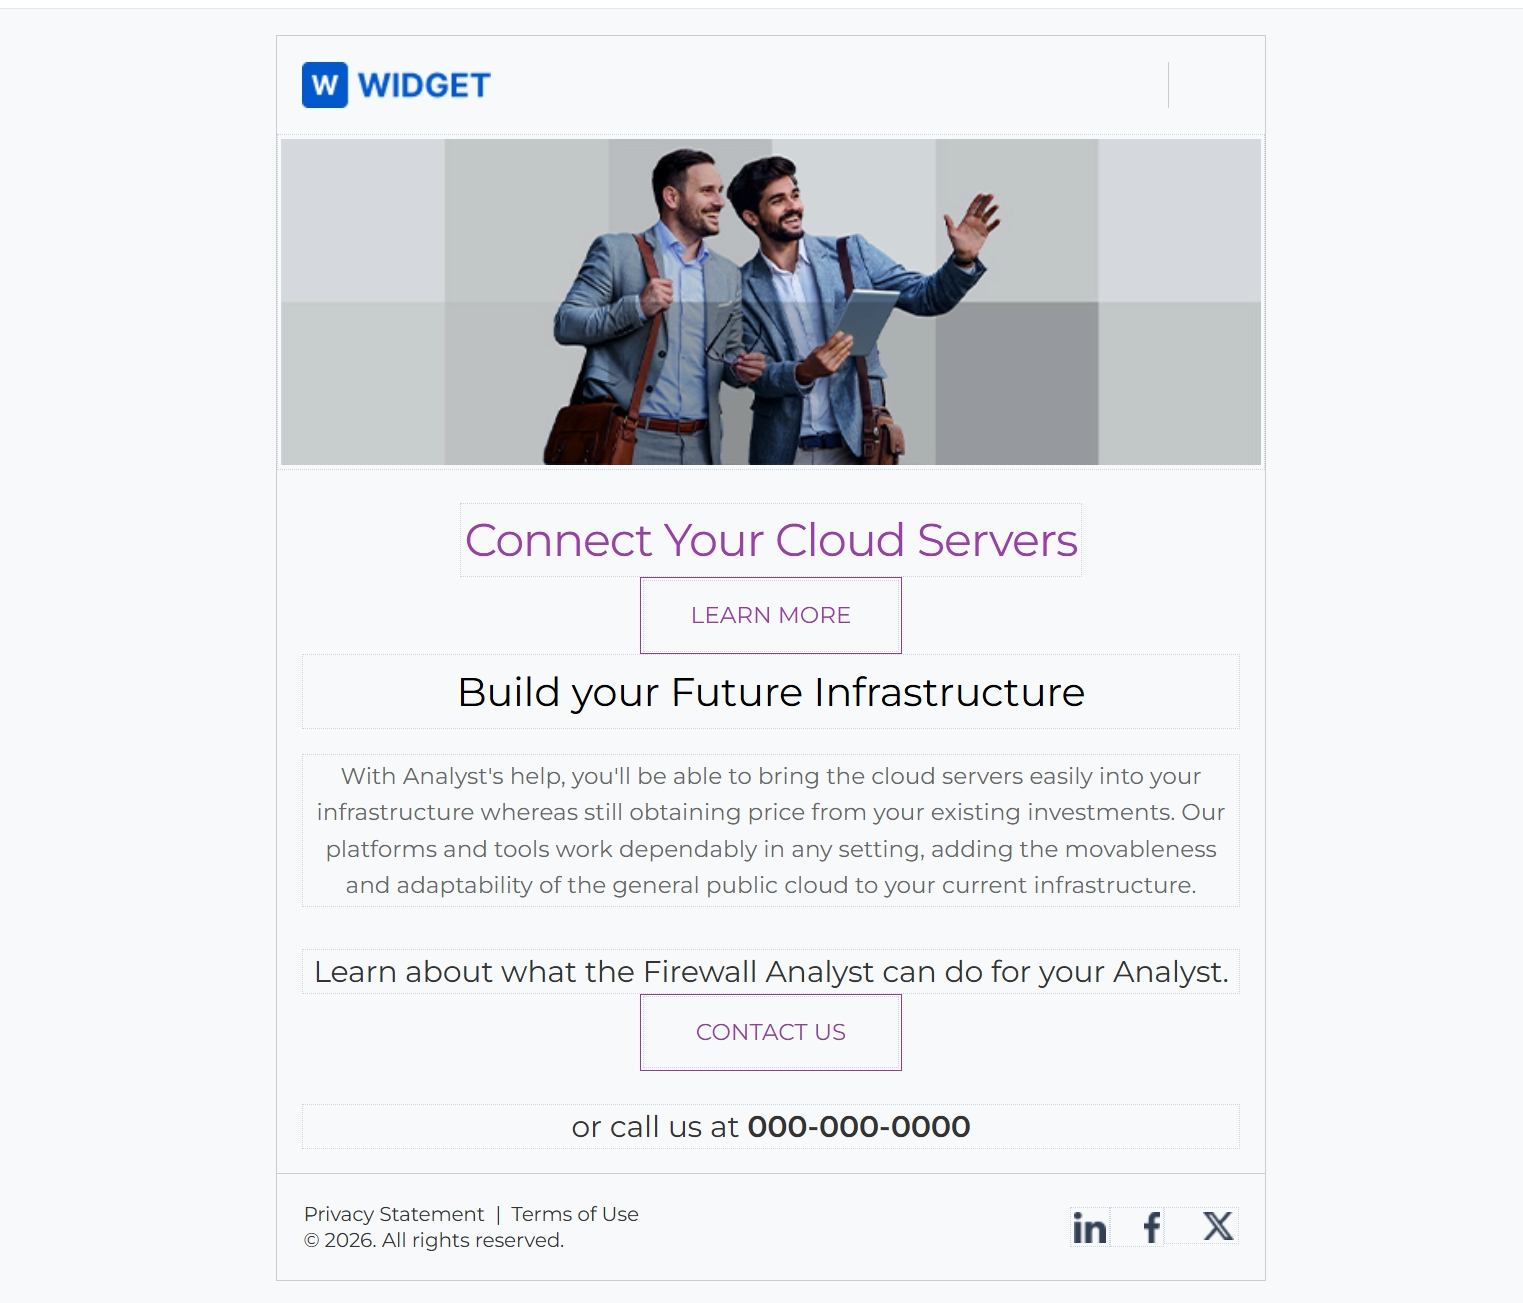
Click Preview.
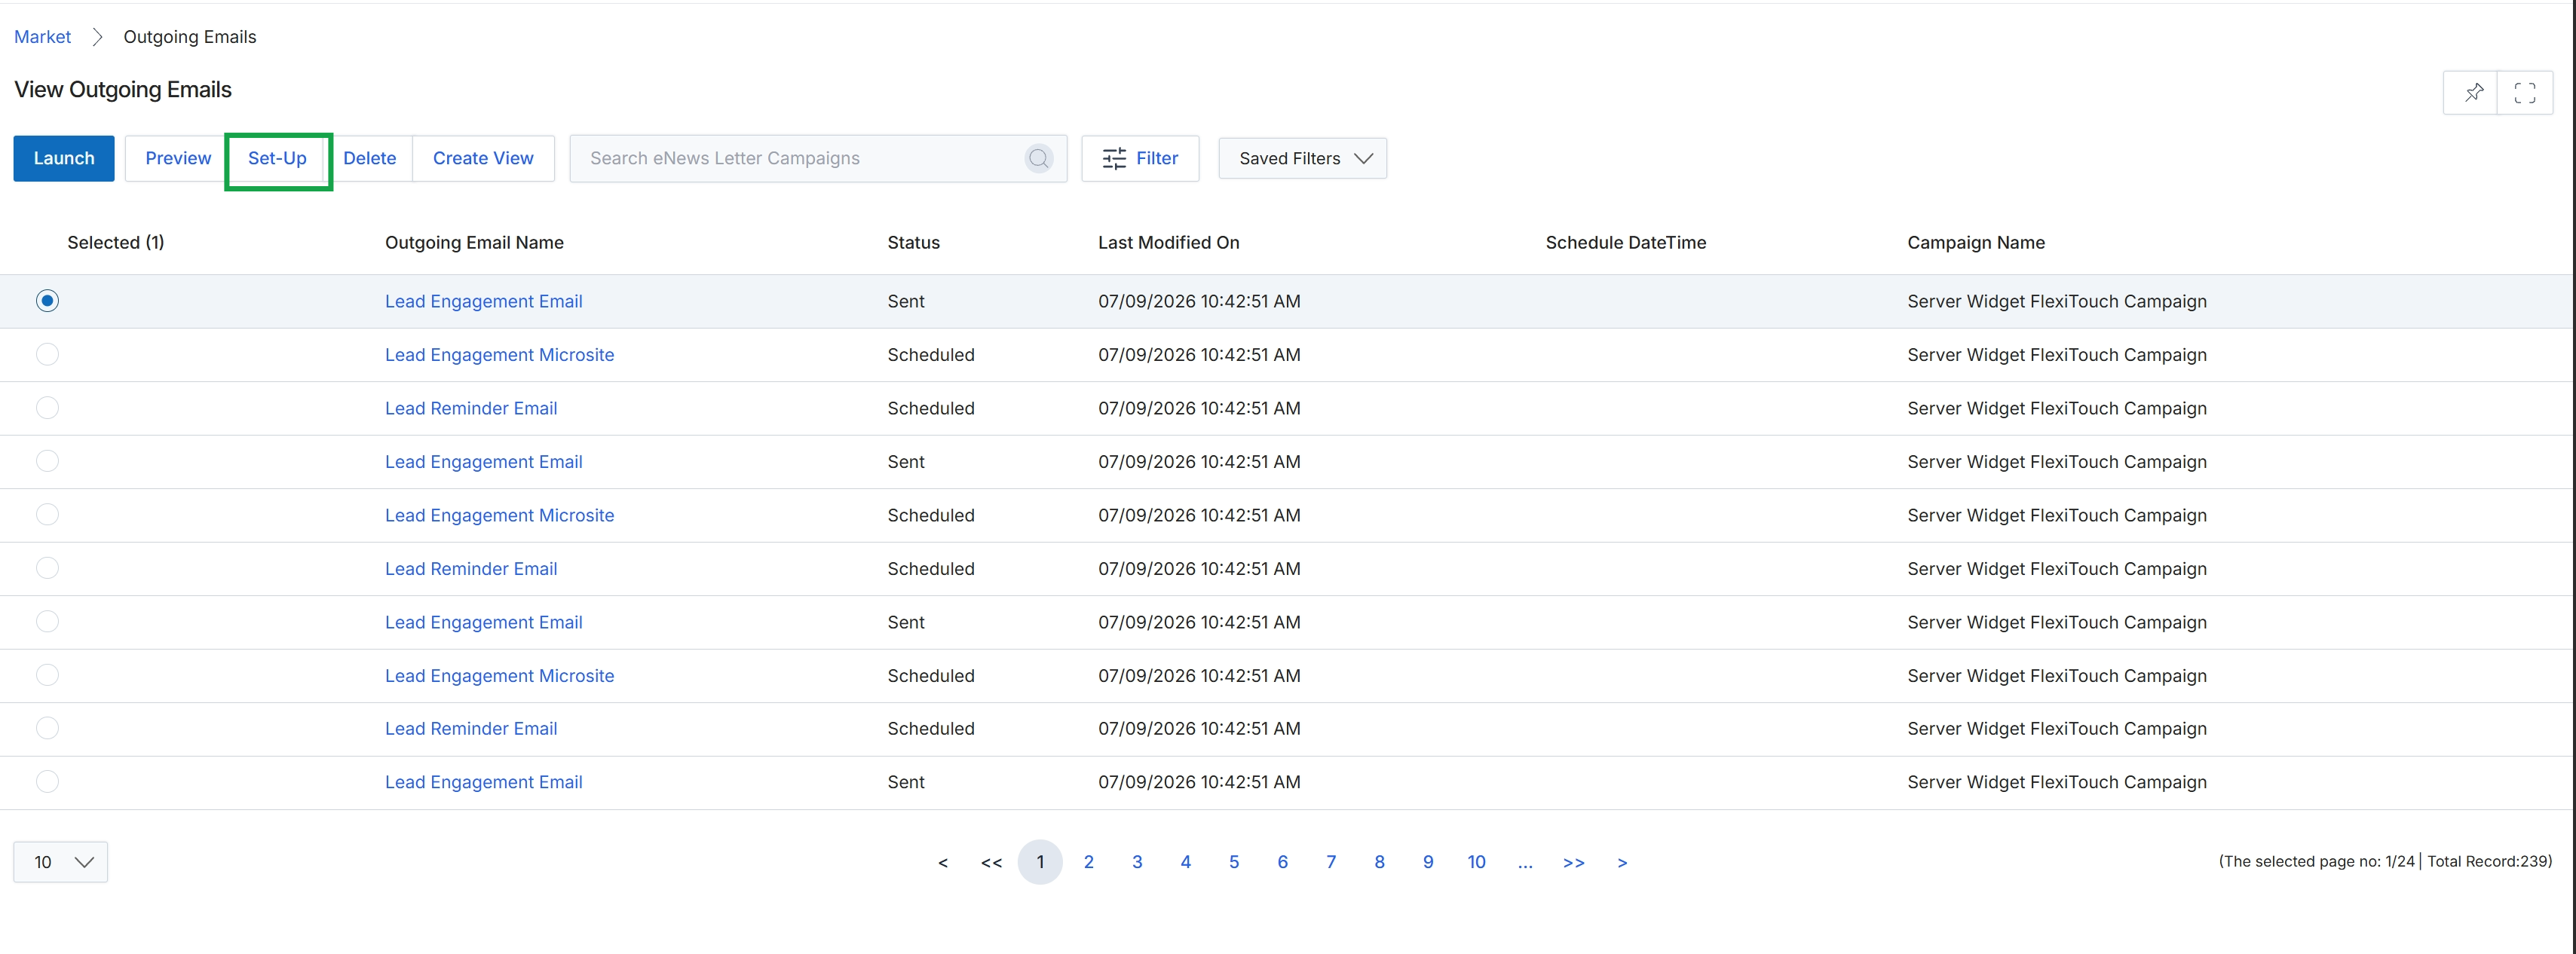
Click the Set-Up button.
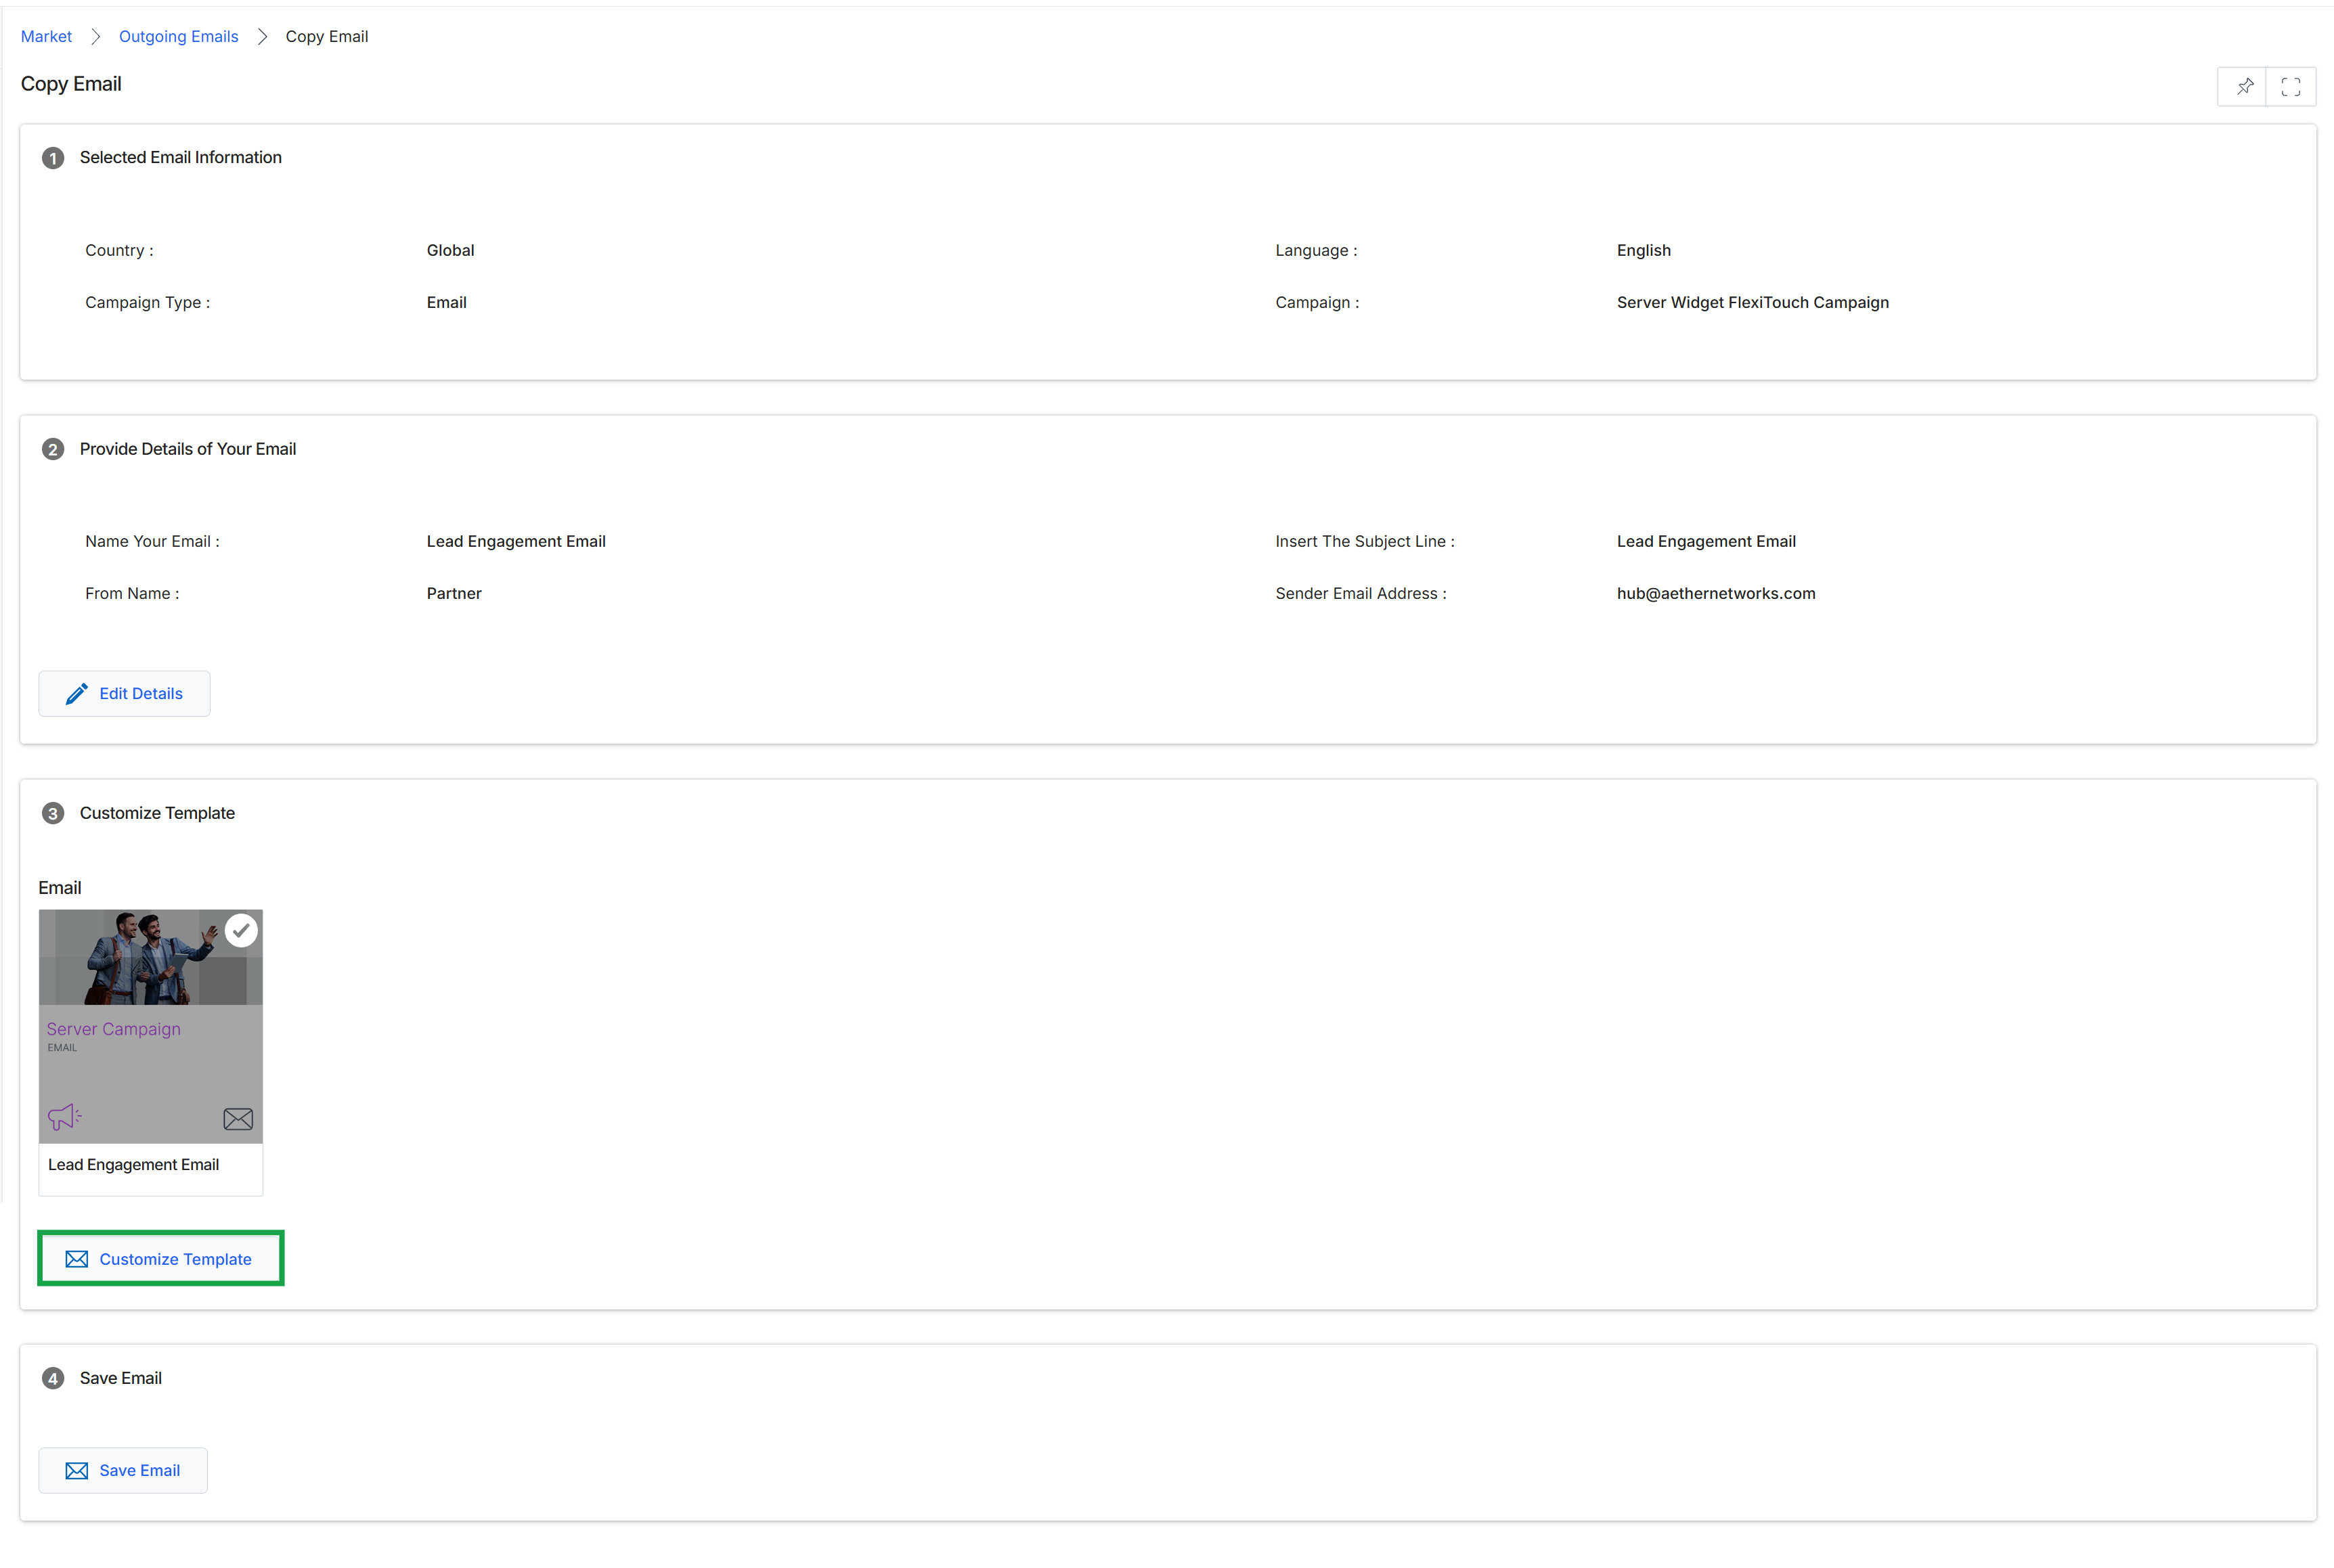
This screen facilitates the process of copying an existing email campaign, allowing users to duplicate a previously configured email for reuse or modification. It displays the core details of the original email, including its country, language, campaign type, and associated campaign, along with the email's name, subject line, sender, and from name. This view serves as an initial review point after an email has been copied, ensuring that the foundational information is correct or can be easily edited. The ability to copy emails streamlines the creation of new marketing initiatives by leveraging existing, approved content and configurations, which is crucial for efficient campaign management within the Market module.
Click the "Customize Template" button to proceed with editing the content and design of the copied email.
Buttons
| Button | Description |
|---|---|
| Edit Details | A link to modify the basic details of the email, such as its name, subject, and sender information. |
| Customize Template | Initiates the process of editing the visual layout and content of the email template. |
| Save Email | Saves the current configuration of the copied email. |
Selected Email Information
| Field | Description |
|---|---|
| Country | Indicates the geographical region for which the email is configured, in this case, 'Global'. |
| Language | Specifies the language of the email content, displayed as 'English'. |
| Campaign Type | Identifies the type of campaign this email belongs to, which is 'Email'. |
| Campaign | Refers to the specific marketing campaign this email is part of, shown as 'Server Widget FlexiTouch Campaign'. |
Provide Details of Your Email
| Field | Description |
|---|---|
| Name Your Email | The internal name given to the email for identification purposes, currently 'Lead Engagement Email'. |
| Insert The Subject Line | The subject line of the email that recipients will see, displayed as 'Lead Engagement Email'. |
| From Name | The name that appears as the sender of the email, shown as 'Partner'. |
| Sender Email Address | The email address from which the email will be sent, displayed as 'hub@aethernetworks.com'. |
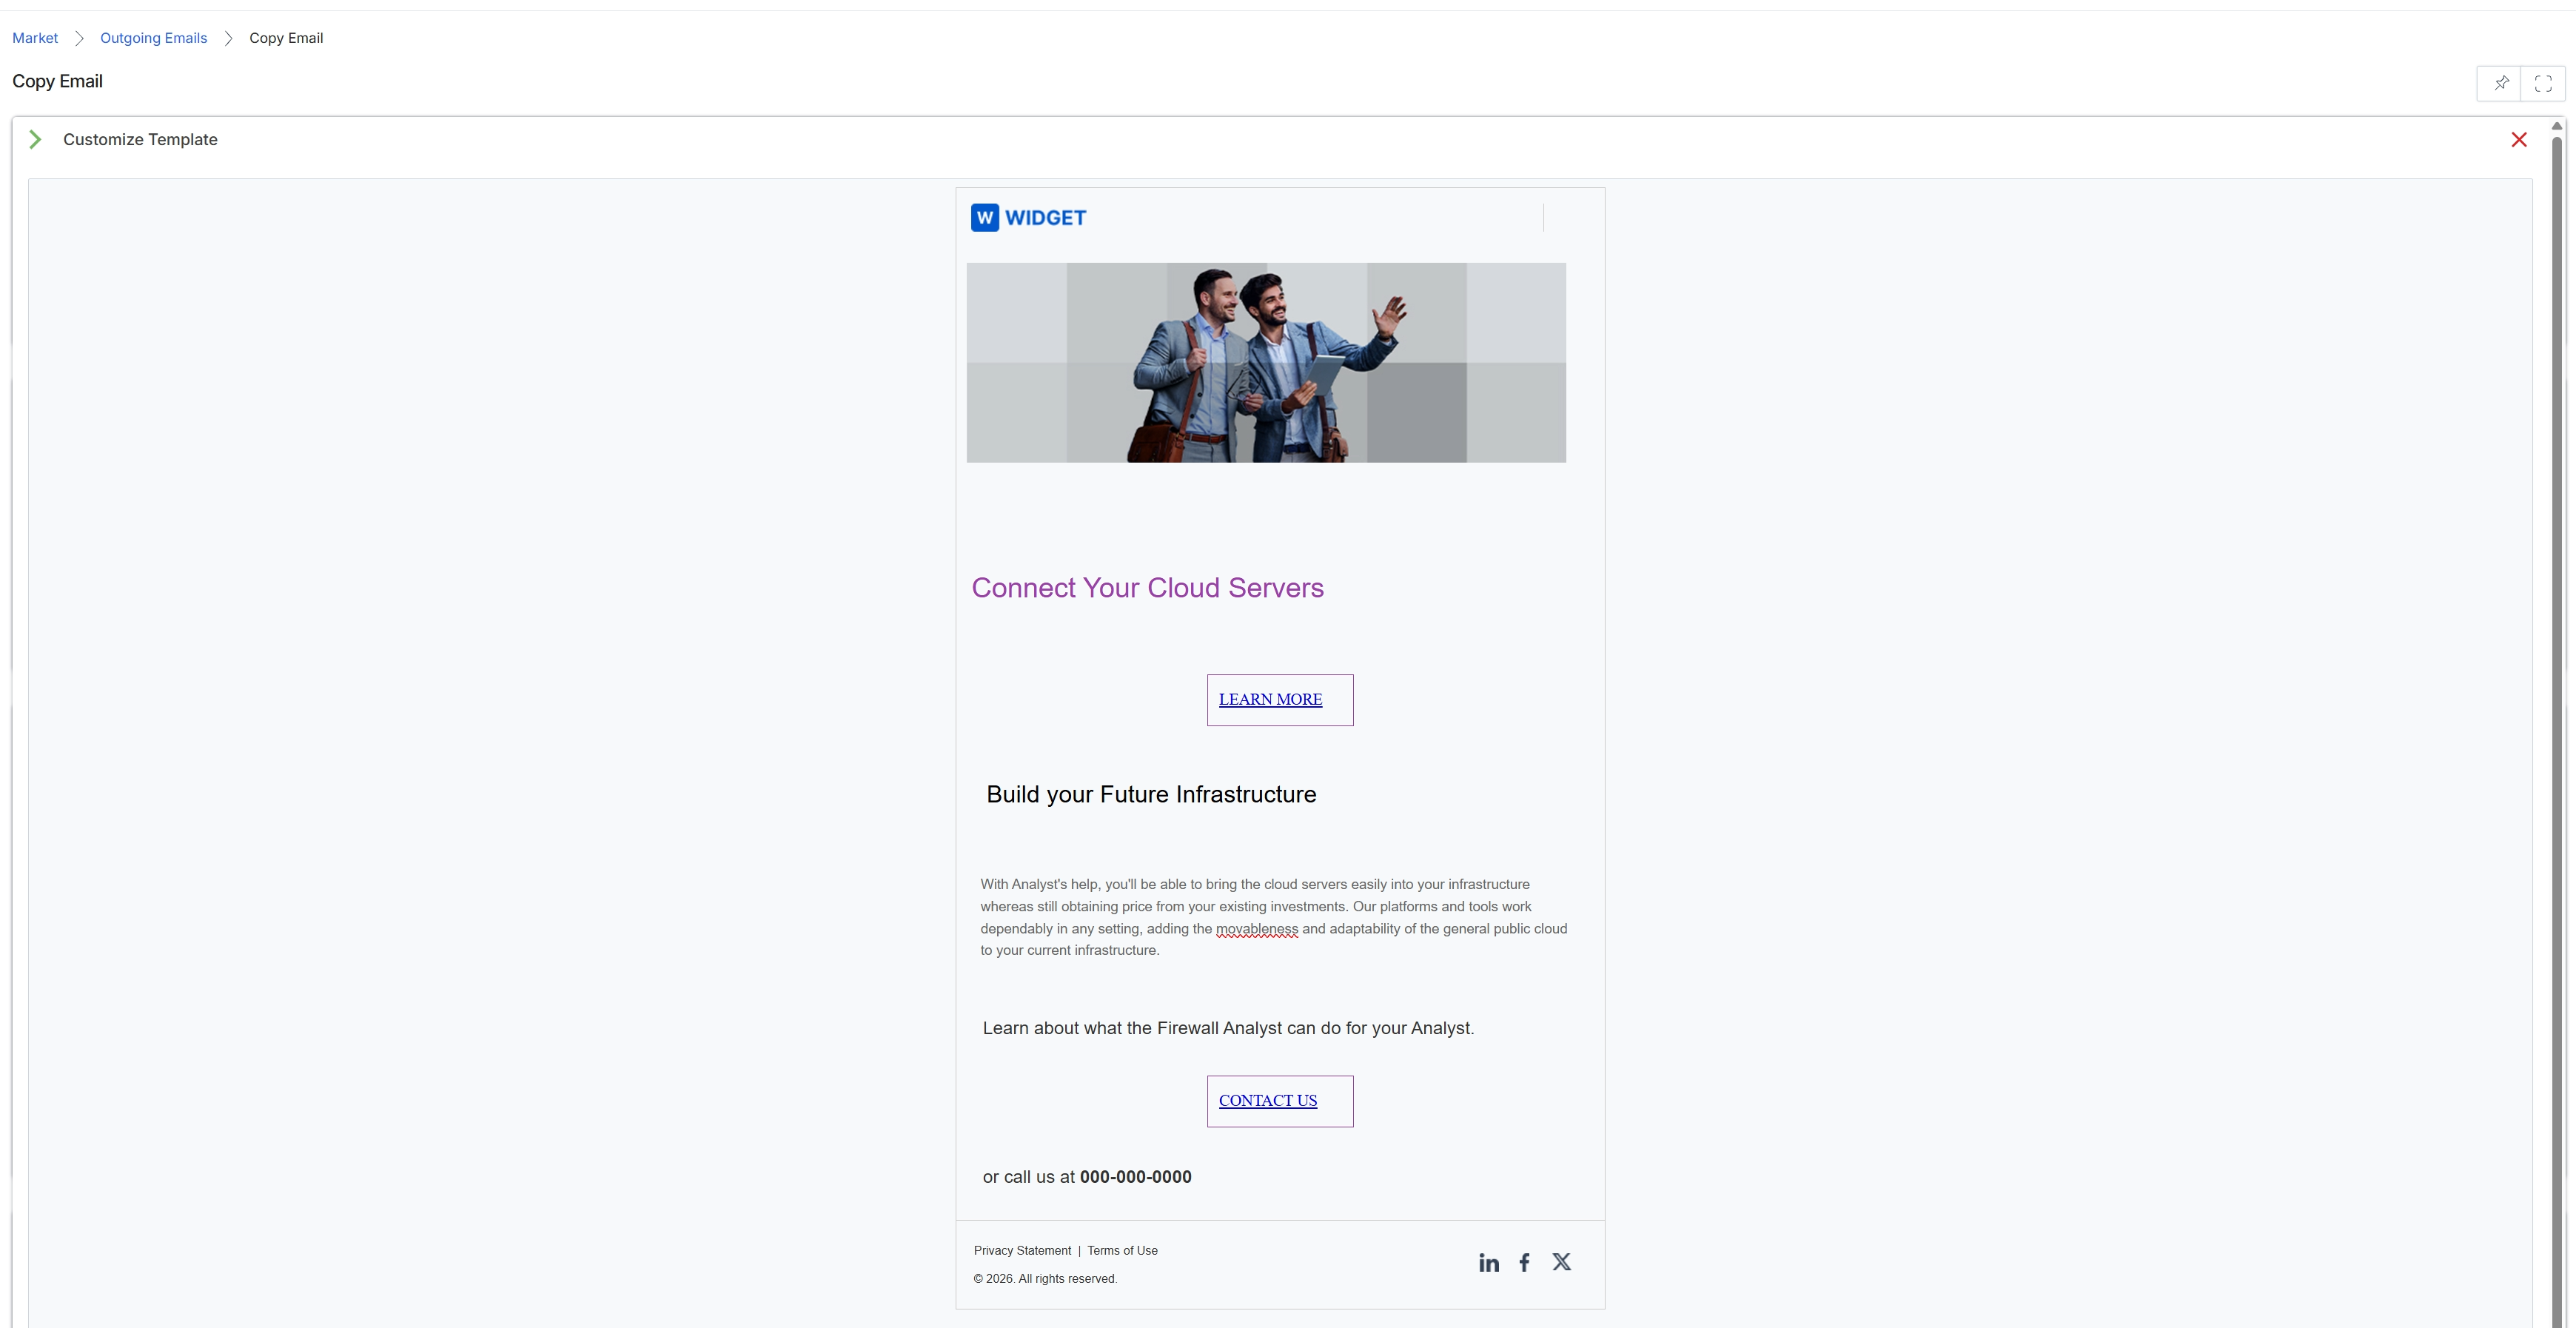
This screen displays a visual preview of an email template within the Market module, specifically during the process of copying an existing outgoing email. It allows users to review the complete layout and content of the email, including its header, main body text, images, call-to-action buttons, and footer. This preview ensures that the email's appearance aligns with expectations before any further customization or scheduling actions are taken, serving as a critical step in the email campaign workflow.
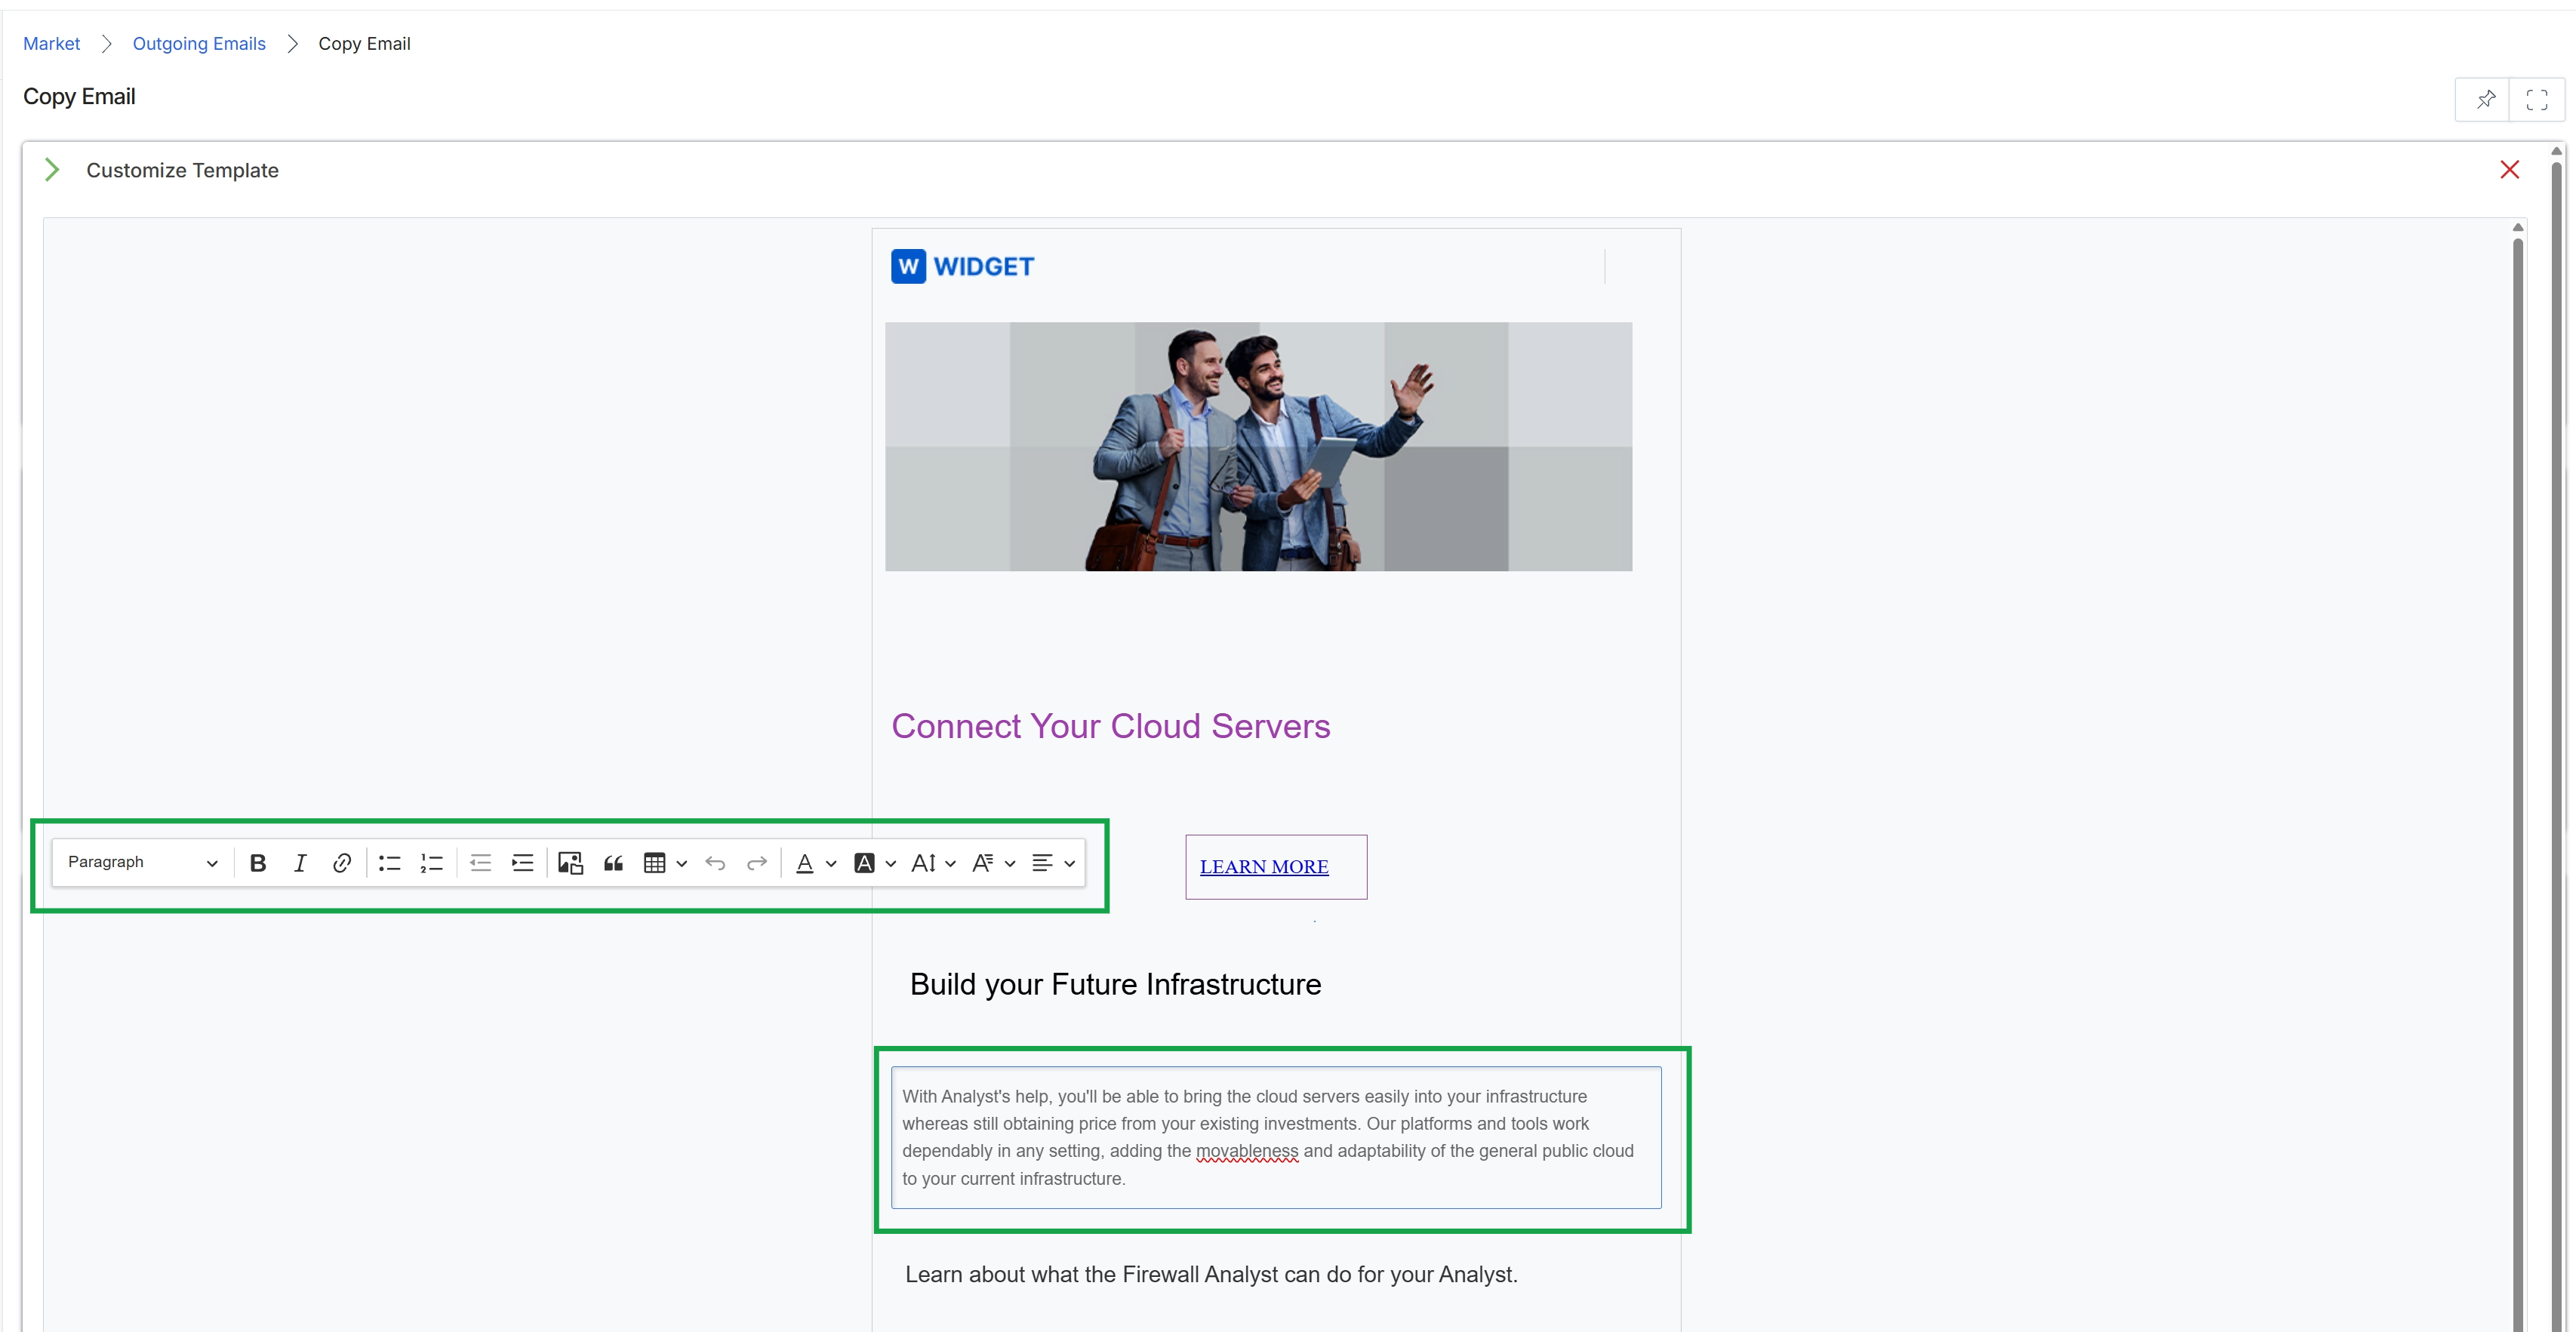
This screen displays an email template within the Market module, providing an interface for customizing email content. It represents a stage in the email campaign workflow where users can modify the text and formatting of an email before it is sent. The view allows for direct editing of the email body, enabling users to tailor messages for specific campaigns or audiences while adhering to established templates. This functionality is crucial for partners or vendors to personalize co-marketing emails.
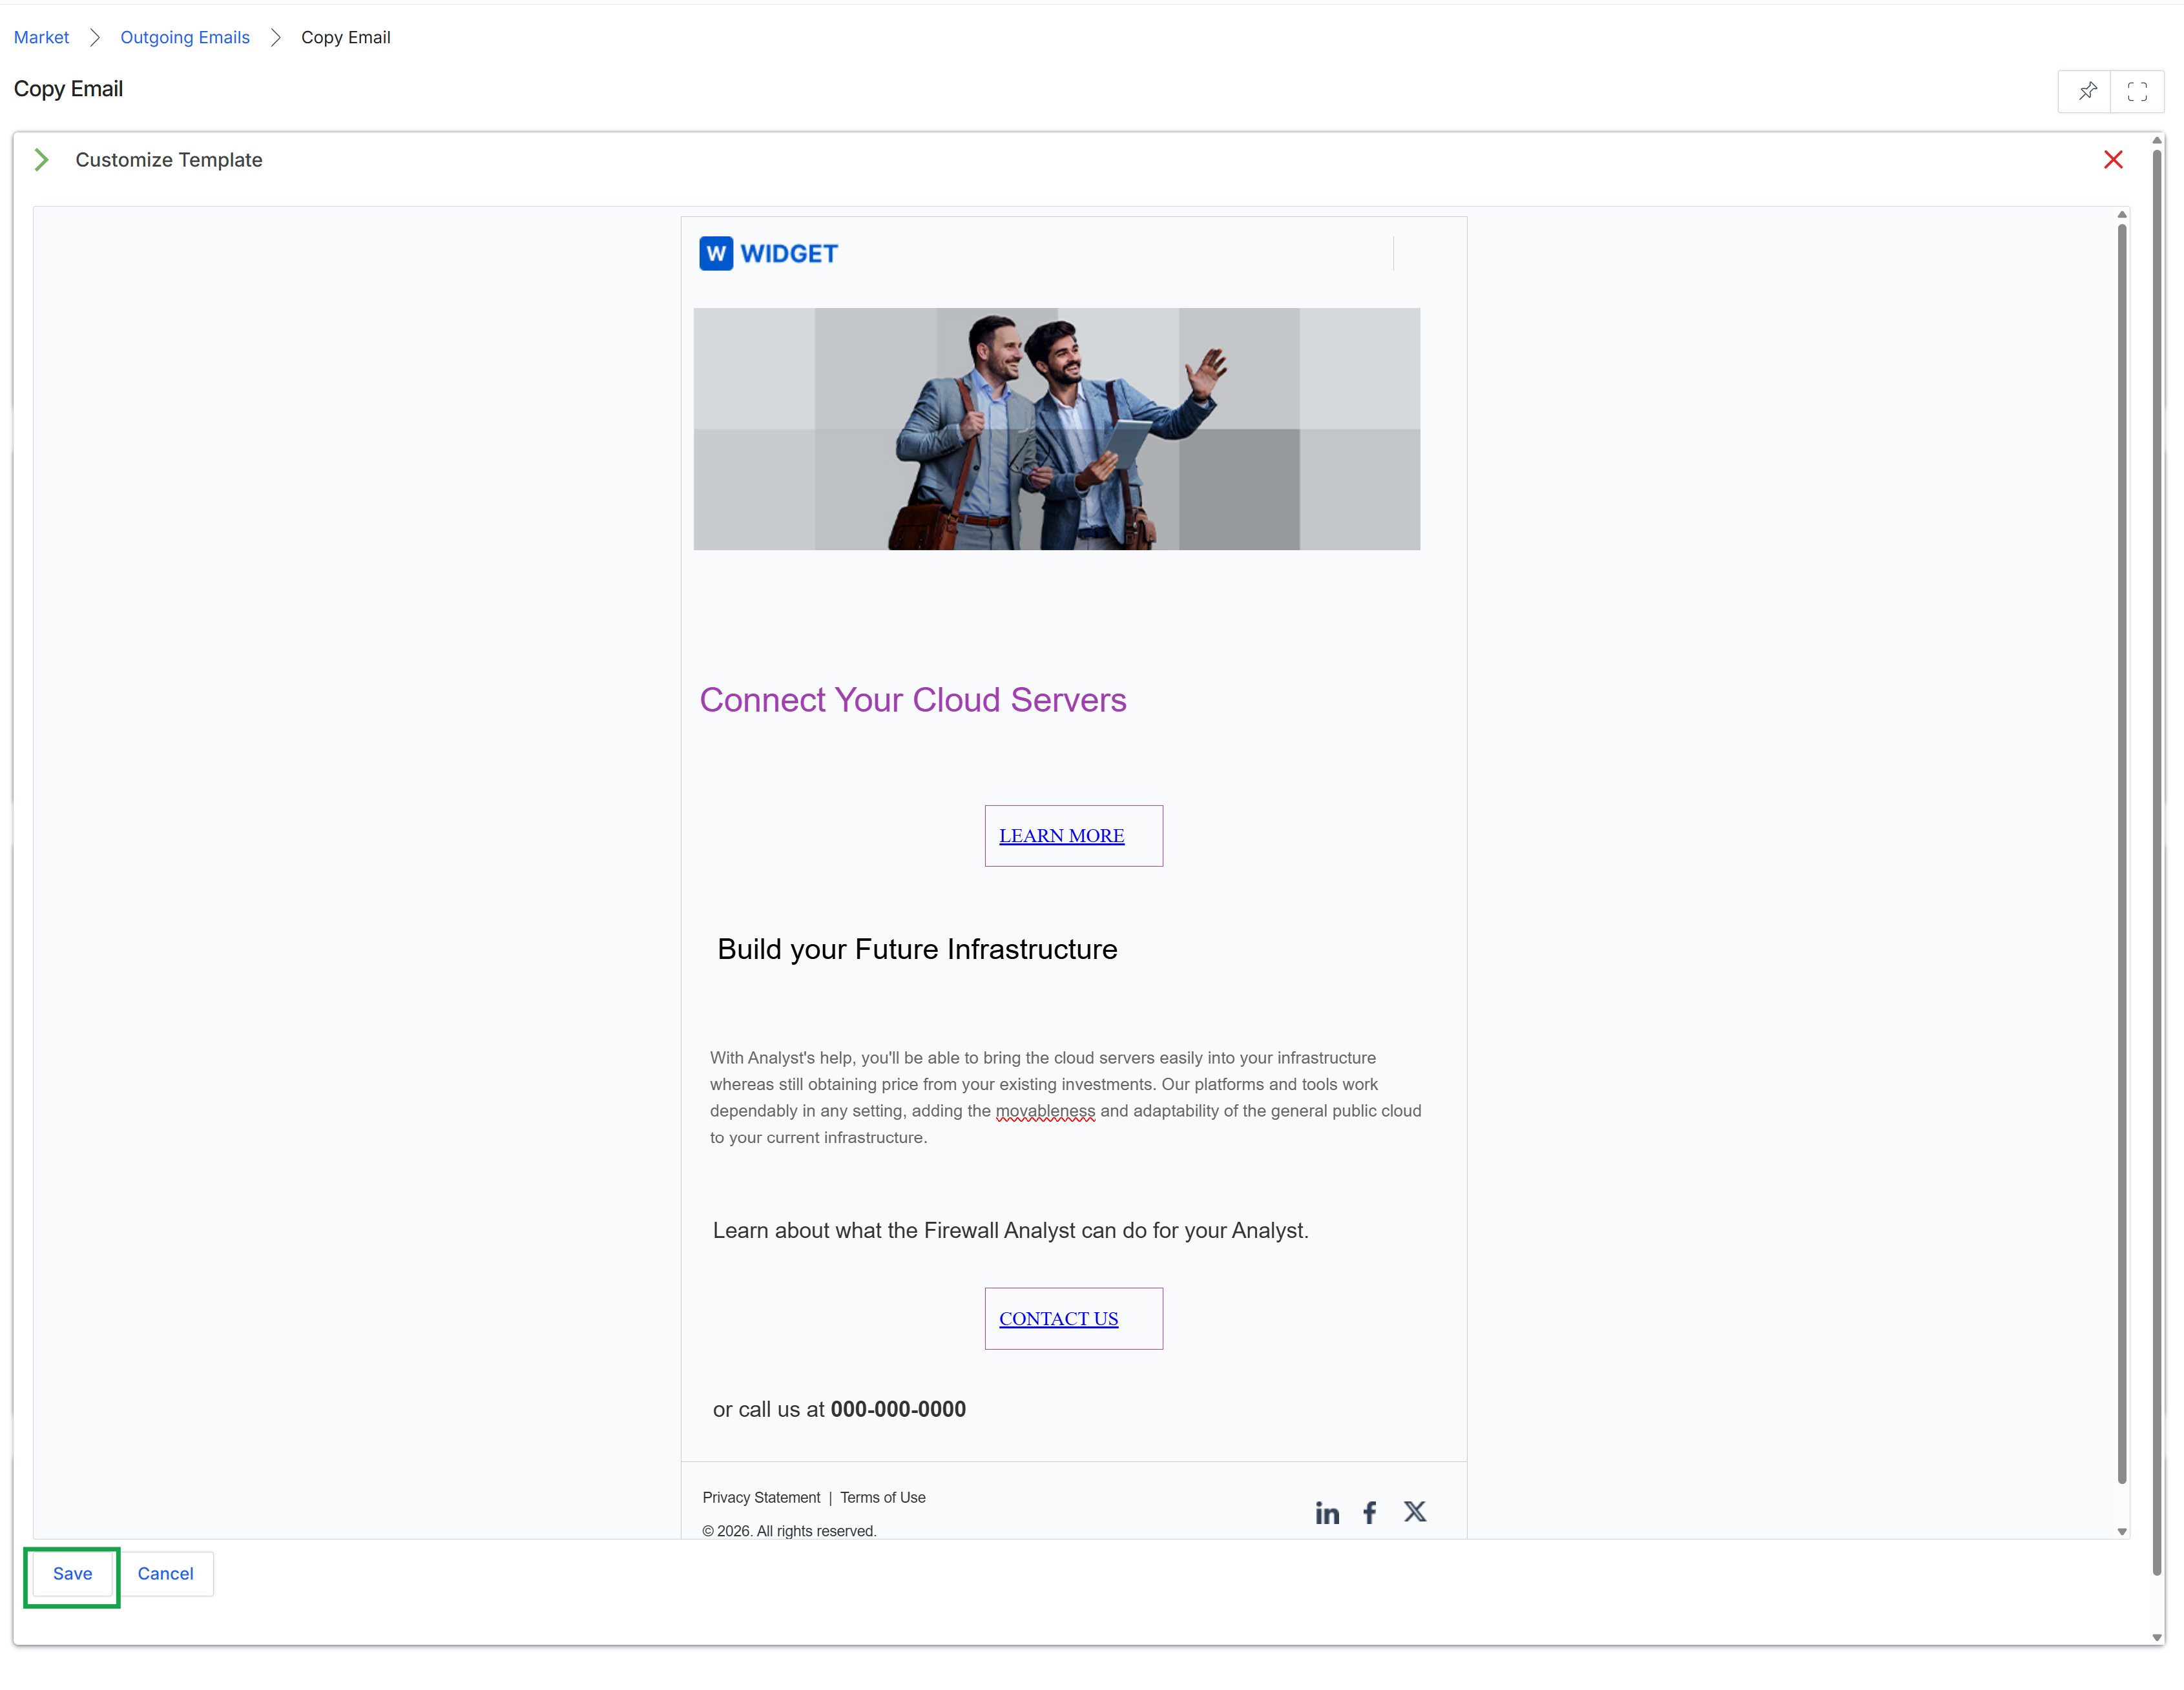
Click the Save button.